
MailGet’s autoresponder email feature allows you to send automated sets of emails that go out immediately when a subscriber subscribe at your site and helps you to eliminate communication gap.
Reach more people in less time and turn loyal subscribers into paying customers with MailGet email autoresponder.
The main advantage is you don’t need to write each contact manually to send an email. MailGet automatically appends the subscriber email address in the contact list which you assign while setting up autoresponder campaign.
So, here are the steps you need to set up an autoresponder campaign in MailGet –
Step: 1 Create a web form to capture leads. You can follow the tutorial link below to embed web form on your website.
Embed Web Form
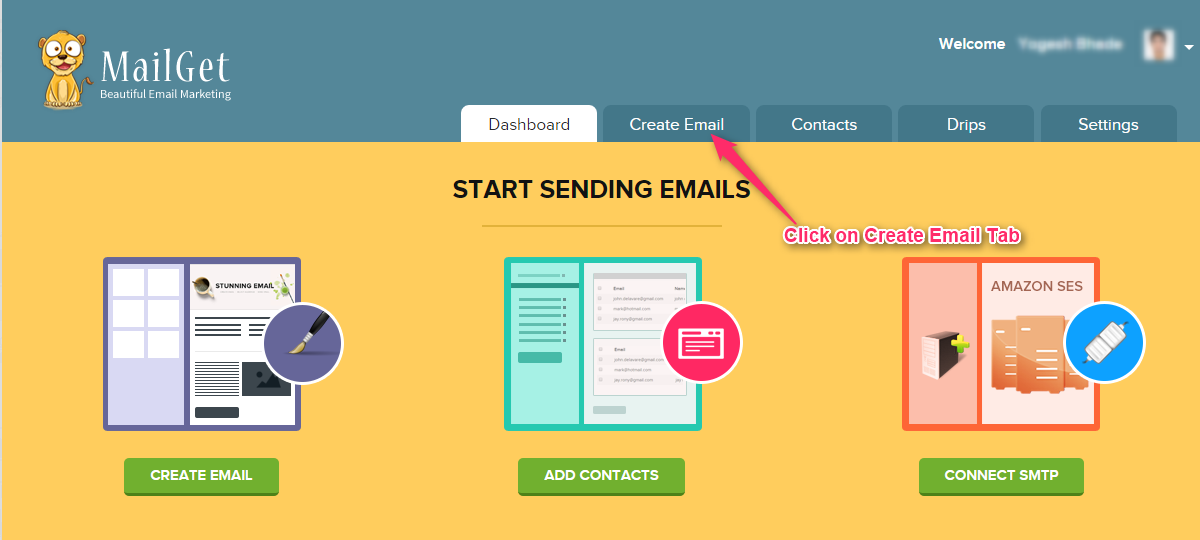
Step: 2 Click on Create Email tab in your MailGet dashboard.
Step: 3 Click on Drip Campaign button and make Email Template by using any one option – Using Email Builder, Basic Text Editor or Custom Code Editor.
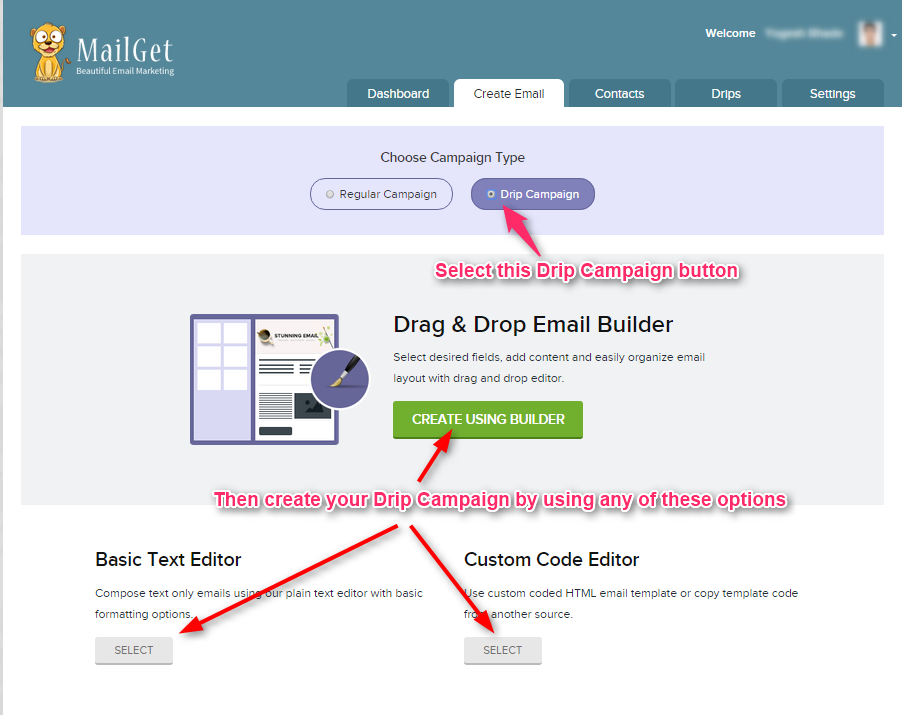
- In this documentation, we have used CREATE USING BUILDER to build Autoresponder Template.
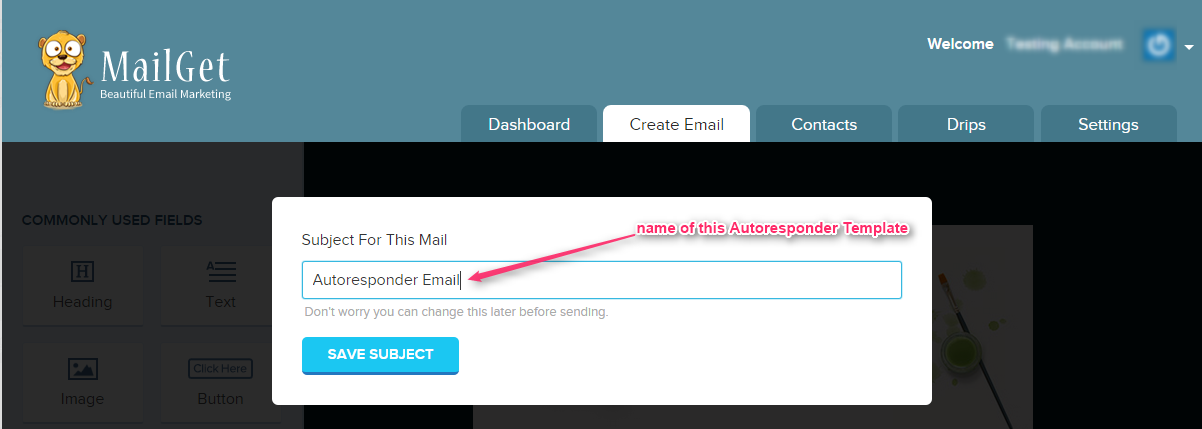
- First write the subject name for this Autoresponder Template.
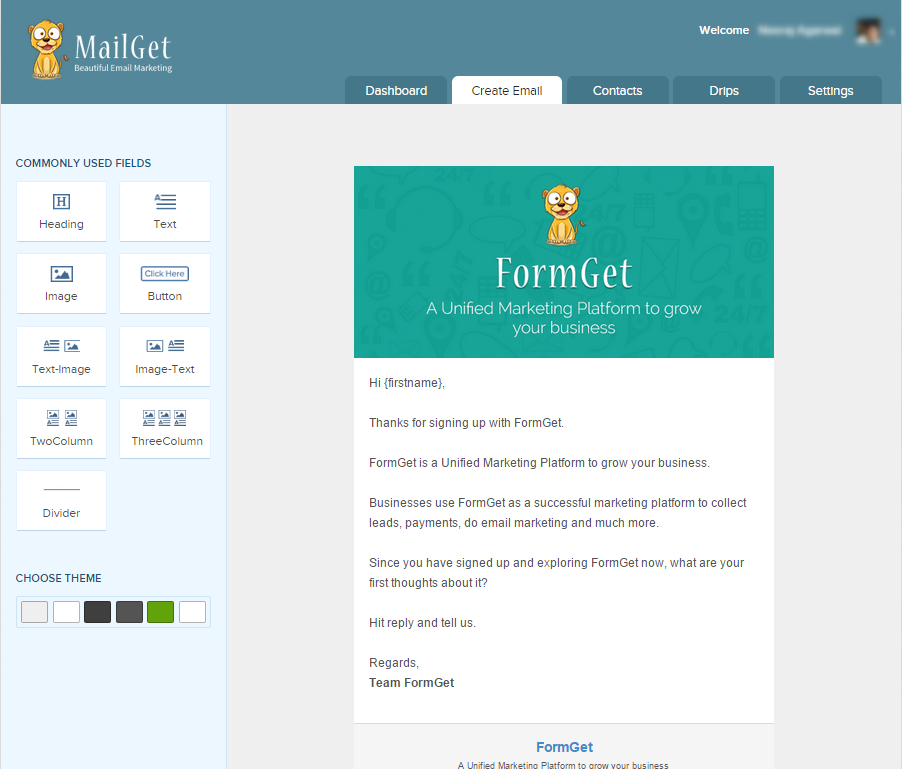
- Now make Autoresponder template.
Step: 4 After making Autoresponder Template click on SAVE & CONTINUE button.

Step: 5 Now click on Drips tab in MailGet dashboard and fill out the details as shown in the image below and don’t forget to check the Immediately send this email option. Your Autoresponder is all set now.!
Note –
Under section Select List – Select the list which you have selected while creating web form.

Note – While filling out the details in Drip/Autoresponder section the contact list selected will store all your subscribers collected through the form. So you can now set a different set of autoresponder series to separate contact lists.