
Thinking of getting a professional email for your business and using it to send emails to your customers in bulk ?
The ultimate solution for you is Google Apps For Work account.
Google Apps for Work account allows you to set up business email addresses with your company name in it and allows you to send emails in bulk using its SMTP.
For example, sending emails via – [email protected]
Moreover,
Using Google Apps account for sending emails is highly profitable because emails sent using Google Apps account ends up in Gmail’s inbox right away and mostly in the Primary tab.
In fact,
People get huge open rates when they send emails using Google Apps account compared to any other email service providers.
In this tutorial, you will get the complete steps to set up Google Apps account, and it’s SMTP relay to send emails to your customers in bulk.
I have also described the steps that cover how you can test the SMTP credentials and send emails using the Google Apps SMTP right away.
Let’s start to explore the things briefly to setup Google Apps account and it’s SMTP –
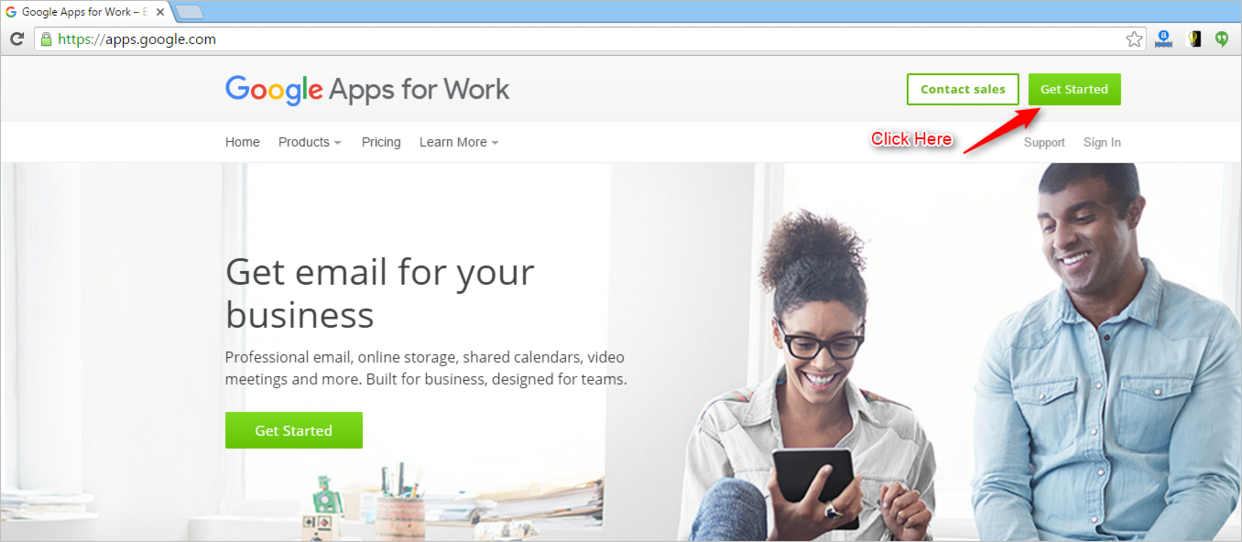
Step #1. Open Google Apps for Work website and click Get Started tab present on the header section.
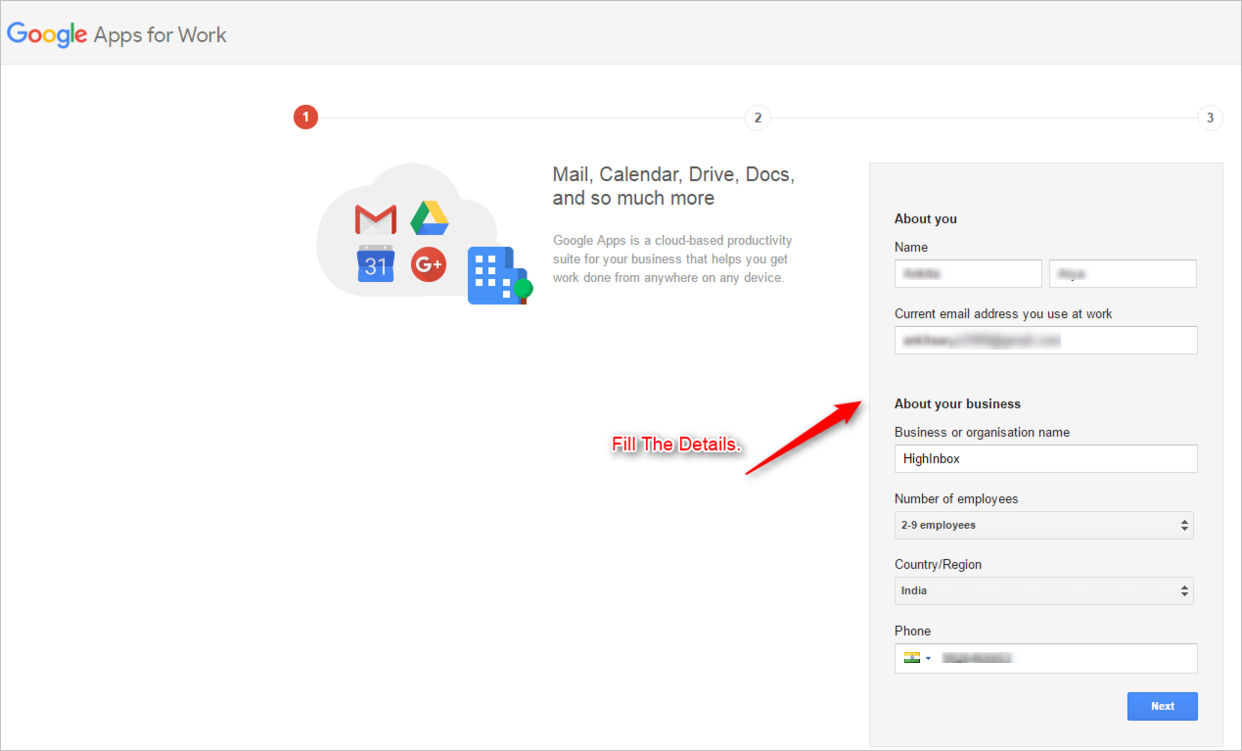
Step #2. Enter the details as required in the form and click Next. This form includes general details regarding your business.
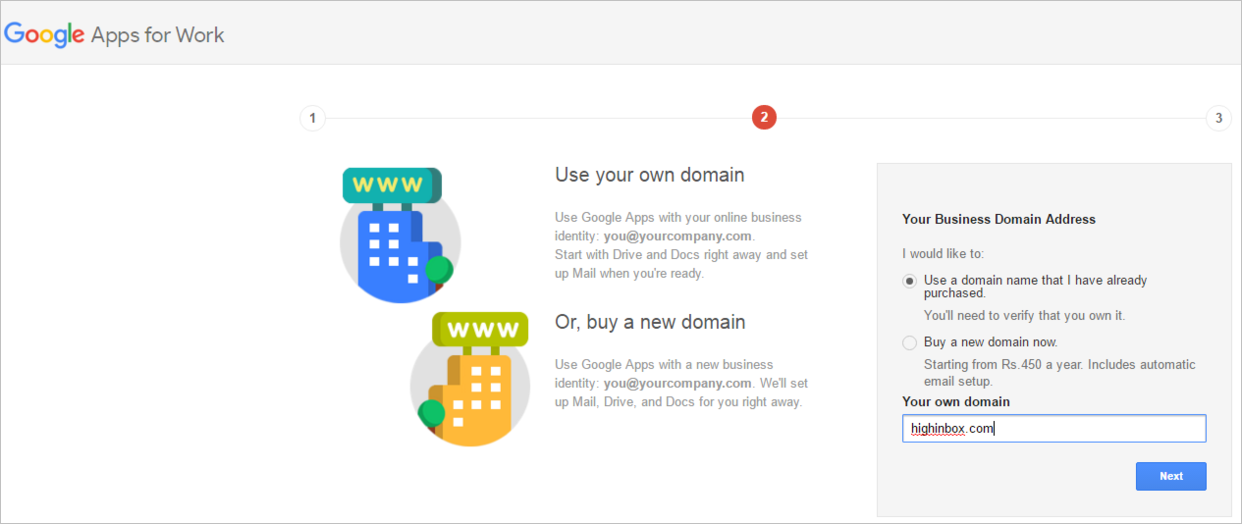
Step #3. Fill in your Business Domain and click Next. This business domain is the domain that you own and want to send the emails using it.
For example: If you want to send email using [email protected] address. Use the domain name yourcompany.com
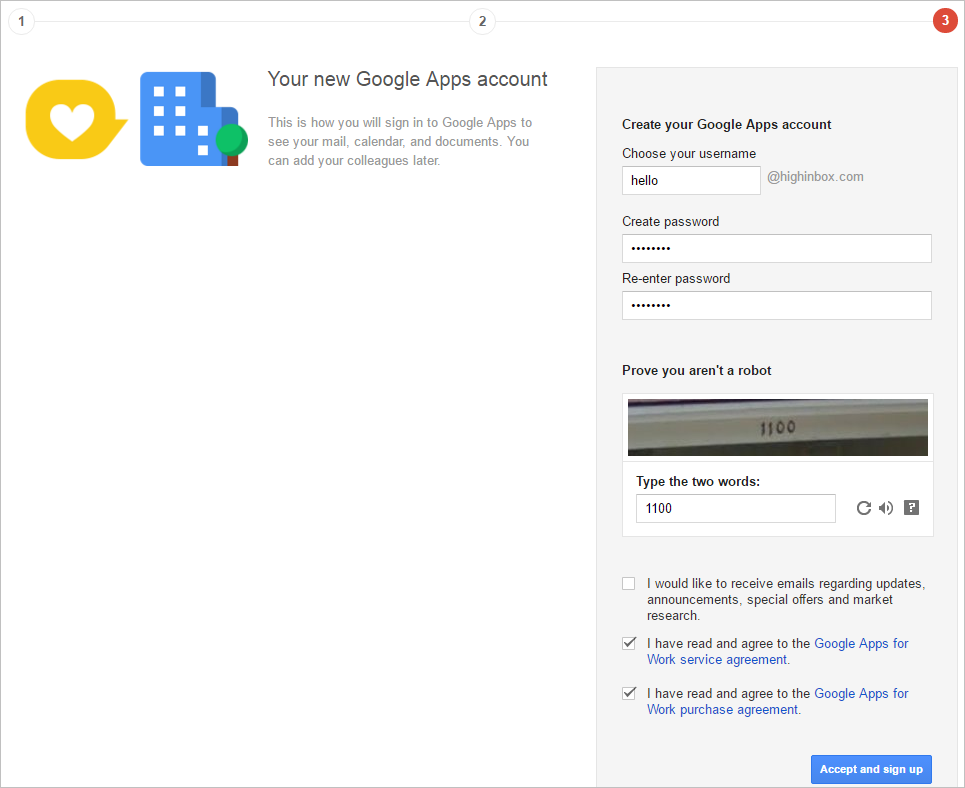
Step #4. Fill out the required details to sign in to Google Apps to see your calendar, mail, and other documents. Once done click on Accept and Sign Up button.
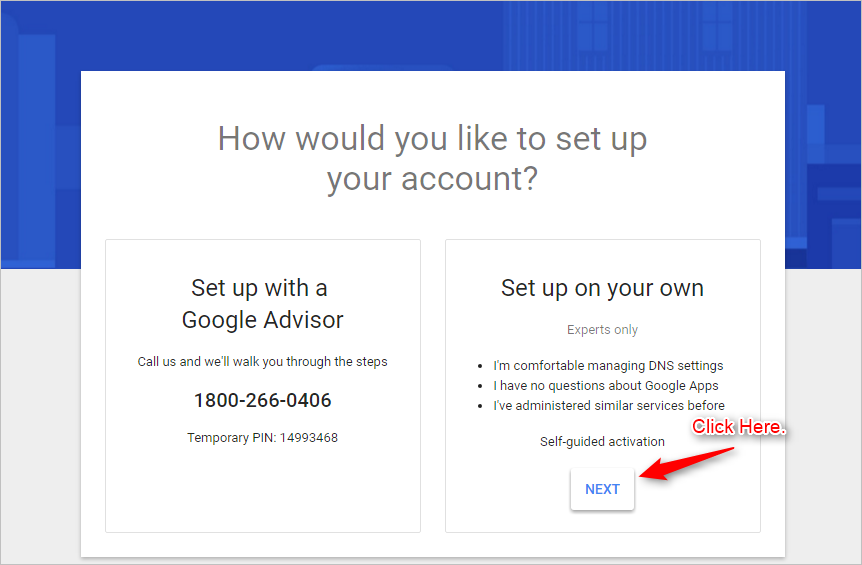
Step #5. Once done you will see a window that displays a message – How would you like to setup your account. ?
Choose the option you prefer to. Here, I’ve selected the second one which states – Setup on your own. Click Next.
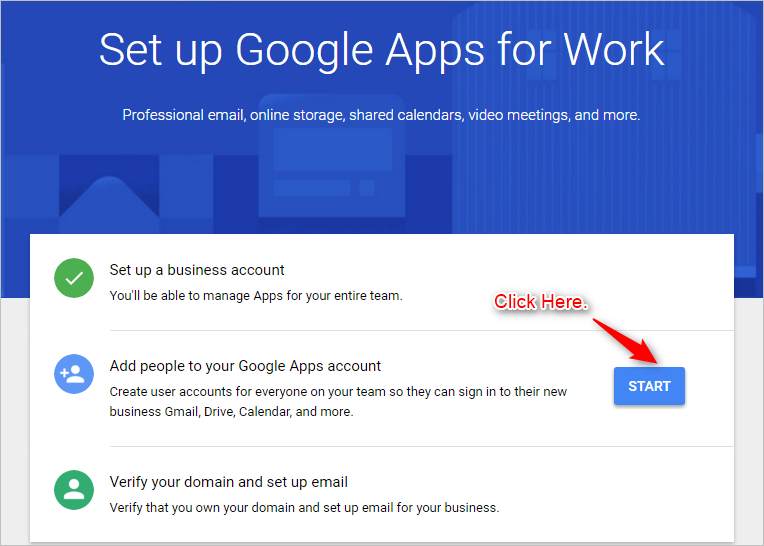
Step #6. Now you will see a window that displays that you have successfully completed the first step i.e. To Setup A Business Account.
Google Apps account allows you to add your team members under one umbrella. This means you can setup email account for everyone in your team as required.
Click on Start button to add your team members to sign in to their Google Apps account.
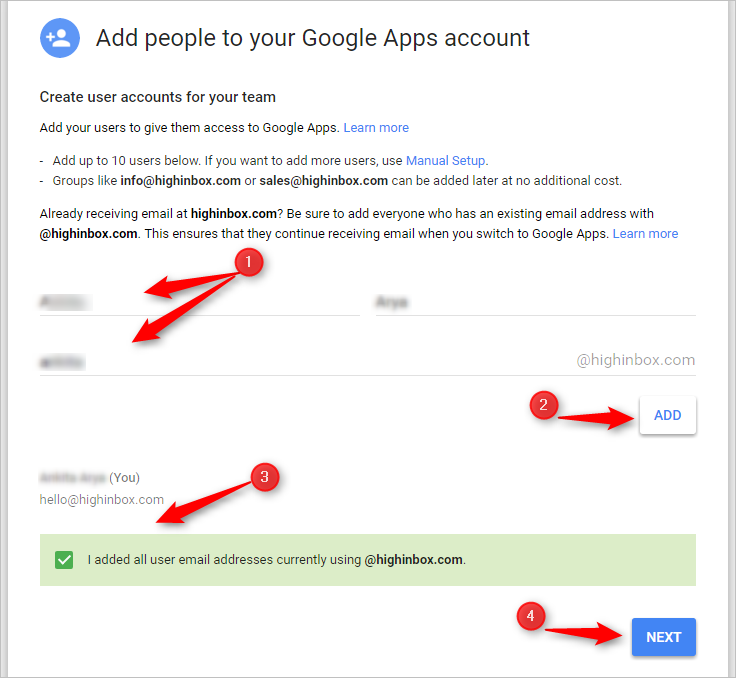
Step #7. Add required fields i.e. your name and your custom domain email address for any of your team members. Once done check the box as shown in the image and click Next.
In this example, I created and added one person to my Google Apps account. You can add as many as you like.
For Example: [email protected]
Step #8. Next step is domain verification.
Click on the Verify button to let Google know that you own the domain.
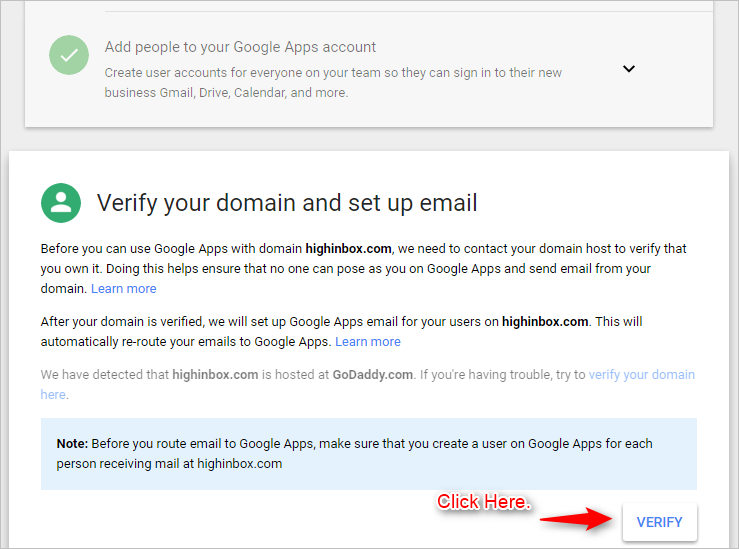
As soon as you click the Verify button, Google checks your DNS and opens up the website of your domain provider.
In our case,
The domain was purchased from Godaddy.com and the login screen for same popped up.
A similar dialog box should pop up for the domain you have purchased for your company. In case, it doesn’t you can manually add a TXT record in your DNS for verifying the ownership of the domain.
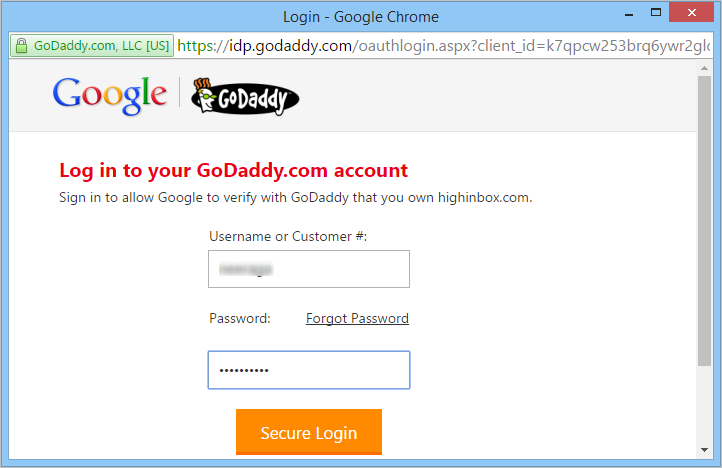
In my case,
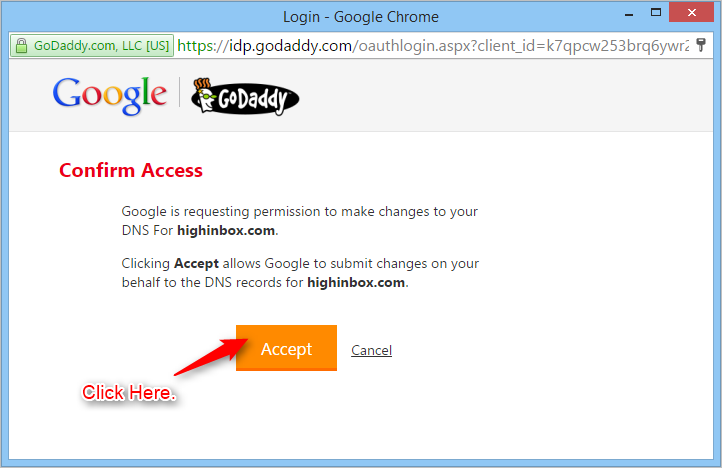
I’ve entered the login credentials for domain wherein you will see a message that asks your confirmation stating that Google is requesting to make changes in your domain DNS. Just click Accept button.
Now,
This process takes time say 3-5 mins. Once completed click on Next.
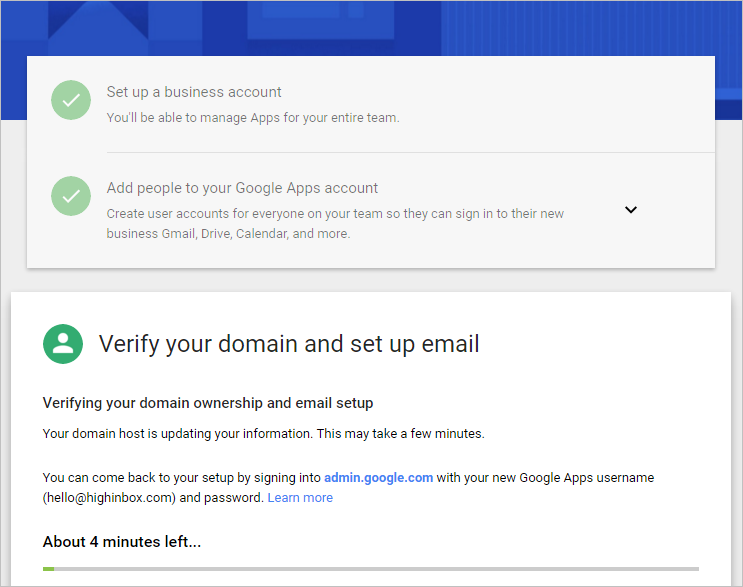
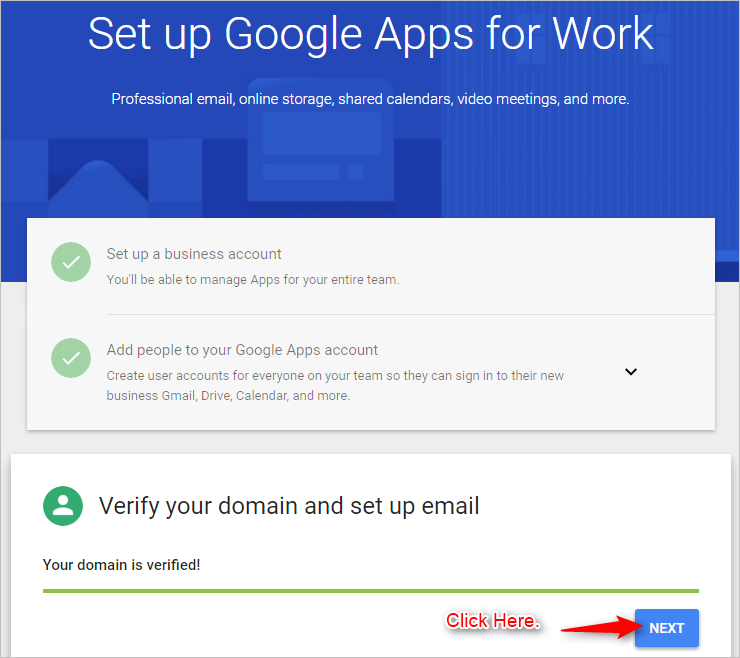
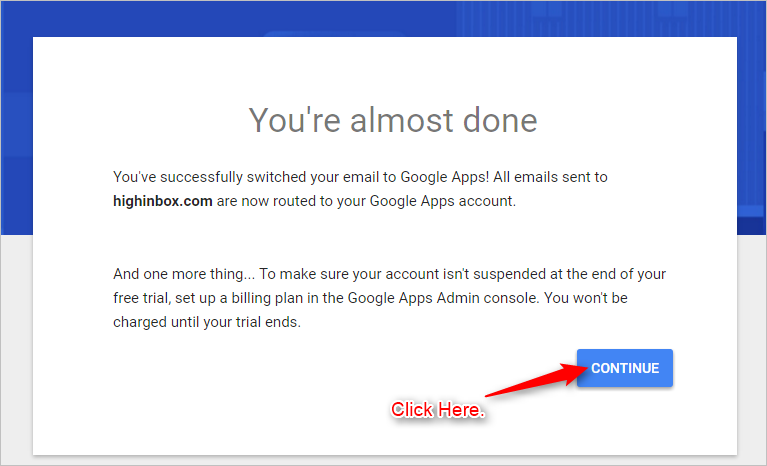
You will see a window that states that you have successfully routed all the emails from your domain to Google Apps. Click Continue.
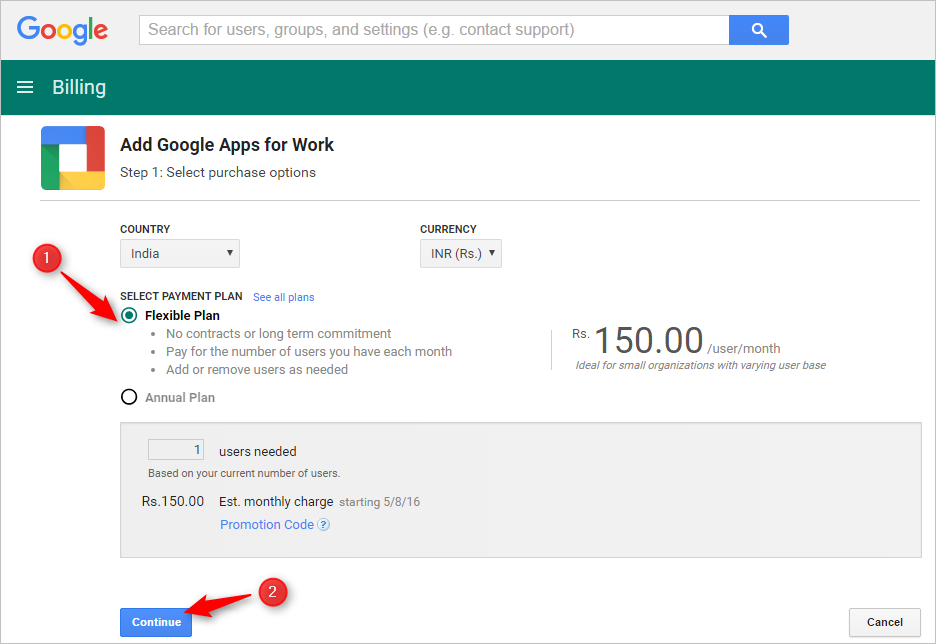
Step #9. Now you will be redirected to Billing section where you will be given two plans to choose from.
Make your choice accordingly and click Continue.
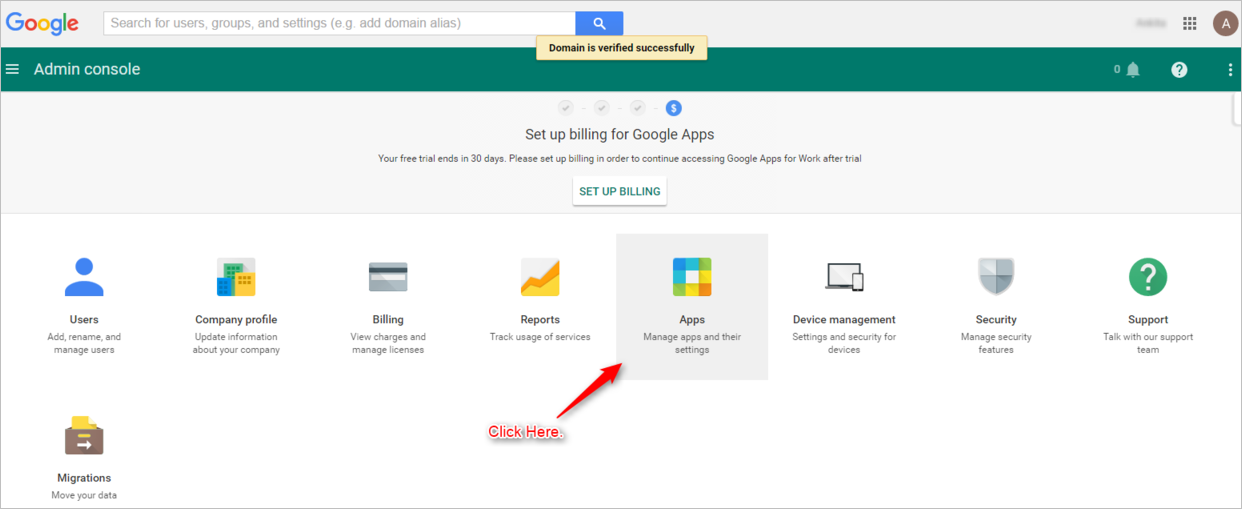
Step #10. All Done. !!
You have now headed towards the Admin Console dashboard of your Google Apps account. Select the Apps tab.
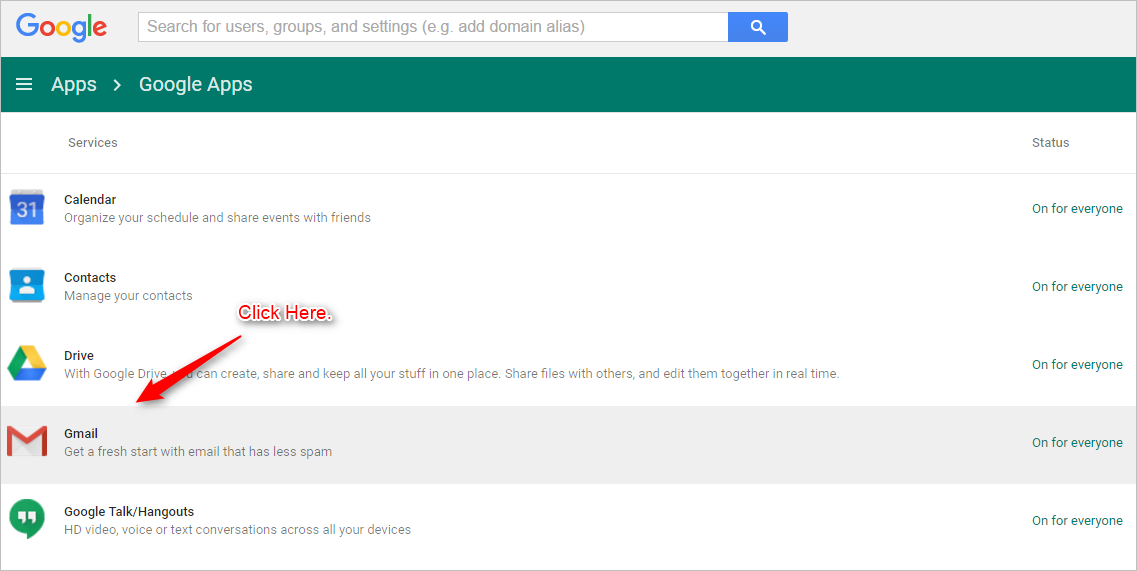
Step #11. Now select Google Apps tab.

Step #12. Click on Gmail section.
Step #13. Now, click on Advanced Settings section.
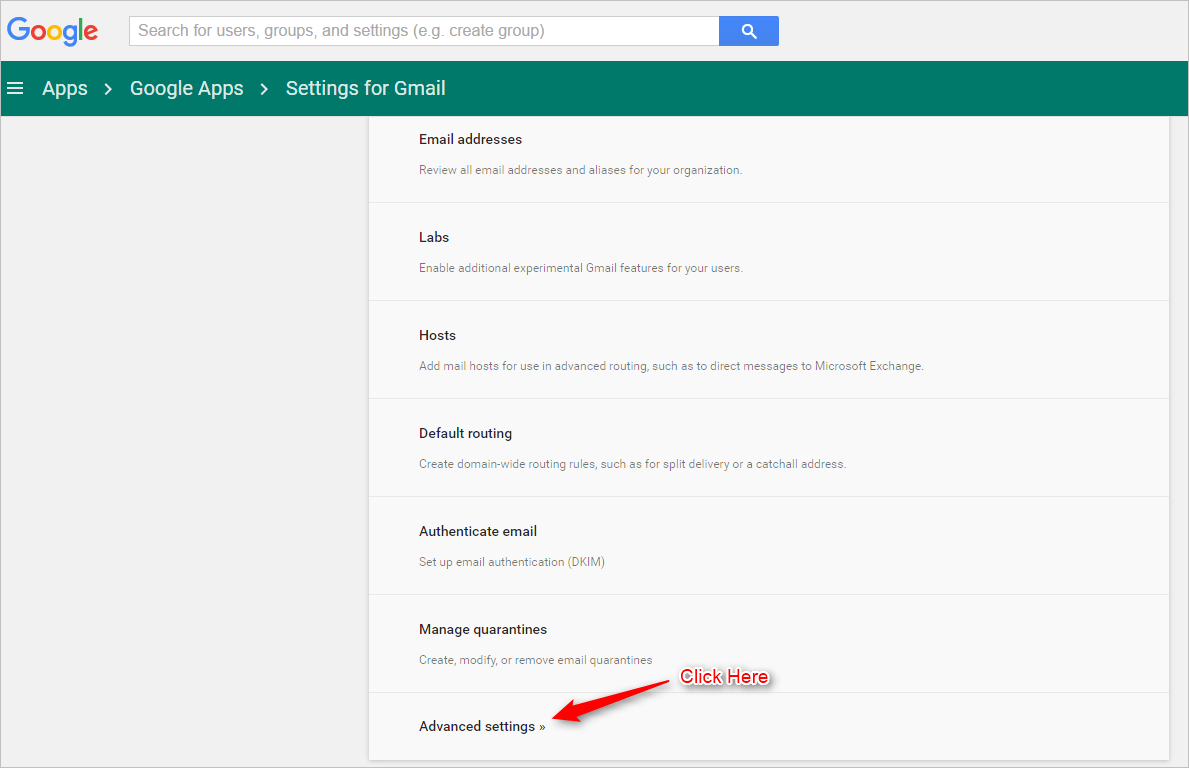
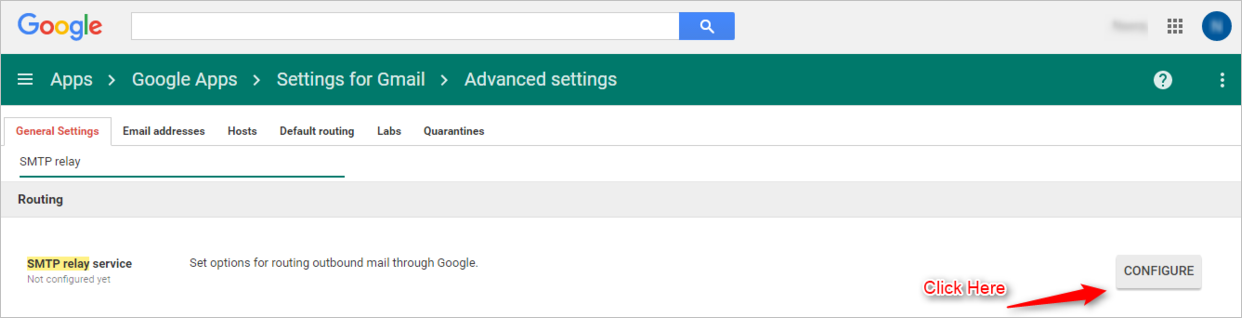
Step #14. Under Advanced Settings section, type in and look for SMTP relay.
You will see SMTP relay service tag getting displayed.
Now, click on Configure button to add the configuration.
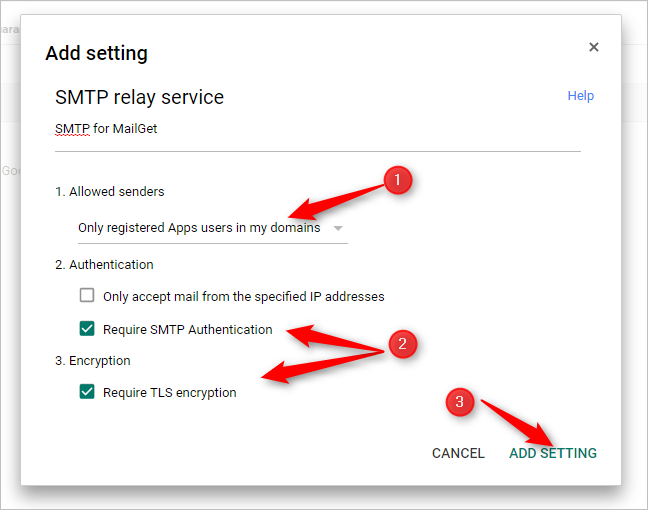
Step #15. Select and fill the required information as given in the image and click on Add settings button.
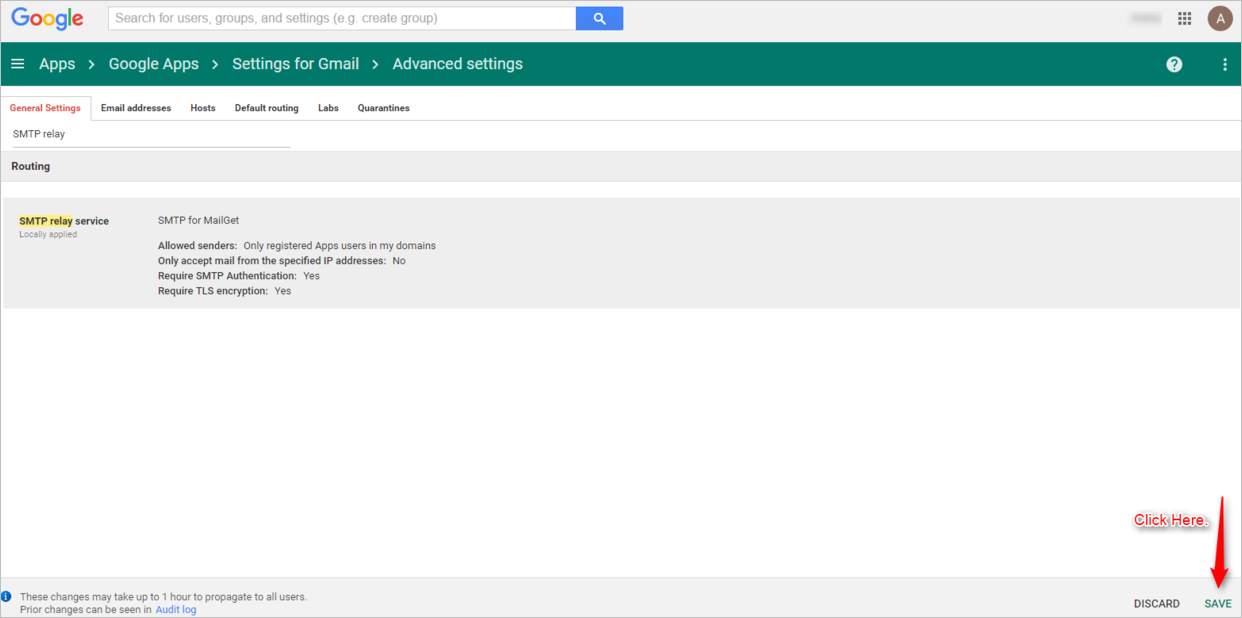
Step #16. Once done click on Save button. Make sure you don’t skip it or else your SMTP would not be verified.
Bang on !! You have successfully setup your Google Apps SMTP.
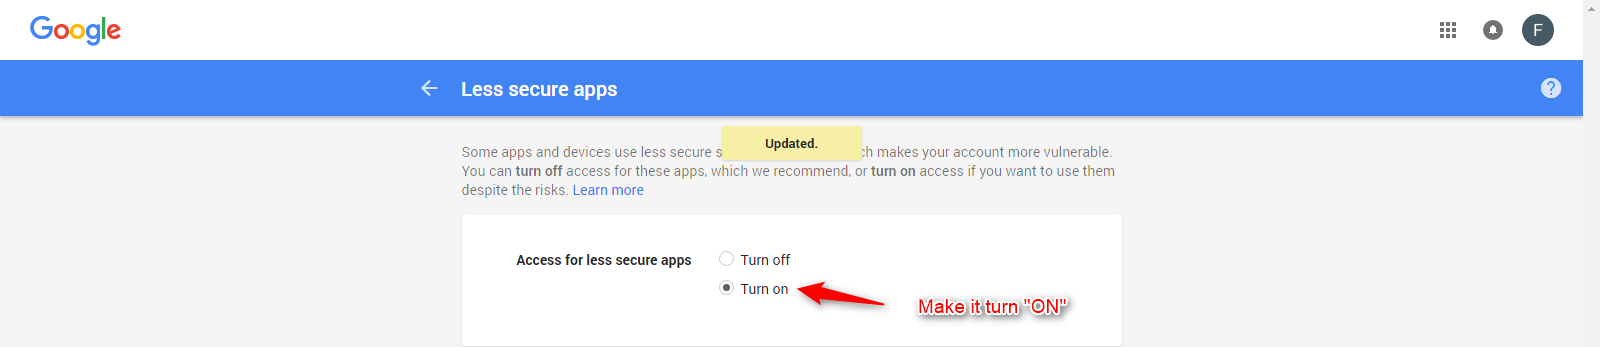
Step #17 Copy the below link in the browser
https://www.google.com/settings/security/lesssecureapps
and just turn ON the google apps access.
Make sure you are logged into your google apps account. See the image below.
Well, it’s time to test SMTP to check it’s verification status and send emails in bulk using Google Apps account.
Let’s start –
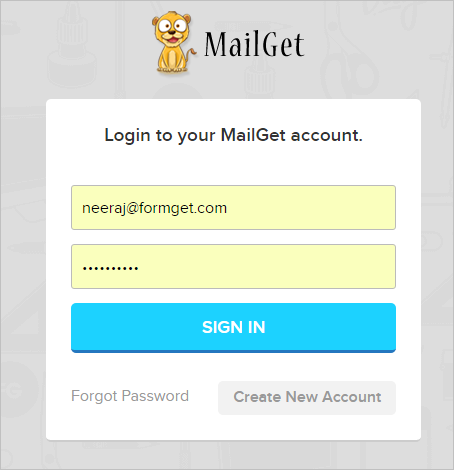
Step #1. Login to your MailGet account here.
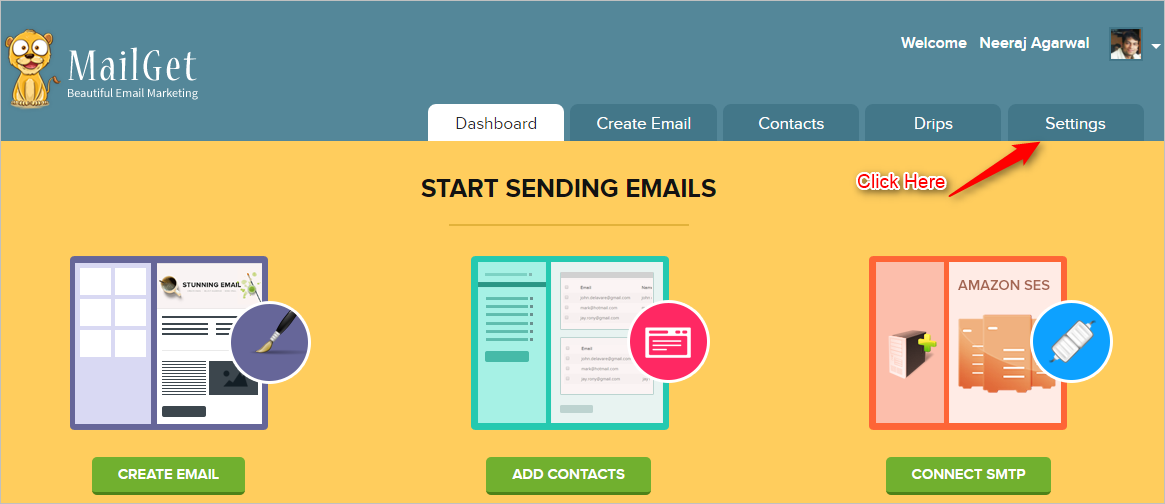
Step #2. Click on Settings tab under your MailGet account.
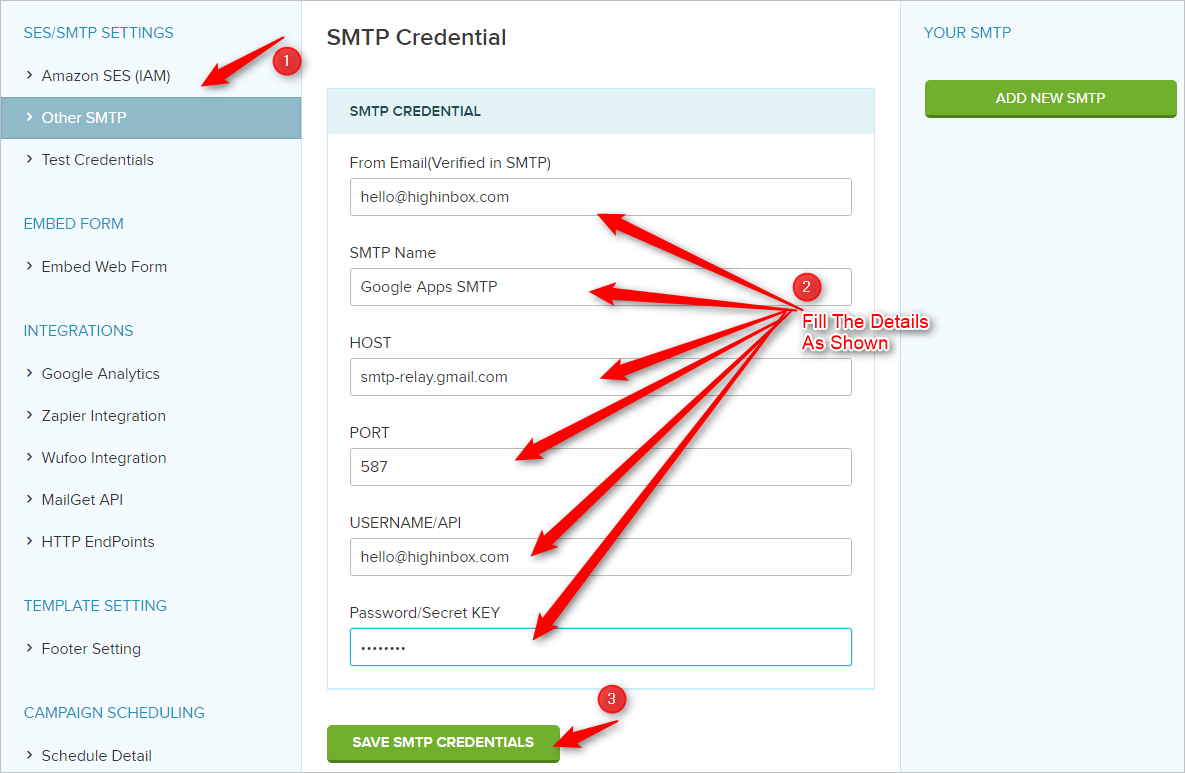
Step #3. Click on Other SMTPs tab and fill in the required details as shown in the image. Once done click on Save SMTP Credentials.
Points To Note –
- From Email and Username will be the same as your Google Apps account email that you have created.
- The password will be your Google Apps account password.
- Google Apps SMTP Host will be smtp-relay.gmail.com.
- Google Apps SMTP Port will be 587.
Step #4. Once the details are filled. You can then click on Test Credentials tab and select SMTP that you just added.
Once done click on Test to begin testing the email sending functionality using Google Apps SMTP.
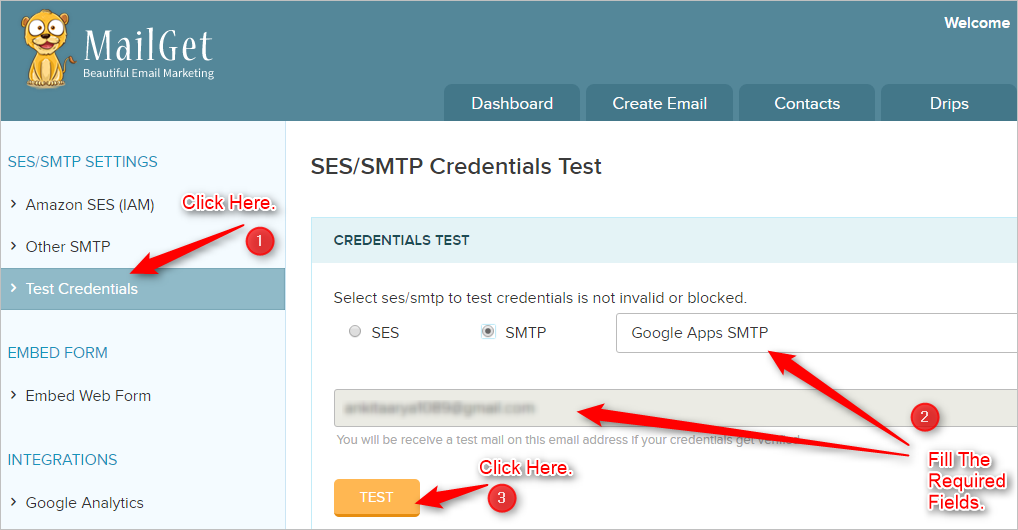
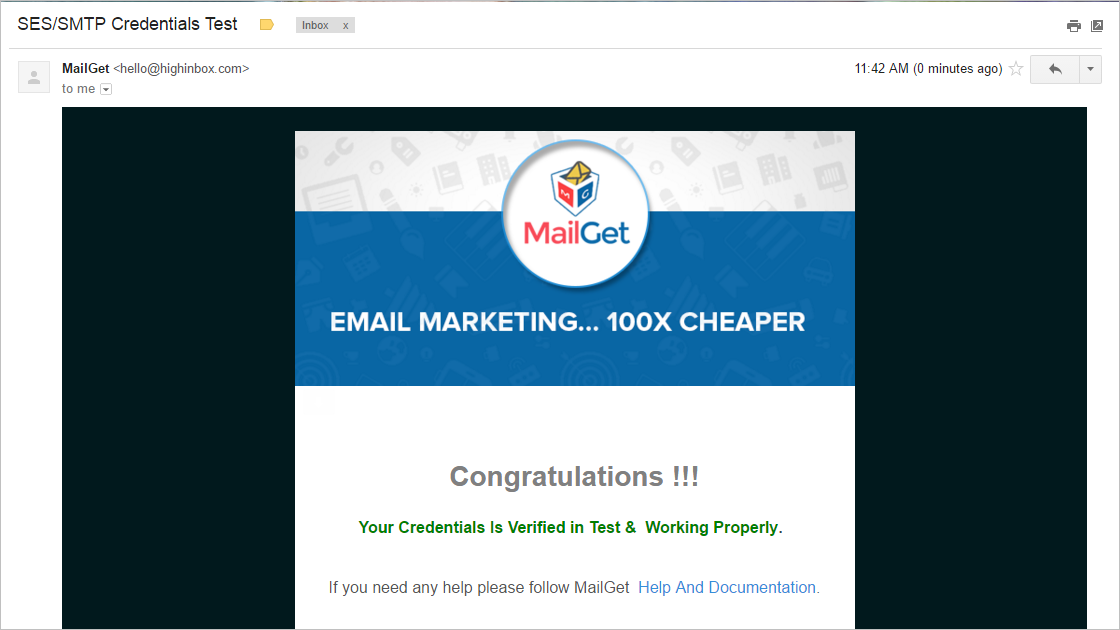
Step #5. If your credentials are verified successfully, you will receive a message as shown in the image in the green tab.

You can also check your Email account for the confirmation mail.
Step #6. You can use MailGet – an email marketing platform for creating interactive email campaigns. Importing your contacts and sending personalized emails in bulk to your audience using the Google Apps SMTP.
Conclusion –
Once done your emails will now route through Gmail, which ensures that the emails will 99% be delivered to your client’s inbox and most probably in the Gmail’s Primary tab too.
Just for your info,
You can also connect MailGet with Yahoo SMTP for delivering your emails.
You can read more about setting MailGet with Yahoo SMTP here.