
While creating a form many times we require an option to enable or disable some information based on user point of view, whether it is through checkbox or radio button.
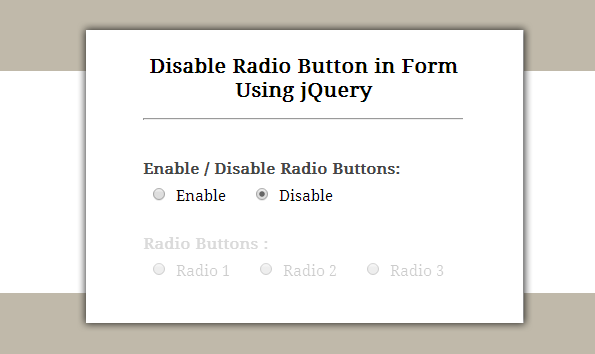
Here, in this example, we have created simple HTML form with some radio buttons and by using jQuery on change() event , we will show, how enable and disable function works . Also, in place of “input[type=radio]” we used “.second” (Class of a group of radio buttons) to enable/disable a group of radio buttons.
To Disable a radio option :
$("input[type=radio]").attr('disabled', true);
To Enable a radio option :
$("input[type=radio]").attr('disabled', false);
Watch our live demo, follow our codes or download it to use.
HTML File: disable_radio.html
Given below our HTML codes to create simple form with radio buttons.
<!DOCTYPE html>
<html>
<head>
<title>Disable Radio Button in Form Using jQuery</title>
<!-- Include CSS File Here -->
<link rel="stylesheet" href="css/style.css"/>
<!-- Include JS File Here -->
<script src="http://ajax.googleapis.com/ajax/libs/jquery/1.11.1/jquery.min.js"></script>
<script type="text/javascript" src="js/disable_radio.js"></script>
</head>
<body>
<div class="container">
<div class="main">
<h2>Disable Radio Button in Form Using jQuery</h2>
<form action="#" method="post" id="form">
<label>Enable / Disable Radio Buttons: </label>
<input type="radio" name="first" value="Enable" id="enable">
<span>Enable</span>
<input type="radio" name="first" value="Disable" id="disable" checked>
<span>Disable</span>
<label>Radio Buttons :</label>
<input type="radio" name="second" class="second" value="Radio 1">
<span class="wrap">Radio 1</span>
<input type="radio" name="second" class="second" value="Radio 2">
<span class="wrap">Radio 2</span>
<input type="radio" name="second" class="second" value="Radio 3">
<span class="wrap">Radio 3</span>
</form>
</div>
</div>
</body>
</html>
jQuery File: disable_radio.js
This file contains jQuery functions to Enable/Disable radio buttons.
$(document).ready(function() {
// By Default Disable radio button
$(".second").attr('disabled', true);
$(".wrap").css('opacity', '.2'); // This line is used to lightly hide label for disable radio buttons.
// Disable radio buttons function on Check Disable radio button.
$("form input:radio").change(function() {
if ($(this).val() == "Disable") {
$(".second").attr('checked', false);
$(".second").attr('disabled', true);
$(".wrap").css('opacity', '.2');
}
// Else Enable radio buttons.
else {
$(".second").attr('disabled', false);
$(".wrap").css('opacity', '1');
}
});
});
CSS file: style.css
Styling HTML elements.
/* Below line is used for online Google font */
@import url(http://fonts.googleapis.com/css?family=Droid+Serif);
h2{
text-align: center;
}
hr{
margin-bottom: 25px;
}
div.container{
width: 643px;
margin:50px auto;
font-family: 'Droid Serif', serif;
position:relative;
}
div.main{
width: 320px;
padding: 10px 60px 15px;
box-shadow: 0 0 10px;
border-radius: 2px;
font-size: 13px;
margin: 0 auto 50px;
}
span{
margin-right: 17px;
font-size: 15px;
}
input[type=radio]{
margin:10px 10px 0 10px;
}
label{
color: #464646;
font-size: 15px;
font-weight: bold;
}
Conclusion:
We explained about enabling and disabling feature with radio button using jQuery. Hope you like it, Keep reading our other blogs.
One Reply to “Enable/Disable Radio Button Using jQuery”
Thank you, this works just perfect