
Use MailGet – email service provider for Sending Emails, just connect and send emails with Postmark API or SMTP services.
Postmark API/SMTP integration in your web application can help you to send and track your emails. It replaces SMTP (or Sendmail) with a far more reliable, elastic and care-free environment. In fact, we can get details about our emails in such a manner, that they were tracked or processed, bounces , opens and spam complaints.
Before going further always keep in mind that:
1. Send emails to only those persons who have provided you explicit permission to contact them.
2. If you are planning to send bulk emails, then postmark service is not made for that purpose.
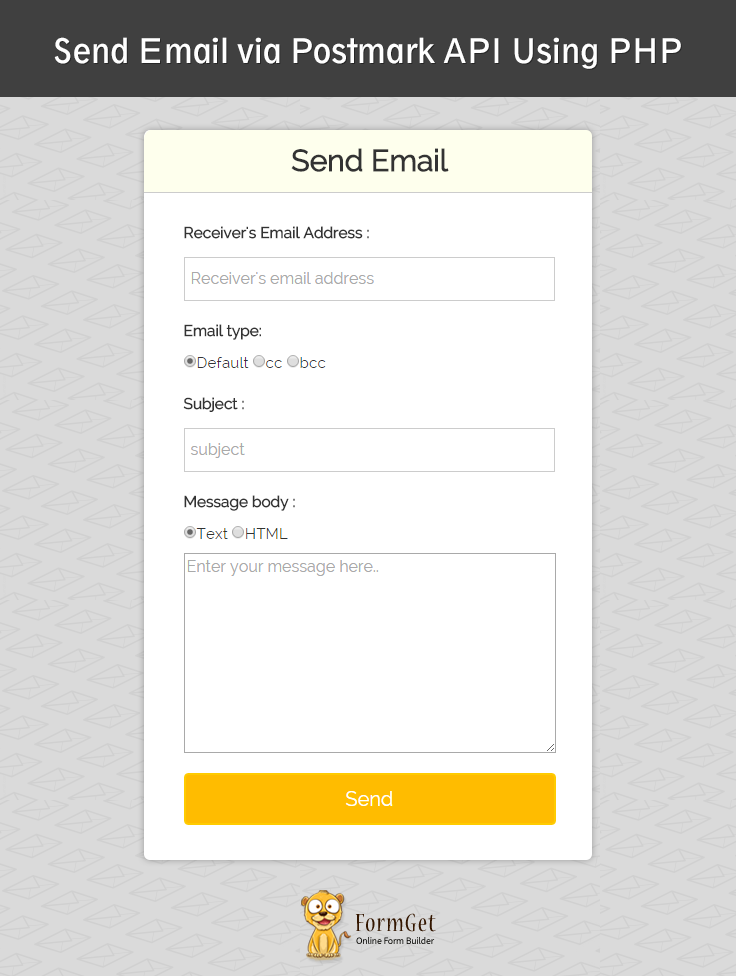
Watch the live demo or download code from the link given below
Steps to configure Postmark API in an application: –
We need Server API token and Sender Signature for sending email through Postmark api . Follow the bellow steps to get them :
- Sign up in postmarkapp.com
- Login and create server by any name , for example “demo”.
- Now , a screen will appear with options statics , activity , templates , settings permissions, credentials . everytime you see this screen , whenever you click on your server name . click on credentials . and copy your Server API token .
- Now , click on sender signature and fill full name, and in from email give email address of your own domain . for example [email protected] . now go to your domain a confirmation link is sent from postmarkapp.com . when you confirm your domain email id . Then you can use it in your program as Sender Signature.
now, we have Server API token and Sender Signature . lets make a program for sending mail through Postmark API
To install api in your project : open command promt and through cd command go to the project location upto index.php and enter the below command .
composer require wildbit/postmark-php After applying the above command . vendor named folder gets include in your project
Now , at the very top of your code , you need to include PostmarkClient.php and PostmarkException.php in the following manner :
 require_once('./vendor/autoload.php');

use PostmarkPostmarkClient;

use PostmarkModelsPostmarkException;
Now,create PostmarkClient by using server API token and then use this client to call sendEmail() function by passing Sender Signature , receivers email address , subject of mail , and full message.
  $client = new PostmarkClient("Insert Server API token");
$sendResult = $client->sendEmail("Insert Sender Signatures", "$receiversaddress", "$subject", "$msg");
Tutorial Scripts in detail
Below are the details of the code used in this tutorial with proper explanation.
index.php
Below file is the main program file in which , we are connecting our API in the program and accessing its features like – creating object of postmark Client and sending mail with the help of sendEmail() method.
<?php
require_once('./vendor/autoload.php');

use PostmarkPostmarkClient;
use PostmarkModelsPostmarkException;
?>
<html>
<head>
<title>
Send Email via Postmark API Using PHP
</title>
<meta name="viewport" content="width=device-width, initial-scale=1.0">
<script src="js/jquery-1.11.3.min.js" type="text/javascript"></script>
<script src="js/bootstrap.js" type="text/javascript"></script>
<link href="css/bootstrap.css" rel="stylesheet" type="text/css"/>
<link href="css/style.css" rel="stylesheet" type="text/css"/>

</head>
<body>
<div class="container">
<div class="row">

</div>
<div class="row">
<div class="col-md-12">
<div id="main">
<h1>Send Email via Postmark API Using PHP</h1>
</div>
</div>
<div class="col-md-12">
<div class="matter">
<div id="login">
<h2>Send Email</h2>
<hr/>
<form action="index.php" method="post">
<label class="lab">Receiver's Email Address :</label>
<input type="email" name="to" id="to" placeholder="Receiver's email address" /><br /><br />
<label class="lab">Email type:</label><div class="clr"></div>
<div class="lab">
<input type="radio" value="def" name="etype" checked>Default
<input type="radio" value="cc" name="etype" >cc
<input type="radio" value="bcc" name="etype" >bcc </div>
<div class="clr"></div><br>
<label class="lab">Subject :</label>
<input type="text" name="subject" id="subject" placeholder="subject" required /><br /><br />
<label class="lab">Message body :</label><div class="clr"></div>
<div class="lab">
<input type="radio" value="text" name="msgtype" checked>Text
<input type="radio" value="html" name="msgtype" >HTML</div>
<textarea type="text" name="msg" id="msg" placeholder="Enter your message here.." required ></textarea><br><br>
<input type="submit" value=" Send " name="submit"/><br />
<span></span>
</form>
</div>
<p id="note"> <b>Note : </b> In demo, we have disabled the functionality of sending Emails.</p>
</div>
</div>
</div>
<!-- Right side div -->

</div>
</body>
</html>

<?php
if (isset($_POST['submit'])) {
$to = $_POST['to'];
$subject = $_POST['subject'];
$msg = $_POST['msg'];
$msgtype=$_POST['msgtype'];
if($msgtype=='text'){
echo $msg;
}else{
$msg=htmlentities($msg);
echo $msg;
}

try {
$client = new PostmarkClient("Insert Server API token");
$sendResult = $client->sendEmail("Insert Sender Signatures", "$to", "$subject", "$msg");
echo "<script>alert('Email Sent Successfully.. !!');</script>";
} catch (PostmarkException $ex) {
// If client is able to communicate with the API in a timely fashion,
// but the message data is invalid, or there's a server error,
// a PostmarkException can be thrown.
//echo $ex->httpStatusCode;
// echo $ex->message;
// echo $ex->postmarkApiErrorCode;
echo "<script>alert('Illegal email address');</script>";
} catch (Exception $generalException) {
// echo "welcome";
echo "<script>alert('ERROR ');</script>";
}

}
?>
Style.css
Includes basic styling of HTML elements.
@import url(http://fonts.googleapis.com/css?family=Raleway);

#main{

margin:50px auto;
font-family:raleway;
}

span{
color:red;
}

h2{
font-weight: 600;
background-color: #FEFFED;
text-align:center;
border-radius: 10px 10px 0 0;
margin: -10px -40px;
padding: 15px;
}

hr{
border:0;
border-bottom:1px solid #ccc;
margin: 10px -40px;
margin-bottom: 30px;
}

#login{
width:40%;;
margin:0 auto;
display:inline-block;

border-radius: 10px;
font-family:raleway;
border: 2px solid #ccc;
padding: 10px 40px 25px;
//margin-top: 70px;
}
textarea{
margin-top: 8px;
font-size: 16px;
font-family:raleway;

}
input[type=radio]{
margin-top: 8px;
}
input[type=text],[type=email],input[type=password]{
width:99.5%;
padding: 10px;
margin-top: 8px;
border: 1px solid #ccc;
padding-left: 5px;
font-size: 16px;
font-family:raleway;
}

input[type=submit]{
width: 100%;
background-color:#FFBC00;
color: white;
border: 2px solid #FFCB00;
padding: 10px;
font-size:20px;
cursor:pointer;
border-radius: 5px;
margin-bottom: 15px;
}
#profile{
padding:50px;
border:1px dashed grey;
font-size:20px;
background-color:#DCE6F7;
}

#logout{
float:right;
padding:5px;
border:dashed 1px gray;
}

a{
text-decoration:none;
color: cornflowerblue;
}

i{
color: cornflowerblue;
}#note {
clear: left;
padding-top: 20px;
margin-left: 20px;
font-size: 18px;
}
#formget{
float:right;
}
h1{
font-weight: 600;
text-align: center;
display:inlne;
alignment-adjust: center;
margin:0 auto;
width:100%;
}
textarea[type=text]{
width:100%;
height:200px;

}

.matter{
alignment-adjust: central;
margin:0 auto;
text-align: center;

}
.clr{
clear:left;
}
.lab{

font-size: 110%;
float:left;
}
Conclusion :
That’s all about how we can configure Postmark API to send mail through your own web app , I am sure you will try this script and implement it in some projects as well . Feel free to come anytime to this amazing website for new coding tricks . you can give your feedback in the below section .