
CodeIgniter is a simple web application development framework for PHP. By its modular approach we can use its inbuilt libraries and helpers in our application.
We can separate logic from presentation by using a Model-View-Controller (MVC) pattern.
In this tutorial we are going to explain you, how to install and configure the CodeIgniter framework. Below mentioned are the step by step process and installation instructions that you can follow to get CodeIgniter installed on your local computer.
Step 1 : Downloading CodeIgniter Framework
Go to http://www.codeigniter.com and download current version of CodeIgniter framework. In this tutorial we are using CodeIgniter 2.2.
Step 2 : Installing and Exploring CodeIgniter
After downloading CodeIgniter you will receive files in a zip format. So, first you need to unzip it, and rename the “CodeIgniter-2.2-stable” folder to your application name.
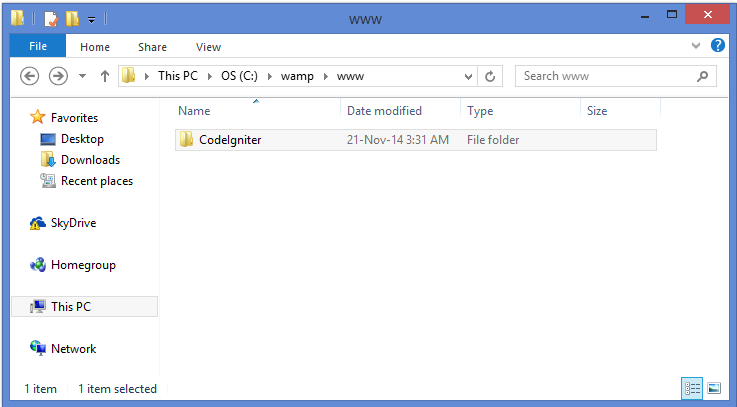
In this tutorial we are renaming “CodeIgniter-2.2-stable” folder to CodeIgniter.
Now copy it to your PHP and MySQL enabled server. In this tutorial we are using WAMP(Windows, Apache, Mysql, PHP). So copy it on C:wampwww
Step 3 : Configuring CodeIgniter
For running CodeIgniter application you need to setup the right base URL of the app. To do this, open up C:/wamp/www/CodeIgniter/application/config/config.php and edit the base_url array item to point to your server and CodeIgniter folder.
Syntax:
//you can find this at line number 17
$config['base_url'] = "http://localhost/CodeIgniter/";
Step 4 : Testing CodeIgniter
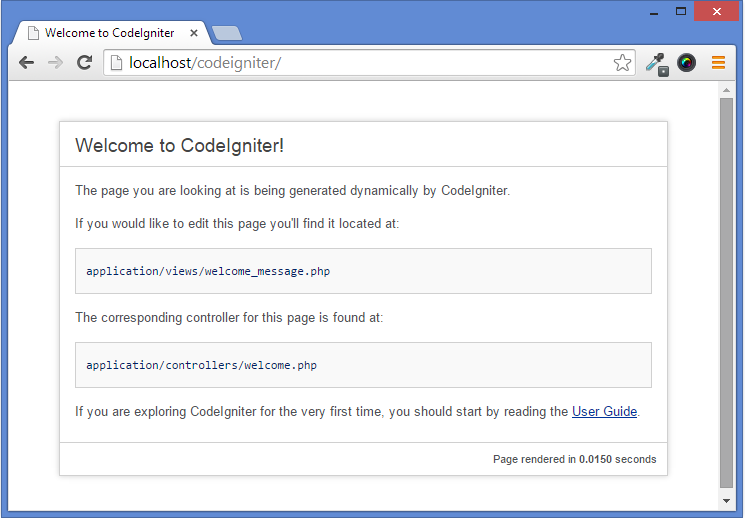
Here we do quick test to see CodeIgniter application running properly or not. Go to
http://localhost/codeigniter/and you should see the following. Means its working proper
Step 5 : Database configuration :
To connect with database CodeIgniter provides a configuration file in config folder with name database.php. Below is the mentioned path:-
C:/wamp/www/CodeIgniter/application/config/database.phpTo setup connectivity with your database you need to do the changes as mentioned in below code:
$db['default']['hostname'] = "localhost";
$db['default']['username'] = "root"; // Your username if required.
$db['default']['password'] = ""; // Your password if any.
$db['default']['database'] = "database_name"; // Your database name.
$db['default']['dbdriver'] = "mysql";
$db['default']['dbprefix'] = "";
$db['default']['pconnect'] = TRUE;
$db['default']['db_debug'] = FALSE;
$db['default']['cache_on'] = FALSE;
$db['default']['cachedir'] = "";
$db['default']['char_set'] = "utf8";
$db['default']['dbcollat'] = "utf8_general_ci";
$db['default']['swap_pre'] = "";
$db['default']['autoinit'] = TRUE;
$db['default']['stricton'] = FALSE;
Also you can even set CodeIgniter’s form helper that will help you to generate HTML tags automatically.
After performing these setting you are ready to perform database activities like insert, update, delete.
If you want to test the connectivity then you can create a database and can perform CRUD activity.
Conclusion:
Thanks for reading the complete post. Hope you have got the concept. You can share your views in the space provided below and get in touch with us.
One Reply to “CodeIgniter Installation and Configuration”
thanks