
SendGrid is a transactional email delivery and management service. It provides a cloud-based email delivery service and handle all the heavy lifting involved in sending messages and getting them delivered.
We are going to use SendGrid API for sending emails. SendGrid-PHP library helps you in a quick SMTP setting to send emails through SendGrid using PHP. SendGrid-PHP by SendGrid is the official PHP wrapper to send emails through the SendGrid API.
Watch the live demo or download code from the link given below
Use MailGet – email service provider for Sending Emails, just connect and send with SenGrid API or SMTP services.
Steps To Configure SendGrid API In An Application:-
1. Download Sendgrid-PHP Zip file.
2. Extract it.
3. Add SendGrid to your composer.json file. Composer is an excellent way to manage dependencies in your PHP application.
{
"require": {
"sendgrid/sendgrid": "~3.2"
}
}
4. Then at the top of your PHP script require the autoloader:
require 'vendor/autoload.php';
Alternative: Install from zip:-
1. If you are not using Composer, simply download and install the latest packaged release of the library as a zip.
2. Then require the library from package:
require("path/to/sendgrid-php/sendgrid-php.php");
Usage:-
1. To begin using this library, initialize the SendGrid object with your SendGrid credentials OR a SendGrid API Key.
API Key is the preferred method. API Keys are in beta. To configure API keys, visit https://sendgrid.com/beta/settings/api_key.
$sendgrid = new SendGrid('username', 'password');

// OR

$sendgrid = new SendGrid('sendgrid api key');
(In my example I’ve used SendGrid User Id and Password.)
2. Create a new SendGrid Email object and add your message details.
$email = new SendGrid\Email();
$email
->addTo('recepient_mail_id')
->addTo('recepient_mail_id')
->setFrom('sender_mail_id')
->setSubject('Subject goes here')
->setText('Hello World!');
3. Send it.
$sendgrid->send($email);
4. Index.php
The Complete code combining all the parameters is written in index.php file.
<?php
// require the autoloader
require 'vendor/autoload.php';
if (isset($_POST['dsubmit'])) {
$senderid = $_POST["dsender"];
$receiverid = $_POST["dreceiver"];
$subject = $_POST["dsubject"];
$message = $_POST["dmessage"];
//Set SendGrid Credentials
$sg_username = "Enter Your SendGrid User Name";
$sg_password = "Enter Your SendGrid Password";
// Initialize the SendGrid object with your SendGrid credentials
$sendgrid = new SendGrid($sg_username, $sg_password);
//Create a new SendGrid Email object
$mail = new SendGrid\Email();
// You Can Use Multiple Recipients Here. For This Tutorial We Have Used One.
$emails = array(
$receiverid
);
foreach ($emails as $recipient) {
$mail->addTo($recipient);
}
//Optional Fields.
$categories = array(
"SendGrid Category"
);
foreach ($categories as $category) {
$mail->addCategory($category);
}
$unique_args = array(
"Name" => "Enter Name Of Your Wish"
);
foreach ($unique_args as $key => $value) {
$mail->addUniqueArgument($key, $value);
}
try {
// Add your message details using SendGrid Email object. Here The Values Are Taken By HTML Form Filled By The User.
$mail->
setFrom($senderid)->
setSubject($subject)->
setText($message);
//Send Mail.
if ($sendgrid->send($mail)) {
echo "<script type='text/javascript'>alert('Sent mail successfully.')</script>";
}
} catch (Exception $e) {
echo "Unable to send mail: ", $e->getMessage();
}
}
?>
<html>
<head>
<meta charset="UTF-8">
<meta name="viewport" content="width=device-width, initial-scale=1.0">
<link href="css/bootstrap.css" rel="stylesheet" type="text/css"/>
<link href="style.css" rel="stylesheet" type="text/css">
<script type="text/javascript">
function validate()
{
if (document.myForm.dreceiver.value == "")
{
alert("Please enter your Email!");
document.myForm.dreceiver.focus();
return false;
}
else
{
/*validating email with strong regular expression(regex)*/
var str1 = document.myForm.dreceiver.value;
var filter = /^([\w-]+(?:\.[\w-]+)*)@((?:[\w-]+\.)*\w[\w-]{0,66})\.([com net org]{3}(?:\.[a-z]{6})?)$/i
if (!filter.test(str1))
{
alert("Please enter a valid email address!")
document.myForm.dreceiver.focus();
return false;
}
if (document.myForm.dsubject.value == "")
{
alert("Please enter a subject!");
document.myForm.dsubject.focus();
return false;
}
if (document.myForm.dmessage.value == "")
{
alert("Please enter message!");
document.myForm.dmessage.focus();
return false;
}
if (document.myForm.dsender.value == "")
{
alert("Please enter your Email!");
document.myForm.dsender.focus();
return false;
}
return(true);
}
}
</script>
</head>
<body>
<div class="container">
<div class="row">
</div>
<div class="row">
<div class="col-md-12">
<div id="main">
<h1><b>-Send Email Via SendGrid API Using PHP</b></h1>
</div>
</div>
<div class="col-md-12">
<div id="content">
<div id="login">
<h2>Message Box</h2><hr/>
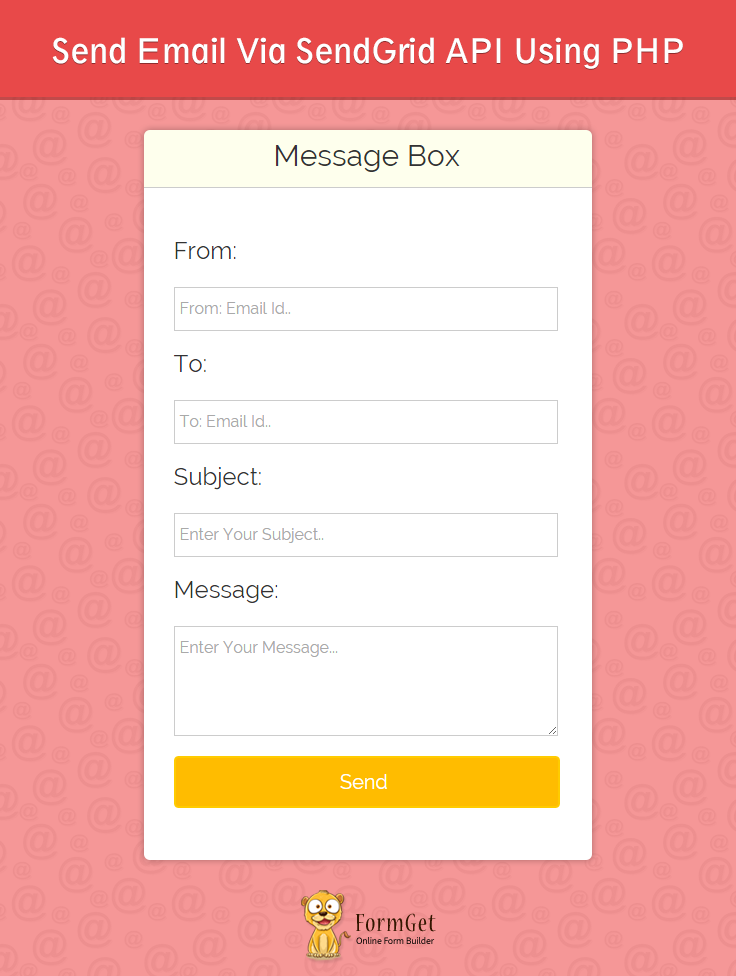
<form name="myForm" action="" method="post" onsubmit="return validate();" >
<label><h3>From:</h3></label><br/>
<input type="email" placeholder="From: Email Id.." name="dsender" id="dsender" width="180"><br />
<label><h3>To:</h3></label>
<input type="email" placeholder="To: Email Id.." name="dreceiver" id="dreceiver" ><br/>
<label><h3>Subject:</h3></label>
<input type="text" placeholder="Enter Your Subject.." name="dsubject" id="dsubject" ><br/>
<label><h3>Message:</h3></label>
<textarea rows="4" cols="50" placeholder="Enter Your Message..." name="dmessage" id="textarea"></textarea><br/><br/>
<input type="submit" value="Send " name="dsubmit"/><br />
<span></span>
</form>
</div>
<p id="note"> <b>Note : </b> In demo, we have disabled the functionality of sending Emails.</p>
</div>
</div>
</div>
</div>
</body>
</html>5. CSS File: style.css
Styling HTML elements.
@import url(http://fonts.googleapis.com/css?family=Raleway);

.error{
color: #FF0000;
}

body{
//background-color:#D8C092;
//margin:100px,50px;
//padding:100px,50px;
}

#main{margin:50px auto;
font-family:raleway;
}

span{
color:red;
}

#main h1{
text-align:center;
align:center;
word-spacing:5px;
}

h2{
background-color: #FEFFED;
text-align:center;
border-radius: 10px 10px 0 0;
margin: -10px -40px;
padding: 15px;
}

hr{
border:0;
border-bottom:1px solid #ccc;
margin: 10px -40px;
margin-bottom: 30px;
}

#login{
width:50%;
margin:0 auto;
//display:inline-block;
border-radius: 10px;
font-family:raleway;
border: 2px solid #ccc;
padding: 10px 40px 25px;
}

input[type=text],input[type=password],input[type=email]{
width:99.5%;
padding: 10px;
margin-top: 8px;
border: 1px solid #ccc;
padding-left: 5px;
font-size: 16px;
font-family:raleway;
}

#textarea{
width:99.5%;
padding: 10px;
margin-top: 8px;
border: 1px solid #ccc;
padding-left: 5px;
font-size: 16px;
font-family:raleway;
}

input[type=submit]{
width: 100%;
background-color:#FFBC00;
color: white;
border: 2px solid #FFCB00;
padding: 10px;
font-size:20px;
cursor:pointer;
border-radius: 5px;
margin-bottom: 15px;
}

#profile{
padding:50px;
border:1px dashed grey;
font-size:20px;
background-color:#DCE6F7;
}

#logout{
float:right;
padding:5px;
border:dashed 1px gray;
}

a{
text-decoration:none;
color: cornflowerblue;
}

i{
color: cornflowerblue;
}

#note{
clear: left;
padding-top: 20px;
margin-left: 20px;
font-size: 18px;
text-align: center;
}

#sidebar{
float:left;
}

#content{
alignment-adjust: central;
margin:0 auto;
text-align: left;
}
Conclusion :
Thus SendGrid is used for the purpose of avoiding relegation to the spam folder and rejection by mail servers. Hope you like it, keep reading our other blogs and share your experience in the space given below 🙂
For more related information go through following blogs –
- Embed Video In Email
- Get Mandrill API-Connected User’s Statistics
One Reply to “Send Email Via SendGrid API Using PHP”
I tried to install it without composer and I get the following error:
PHP Fatal error: Class ‘Guzzle\Http\Client’ not found in /private/var/www/job/lib/sendgrid-php/lib/SendGrid.php on line 85