
Usually, when someone strikes a submit button after filling out any sort of form, they will see a confirmation “Thank You” page that appears right after it. This lets them know whether they have successfully submitted your form or subscribed to your marketing.
But, if you want to create your own custom Thank You pages or want to remove the Google Forms thank you page due to some reasons. So let me tell you, it does not provide any options.
Terrific but true!
Google Forms does not allow you to remove the confirmation page, that appears when the user clicks the submit button. Now what??
Don’t brood!
If Google Forms doesn’t provide such options then, you can try some other alternatives to it like Pabbly Form Builder. It comes with lots of options & settings, using which you can easily remove, redirect, and customize the confirmation page of any form.
Then, what are you waiting for? Try it right now & enjoy the freedom of customizing things according to your requirements.
Now, in that case, all you can do is set up Google Forms confirmation page redirect.
Definitely, this will not help you to remove the confirmation page but now your user will find a point that will deviate them to your site when the user will submit the form successfully.
Let’s See How To Remove Confirmation Page On Submission In Google Forms”
Step 1: Build A New Form
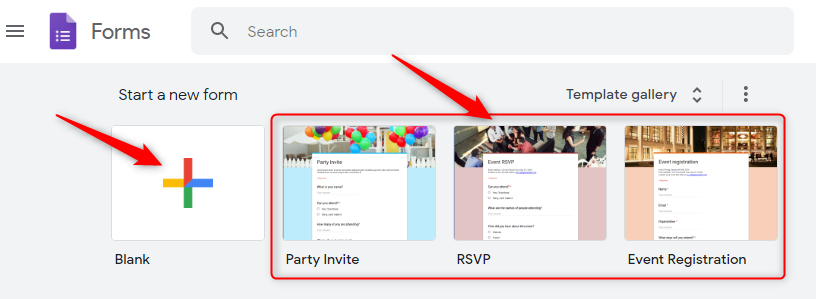
The very first thing you have to do is create a new form depending on your requirements. For this, you need to click on the “Blank” button from the dashboard.
Apart from this, you can also use any of its pre-built templates.
Step 2: Personalized Questions In Your Form
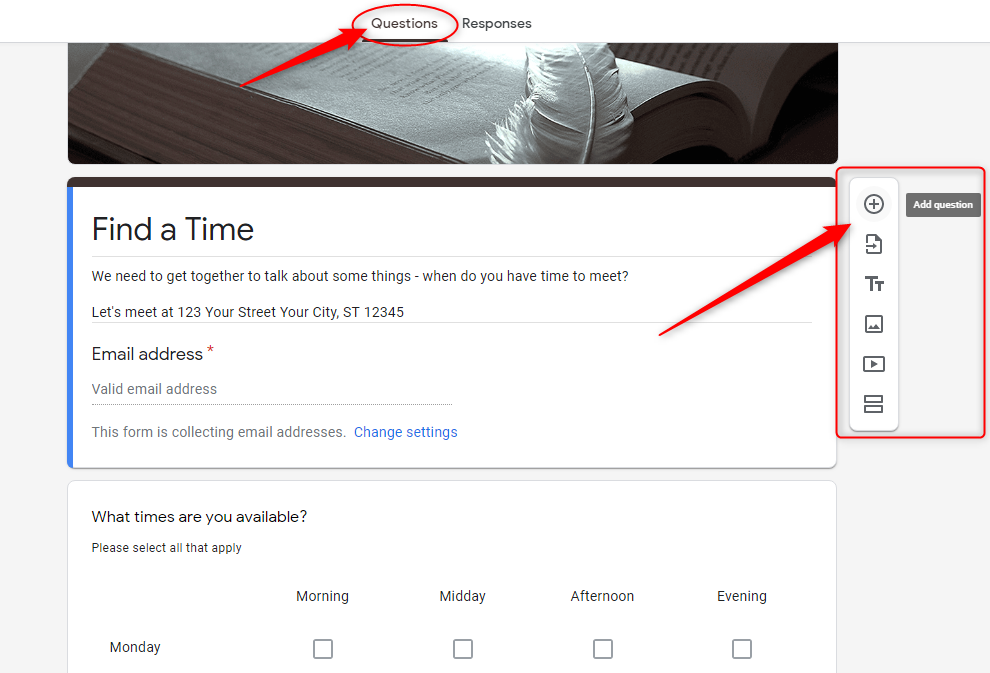
Next, you have to add desired questions to the form depending on your form needs. So, you can do this just by clicking on the “Plus” icon from the “Questions” tab of the dashboard. You can also add some more form elements like file upload section, images, videos, etc. into your forms from here.
Step 3: Hit The “Setting” Icon
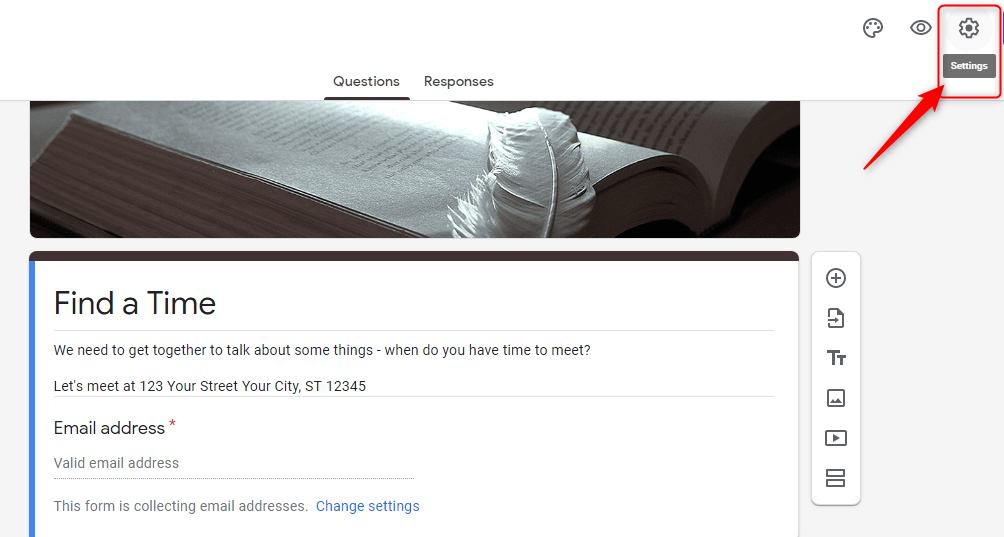
Now, once you are done with adding required elements into your form. It’s time to set up the confirmation page. For this, you have to select the “Gear” icon from the top right corner of the dashboard.
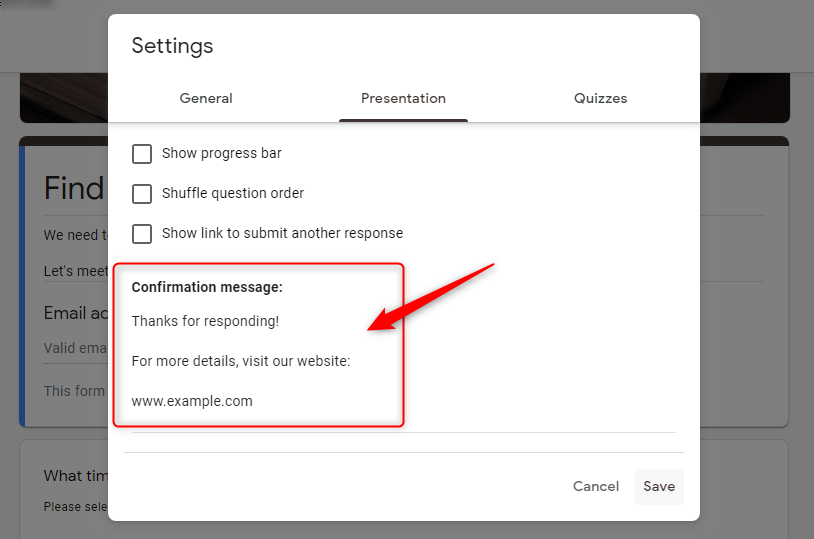
Step 4: Go To The “Presentation” Tab
Later, in the “Settings” section, you will find a tab entitled “Presentation”. From here, you can customize the confirmation message as per your requirements.
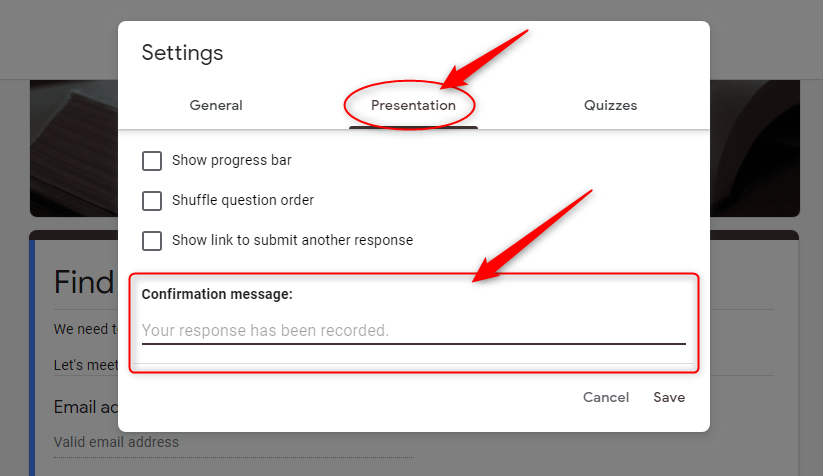
Step 5: Add Link In Confirmation Message
Now, as you wanted to add a link to the confirmation page for redirecting your customer to the desired page or website. From here, you can do so.
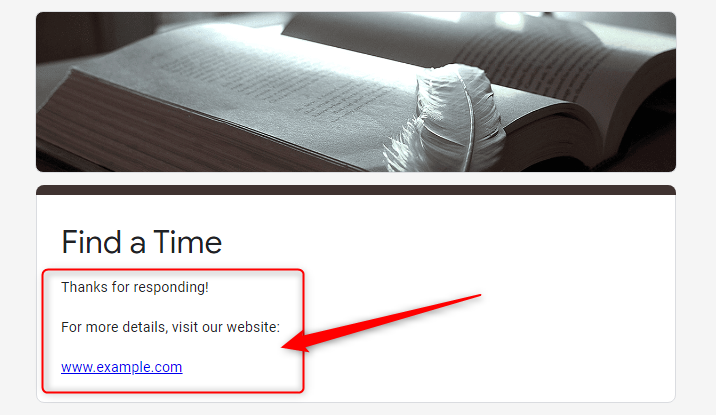
Step 6: Save Settings & Preview The Form
Momentarily, all you require to do is just “Save” these settings.
Also, you can “Preview” the confirmation message to get an idea about how it will look to the end-users. For this, you have to submit some dummy data into the form.
That’s it!
Now, you are all set to avail of the option “redirect on submission” in your Google Forms. Enjoy!
Restrictions Of Google Forms:
If you will stick to Google Forms even by applying a carrot-and-stick approach, still it will show a confirmation page to your visitors after the form submission. The reason behind this is that there is no way to remove it.
Now, if you think of using form redirection option of Google Forms to resolve this problem anyway, then again you will be left with very few possibilities to achieve the goal.
Again, the reason behind this is the same. It does not allow you to directly redirect your end-users at some different page. But, it will only show a link to that page on which you want your users to send.
Hence, it’s totally up to the users whether they want to jump on that page or not.
And, if they did not click on the link or take that message seriously, then there is no point in adding that link.
Apart from this, there are some more limitations of Google Forms in regards to the customization of the confirmation page that you realize only when you use other better form builders.
Are There Other Form Builders That Come With Better Options?
Yes, there is a huge number of form builders available online on the web that provide a variety of advanced features like customization or removal of the confirmation page.
But, if you ask me which tool is the best out of them then, I will recommend you use Pabbly Form Builder. Why?
There are several reasons behind this. But, the most important thing about it is it not only allows you to remove the confirmation page from the form but also allows you to add conditional redirections in your form.
Hence, the user doesn’t need to click on the link or button separately for redirecting on some other page after form submission. They will automatically redirect on dynamic pages depending on the inputs they submitted.
Now it’s time to see how one can do all this.
Set Up Pabbly Form Builder For Customizing Confirmation Page:
If you want to remove the confirmation page from your form on the basis of some conditions/logics. Then, it can easily be done using Pabbly Form Builder’s “Thank You Page” customization.
Please follow the below-mentioned steps to redirect your users.
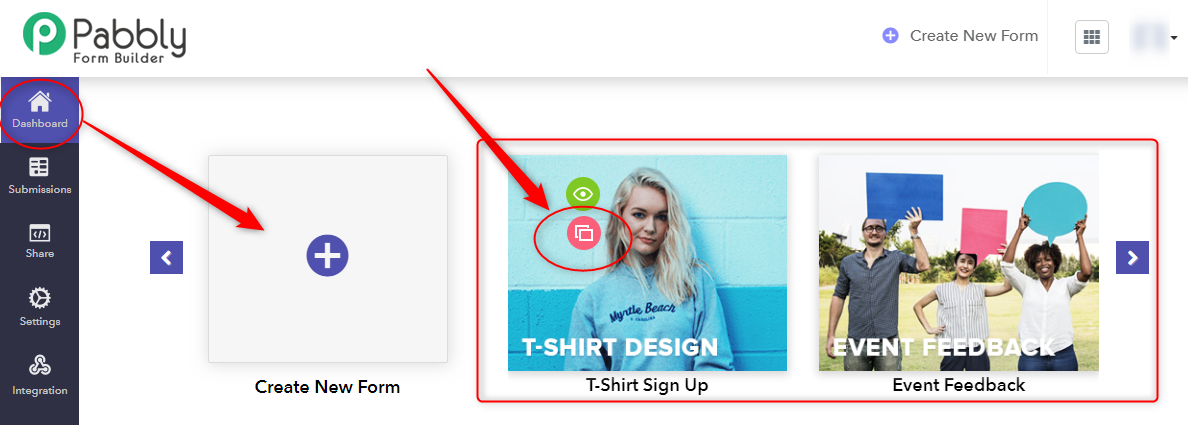
Step 1: Create A New Form
First of all, you have to create a form in which you want to enable such options. For this, you have to either click on the “Create New Form” icon from the dashboard or you can also “Clone” one from its beautiful pre-built set of templates.
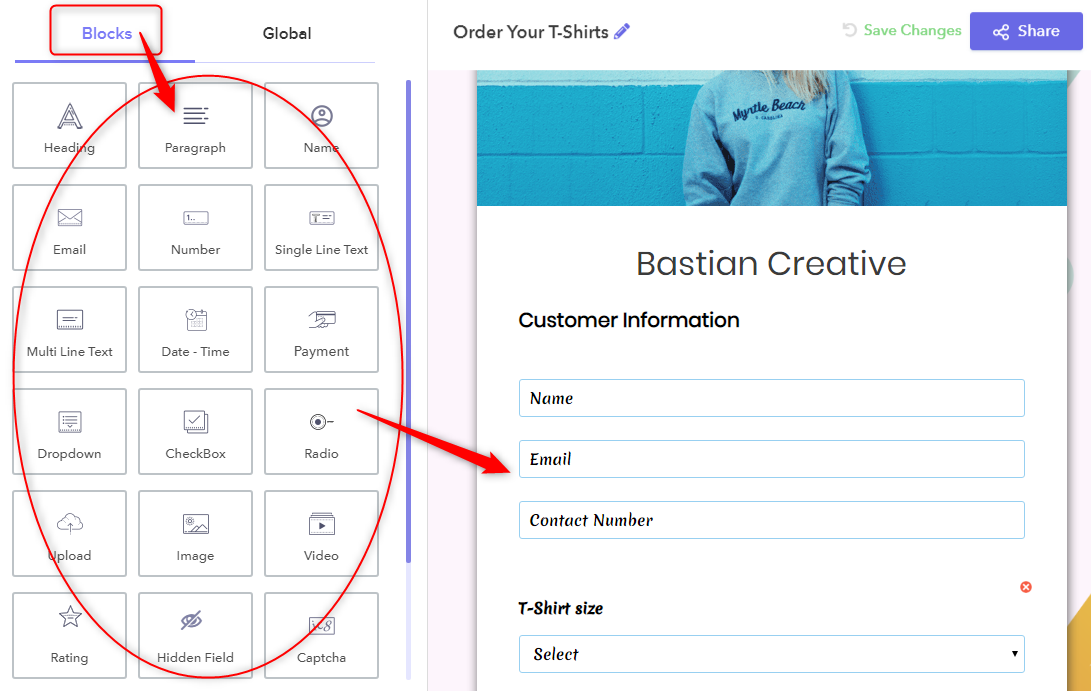
Step 2: Add Desired Fields Into The Form
Next, you can add different types of form fields like upload, rating, payment option, separator, captcha, etc, into your form. For this, you can choose various types of form elements from the “Block” tab of the Dashboard.
Besides, you can arrange the order of these fields the way you want.
Step 3: Go To Setting Button & Customize “Thank You Page”
Now, you have to go to the “Setting” option which is available on the left of the dashboard. Here, you will uncover many options for configuring advanced settings in the form.
Now, if you haven’t made any external settings for removing the confirmation page. Then, by default, the below-mentioned thank you message will get visible to the respondents after submission.
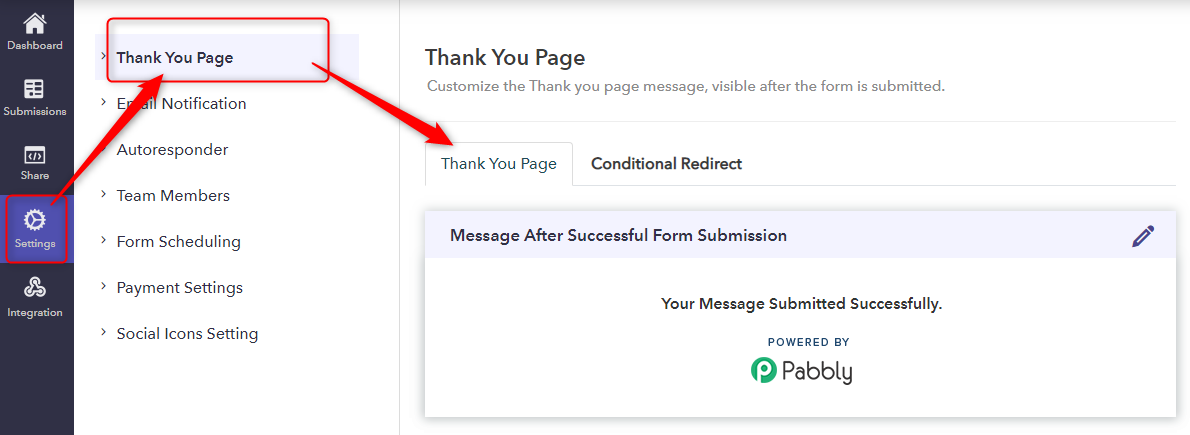
Step 4: Remove Confirmation Page By Setting Conditional Redirection
In order to remove the confirmation page from the form, you have to follow this crucial step. Go to the “Conditional Redirection” tab under the “Thank You Page” section.
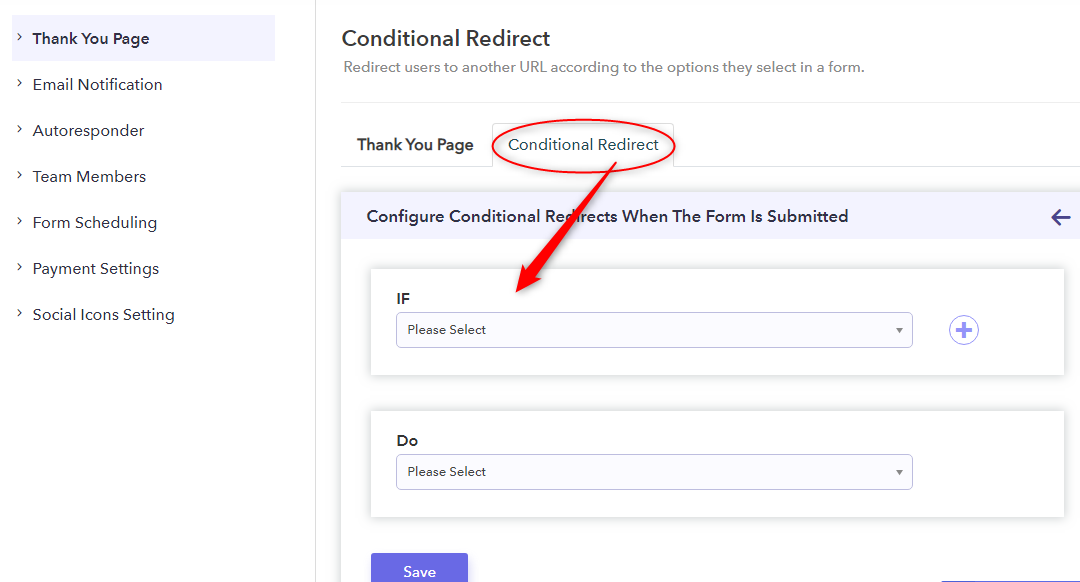
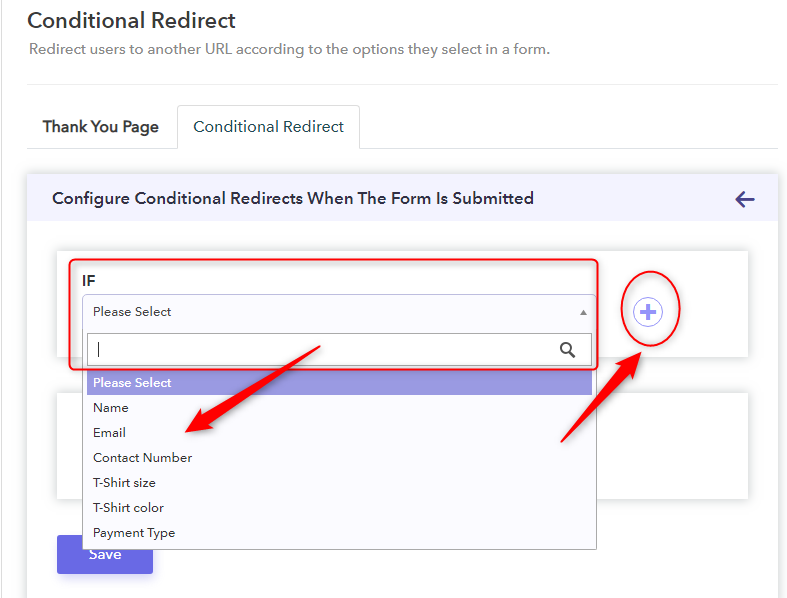
Step 5: Add Specified Conditions
Later, you have to set up the desired “IF” condition from the drop-down list depending on your needs. Further, if you want to add more than one conditional logics into your form for redirections then, you can do that by clicking on the “Plus” icon which is available at the right side of the “IF” block.
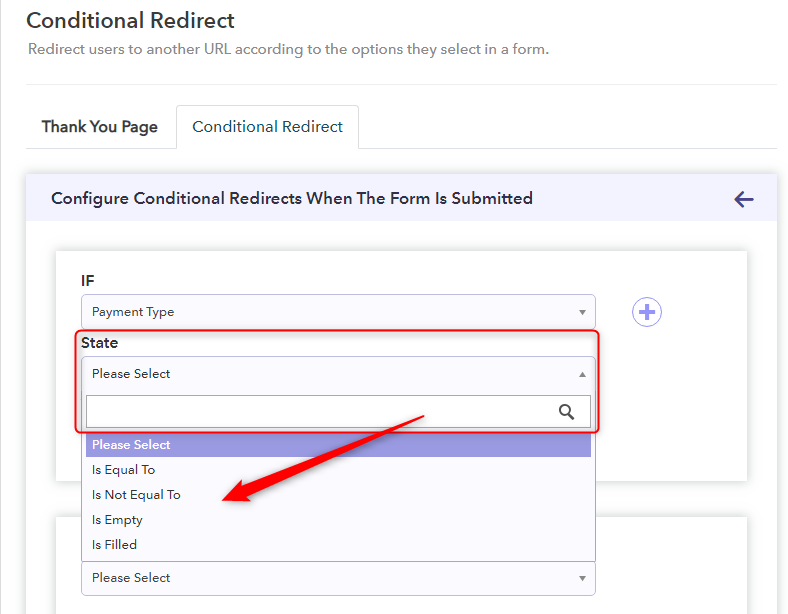
Step 6: Set The “State” Logic
Momentarily, you have to choose the desired “State” from the drop-down list for the “IF” condition you have chosen.
Step 7: Select “Value” Logic
Further, for completing the conditional redirection, you have to set up the “Value” parameter from the drop-down list. 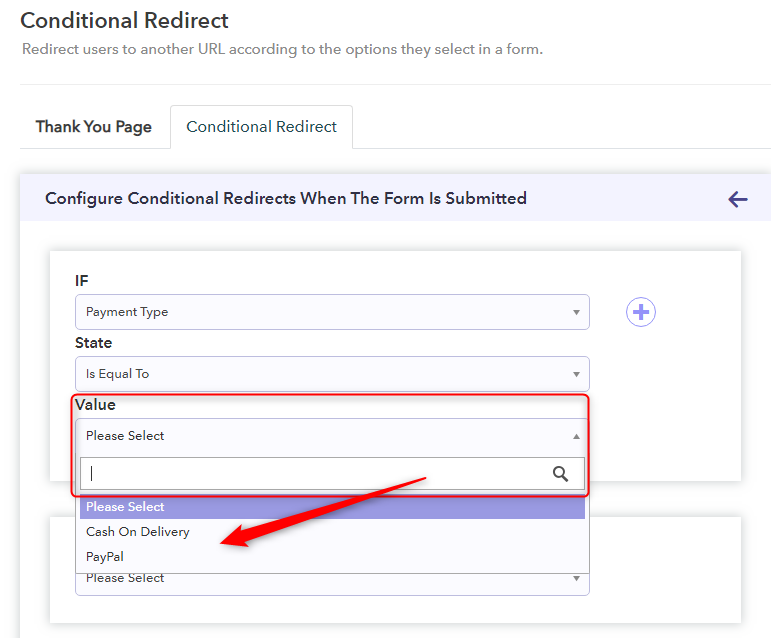
Step 8: Setup “Do” Logic
As you have completely set up the “IF” logics successfully. Now at this point, you have to set up the “Do” logics. For this, Pabbly Form Builder offers three variants of redirection after the submission of “Do” logic:
- Display a custom message on submission
- Redirect to URL after submission
- Display a message before submission
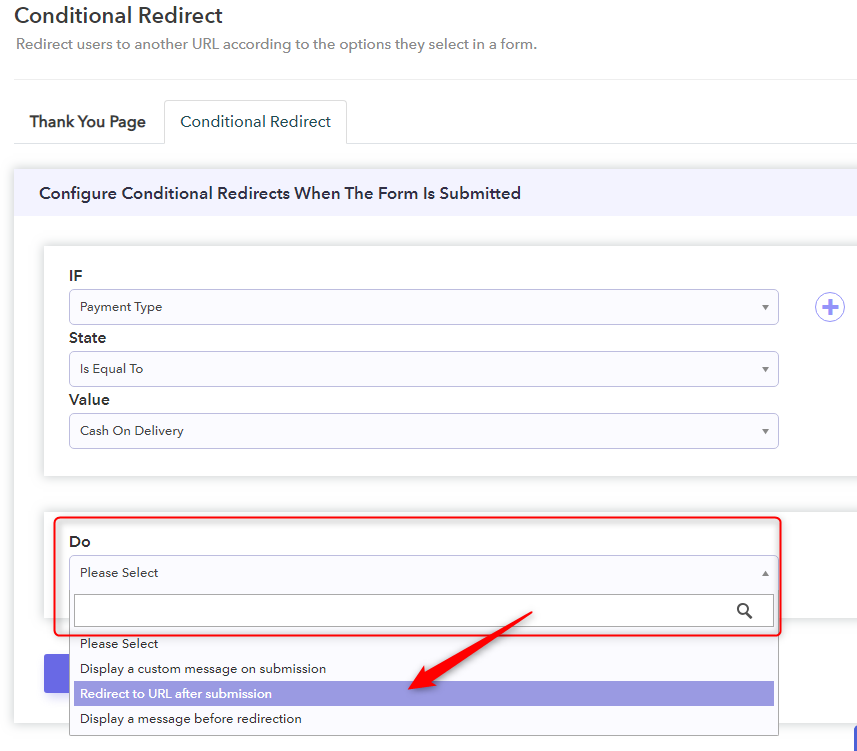
Step 9: Select “Redirect To URL After Submission” Do Logic
Now, as you want to remove the confirmation page from the form, you have to set up the “Redirect to URL after submission” option as “Do” logic. This will help you not to display any type of confirmation or thank you page after submission.
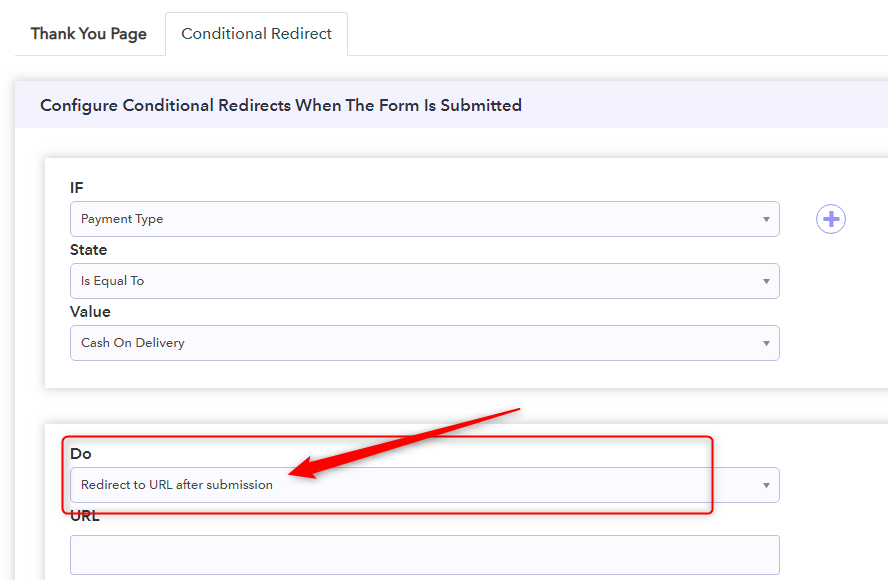
Step 10: Add URL
Later, you have to enter the URL of that page on which you want your respondents to send after submission.
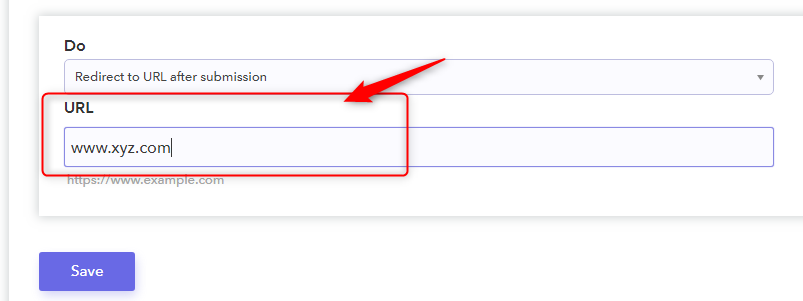
Congratulations! You have successfully removed the confirmation page from your form by setting “Redirection After Completion” logics into Pabbly Form Builder.
Final Words!
When the users are on your website expressing interest, what better time is there to convert them as lead? True?
So, for maximizing conversions, it can be useful to send people to a page on your site or elsewhere on the web, rather than just show them a default “Thank You” page.
Hence, here in this post, we mentioned a few methods using which you can easily remove the confirmation page from it.
Now, taking everything into account, we are expecting that the above-mentioned information will surely be worked in your favor.
So, don’t waste any more time and try one out of them immediately to remove the confirmation page into your form.