
Installation of PhoneGap consists of 2 simple steps:
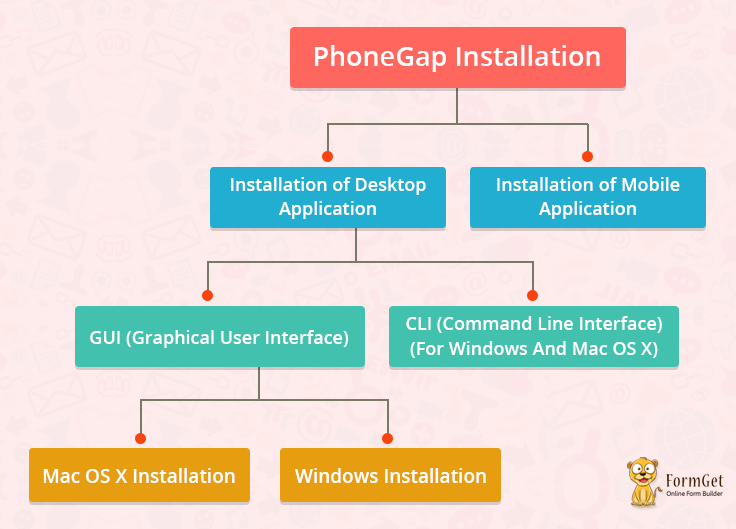
Installation of Desktop Application
PhoneGap provides 2 ways to install desktop application:
GUI (Graphical User Interface):
PhoneGap has provided GUI interface for users’ comfortability and ease.
It is a perfect alternative of PhoneGap’s CLI Installation.
PhoneGap has separate installers of desktop application for Mac OS X and Windows.
Mac OS X Installation
- Download PhoneGap Installer for Mac OS X
- Run the installer by double-clicking it. You will be asked to accept the license agreement.

- Drag the PhoneGap application into the Applications folder.

- Open the application and you’re good to go.

Windows Installation
- Download PhoneGap Installer for Windows.
- When a user doubles click the PhoneGap setup, a wizard of PhoneGap Desktop Setup will get opened.

- The user needs to accept the license agreement by selecting ‘I accept the agreement’ and after that ‘Next’.

- The user needs to select the desired location for the application and after that user needs to click on ‘Next’.

- The user needs to select the desired location for the shortcut of the application and after that user needs to click on ‘Next’.

- The user needs to click on ‘Install’.

- The user needs to click on ‘Finish’.

- Open the application and you’re good to go.

CLI (Command Line Interface)(For Windows And Mac OS X):
PhoneGap has provided CLI interface for installing, creating and building apps.
PhoneGap CLI provides some additional features over its desktop application.
It is best to use PhoneGap CLI if you’re comfortable using it.
Requirements:
We need to install a couple of things before installing PhoneGap application
- node.js: Node.js is a JavaScript runtime built on Chrome’s v8 JavaScript engine. It is used to build JavaScript code.
- git: It is used by CLI in the background.
After installing the above two, Let’s take a look at the PhoneGap installation process using CLI.
- You need to type the following command on node.js Command Prompt on Windows or Terminal App on Mac OS.
$ npm install -g phonegap@latestNote
- The ‘$’ Symbol is notifying the command prompt or mac terminal.
- npm stands for Node Package Manager. It is a command with the help of which, we’ll install PhoneGap.
- Windows users: Make sure that after installing node.js, you are typing commands in node.js command prompt, not in normal command prompt.
- Mac OS X users may need to prefix this command with ‘sudo’ for installation.
$ sudo npm install -g phonegap@latest2. You can make sure if PhoneGap is properly installed or not by typing ‘phonegap’ on the command prompt.
$ phonegapWhen you will hit enter after typing phonegap in the command prompt, you will see the following:

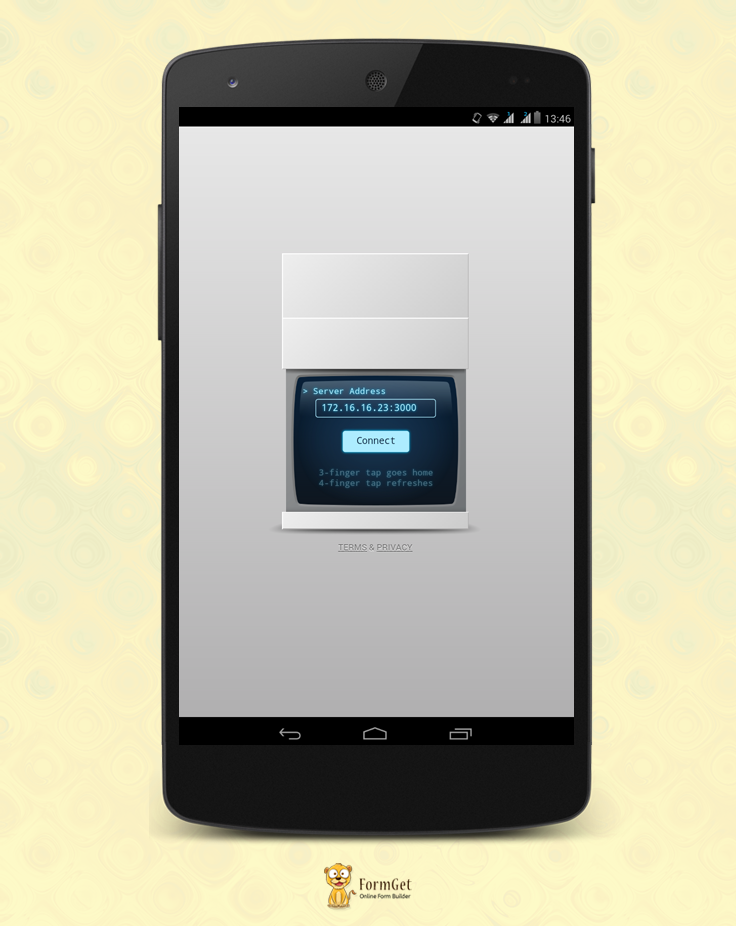
Installation of Mobile Application
PhoneGap Mobile Application runs on native devices to preview and test the application. The biggest advantage of having this application is that you don’t need to install additional SDK’s or simulators for Android, Windows or IOS to preview the application.
- You can install PhoneGap’s mobile app from respective play store or marketplaces.
- Open the app in your device after installation.
Conclusion:
So, now you know the GUI and command line installation process of Desktop Application and Mobile Application of PhoneGap on Windows and Mac OS X. You are now ready to create, run and build your first app.
Check out some more informative blogs here –
- PhoneGap Plugin Apis And Events
- Create, Run And Build A PhoneGap App