
Google Forms are great ways to carry out surveys, conduct quiz and much more using their online forms. But suppose your surveys are way too long then you definitely want to split it into sections to not withdraw interest of your potential users. There is no denial in the fact that most people don’t prefer long forms because it consumes time.
Keeping this in mind, form creator divides forms into sections to make it likable. So the definite question here is ‘Can I split my Google Form into 2 stages?’
Indeed you can.

No doubt Google Forms are way too convenient but it fails surveyor need when it comes to allowing save and resume option. You have to fill the form in one sitting whereas Pabbly Form Builder offers you this flexibility.
Undeniably Google Forms are a one-stop destination for all your needs. It offers a bunch of beautiful templates and lets you build multi-page online forms like feedback, order, surveys and much more.
As we said earlier long forms are time-consuming yet it is the only source of gathering additional information. The page break in business forms helps in improving conversion rates. Moreover, it allows you to redirect the users to a different section based on his/her response.
To make it more understandable let me walk you through the process of creating sections in a survey form.
Steps for creating a survey form in Google Forms.
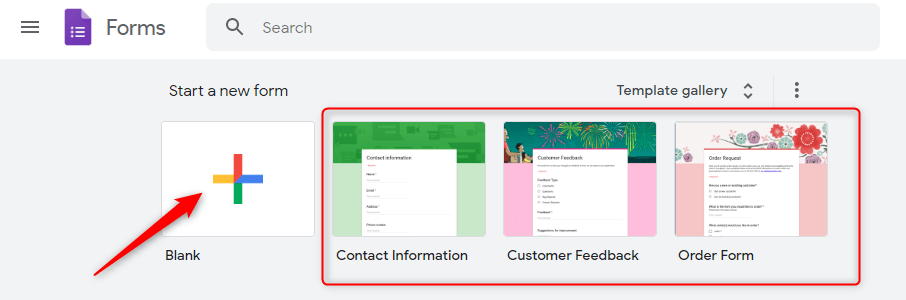
Step 1: Create Your Form
To create your form click on the ‘Blank’ option or you can use pre-designed templates too. Further, entitle and customize your form according to your needs.
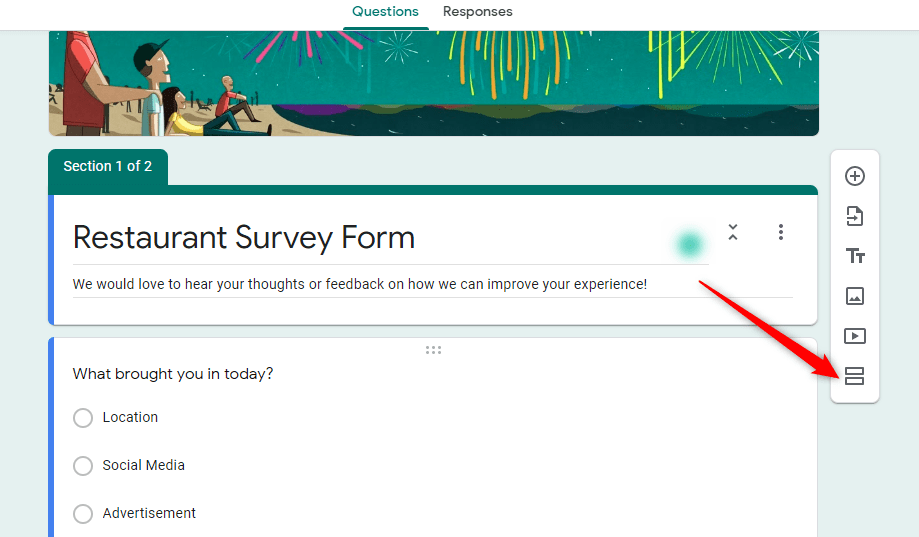
Step 2: Add Section
To add a section in your form you have to click on two horizontal bars appearing on the right side of your form.
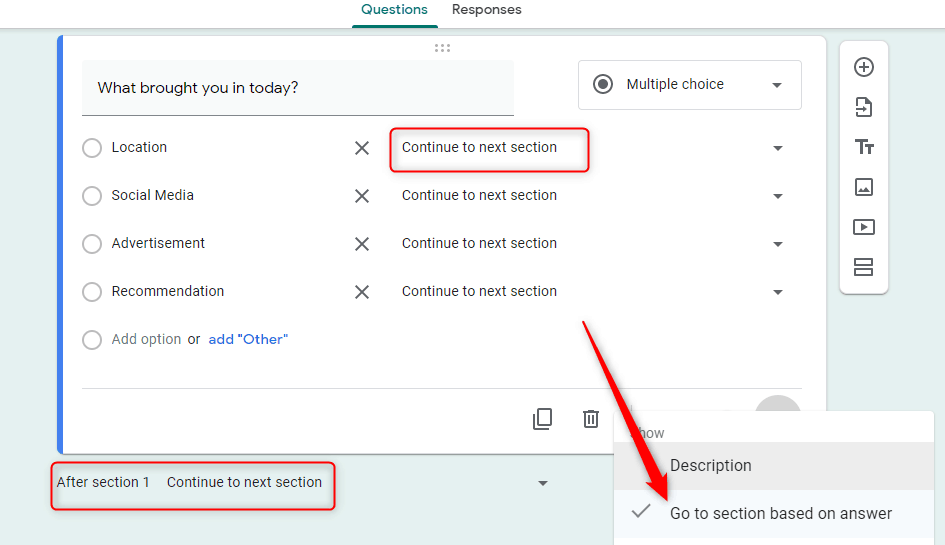
Step 3: Go to Section Based on Answer
You can easily apply it by clicking on three vertical dots, thereby choosing the mentioned option. Further according to respondent answer you can redirect on a particular section. Moreover, it also lets you skip in between sections based on the answer.
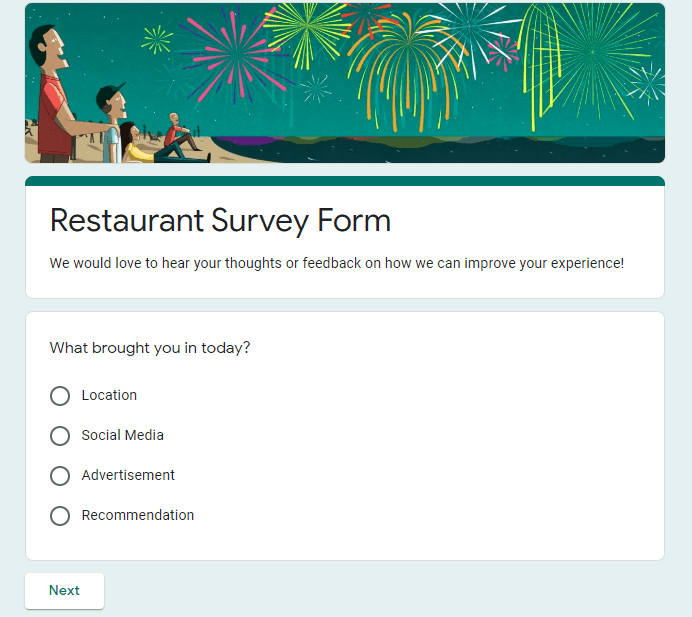
Step 4: Preview
To check the preview of your multiple sections form you can simply click on eye icon appearing on the top right corner.
Limitations Of Google Forms
Certainly, Google Forms are the best to access but again it tied your hands by offering limited features. Like there are no such options to customize your sections, you have to make peace with the inbuilt next/back button it offers you.
Other than this, Google Forms restrict you by offering only 75 sections. As discussed earlier it doesn’t offer any save and resume option.
Above all, you can only use simple jump logics using Google Forms.
Is there any way to overcome Google Forms Limitations?
Definitely! A Big Yes
By exploring all the difficulties users faced we came across the best flexible online form generating tool named Pabbly Form Builder. The software allows you to create unlimited sections. Moreover, it lets you customize your split section by allowing you to change the size, color, and hover color of the button.
Additionally, it offers the flexibility to fill the form later by providing the option ‘allow save and resume’.
Using Pabby Form Builder one can easily apply multiple Conditional logics like And/Or for your forms.
No wonder, you might want to see all these features working. Let’s help you understand the process of creating a page break in a survey form step by step.
Steps for creating a survey form in Pabbly Form Builder.
Step 1: Create Your Form
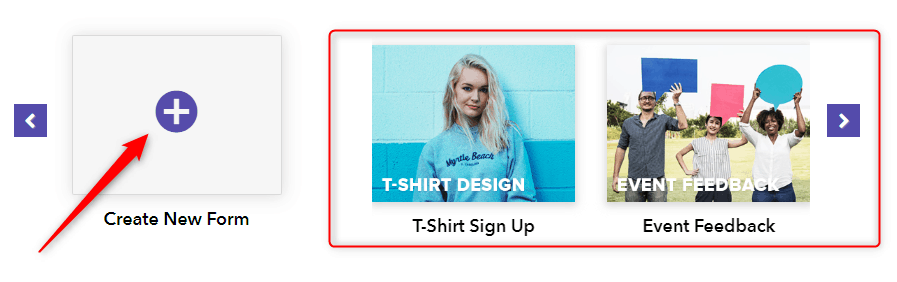
To start, click on the option ‘Create New Form’ or you can also use a pre-designed template. Further, customize the survey form accordingly.
Step 2: Page Break Option
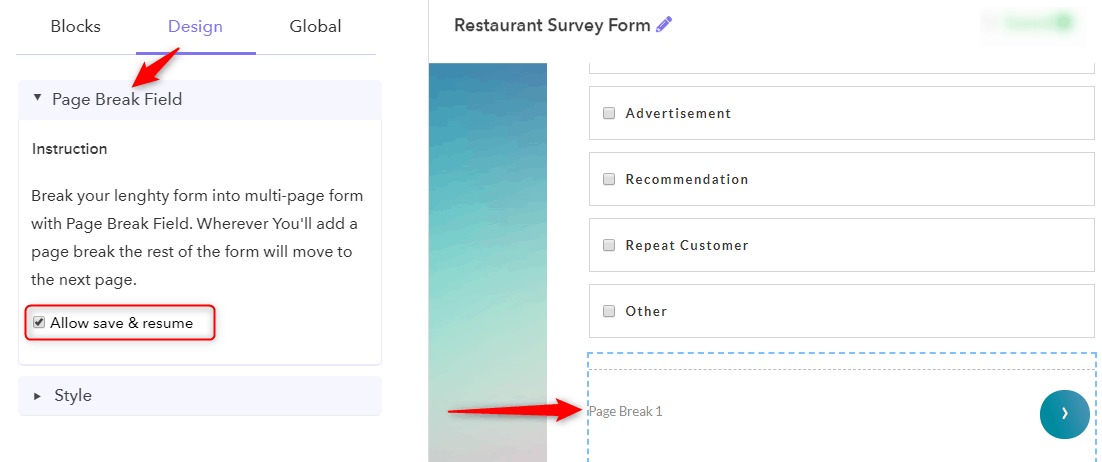
To split the form into multiple pages you have to click on the option ‘Page Break’. Further, you can place it wherever you want to apply the partition.

Step 3: Design Fields
Under ‘Page Break Field’ the option of ‘Allow save & resume’ will appear, you can easily check/uncheck it.
Step 4: Style Option
Under the ‘Style’ option, it allows you to change button color, button hover color, and radius.

Step 5: Logic Field
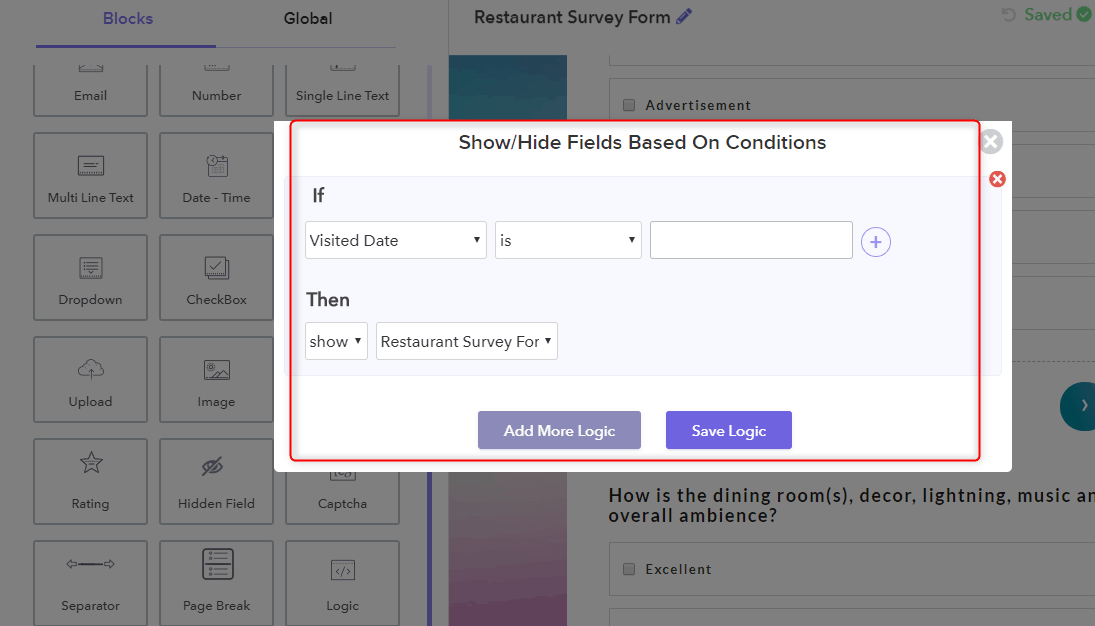
Further, you can apply multiple And/Or logics using ‘Logic Field’.
Step 6: Preview
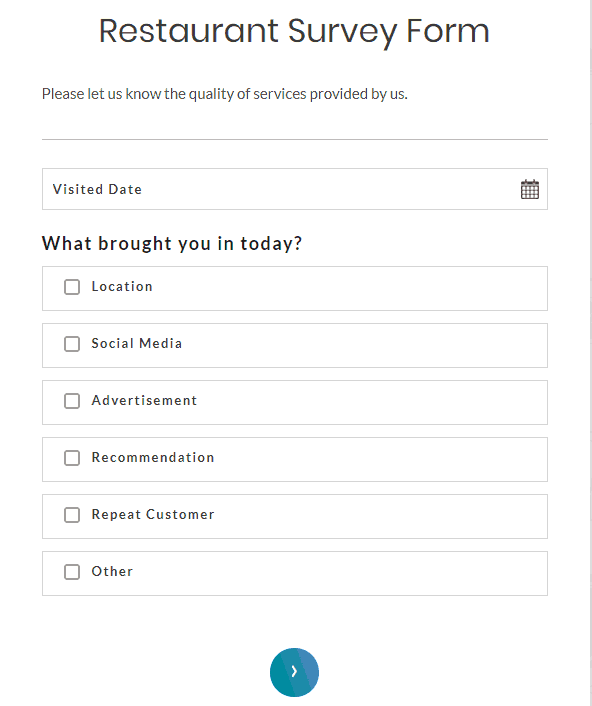
Save all the changes and your created form will appear on the dashboard. Further, you can view the ‘Preview’ by simply clicking on it.
Besides this, you can add conditional logic in multiple options too.
Conclusion
That’s it! We are hoping that this tutorial did justice with your time. All the mentioned steps are simple and easy to follow.
If you’re looking for the best suitable alternative of Google Forms then you can check out our article on 10 Best Online Form Builders 2020.
Give it a try and let us know your reaction in the comment section.
You May Also Like To Read: