
If you have a Facebook Page for your business or company, you might want to convert your fans or followers into subscribers. Hence, for doing that, you need to add a form to your Facebook page. Basically, the major reason for adding forms on Facebook or other social media profile is to achieve a higher number of views and submissions.
Further, adding forms to Facebook will also help in conducting a survey, selling products on your page, collecting feedback and suggestions, offering cashback from your affiliate sales and a lot more.
Now, when we are talking about form, Google Forms comes first in everyone’s mind as it is a free tool available in the market. It is a simple to use tool which allows you to create a form for receiving responses from your audience but it has limited features.
As we have already mentioned above the Facebook page helps to boost the views and submissions of your forms. But, unfortunately, to track these parameters, Google Forms doesn’t provide any facility. Now what?
Well, if you want to try another form creator that offers the same functionality to analyze the status of the leads. Then, we’ll suggest you explore Pabbly Form Builder because it has a built-in analytics feature that gives you a complete insight of your form.
Besides, this amazing form builder offers a wide range of features that can fulfill everyone’s needs.
Google forms give you the option of capturing user inputs and storing it into a backend spreadsheet but you can not analyze the data of user conversion. Still, you want to use it for your business needs then in this article, we will show you how to add Google Forms to your Facebook page.
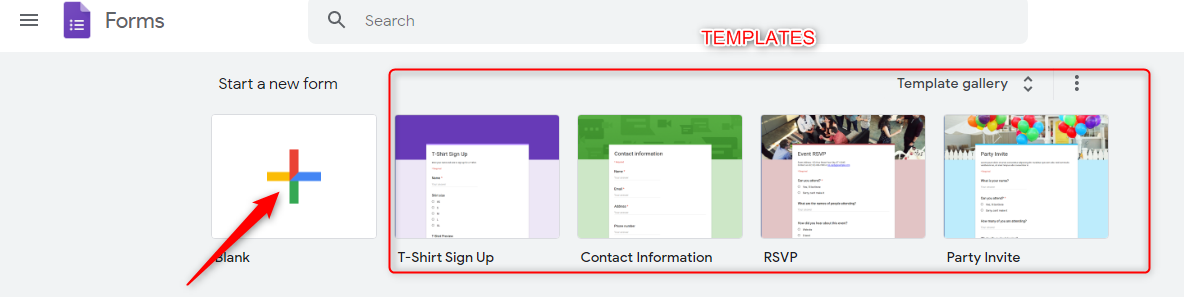
Step 1: Create Your Form
First, you need to create a Form by just selecting the ‘Blank’ option. You can also choose templates according to your requirements from its pre-designed template gallery.
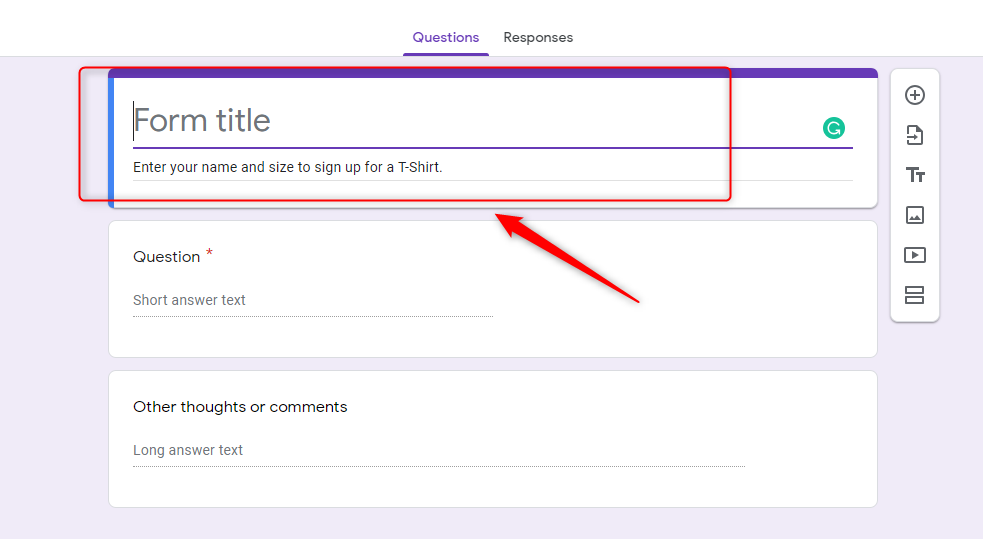
Step 2: Entitle Your Form
After creating a form, entitle it using the customization options accordingly. All the changes will save automatically.
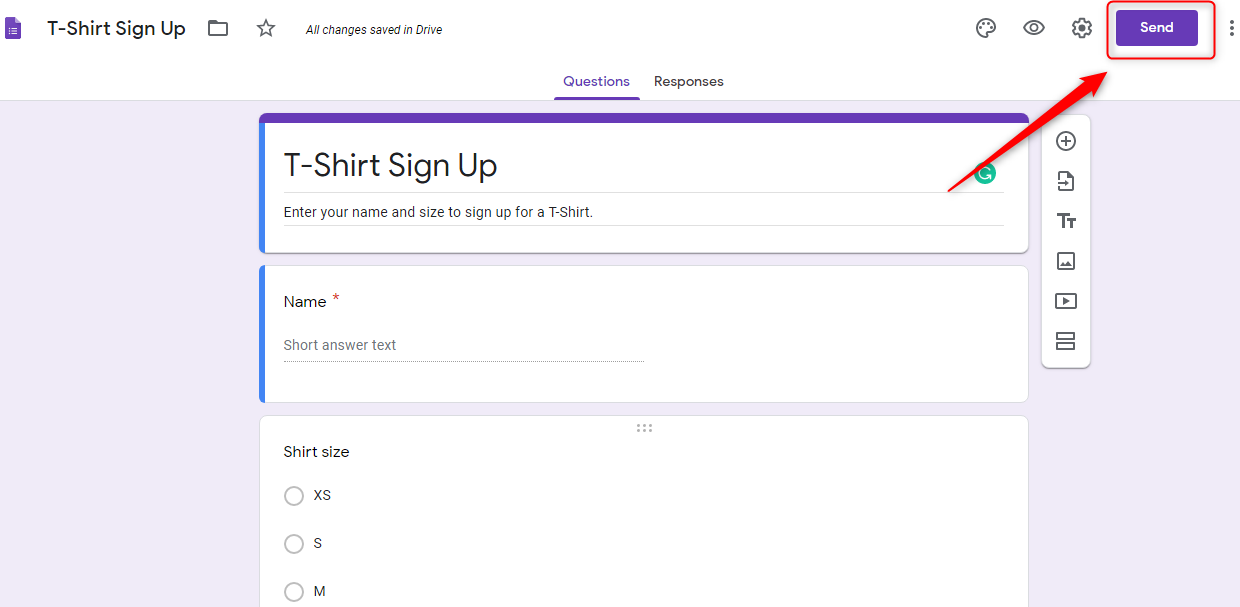
Step 3: Send Your Form
Once satisfied with your form, you can publish it by clicking on the “Send Form” button.
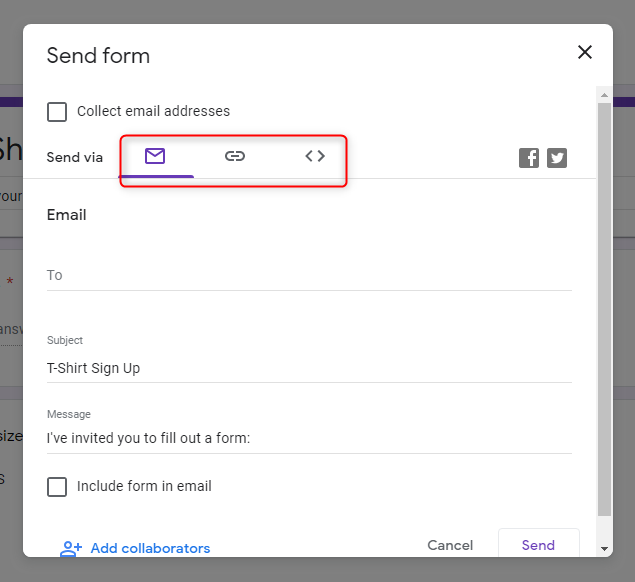
Step 4: Share The Form
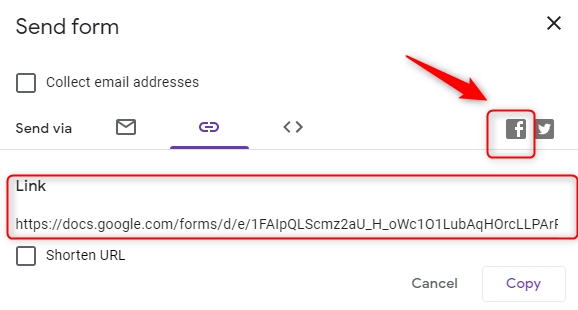
In order to add the forms on Facebook page, you need to click on the “Send” button. Here, you will find a number of options for sharing your form including email, link sharing, HTML, etc. Using these options, you can share the form with people via email or social media, or embed it into a webpage.
Step 5: Add Form To A Facebook Page
Now, to post this form on Facebook page you can directly share it by clicking on the Facebook icon present on the right side.
Why there is a need to share a form on Facebook page or other social media platforms?
Obviously to achieve the higher conversion rates.
But do you guys really think that Google Forms can help you with this?
As we all know it creates a very basic form, that is not sufficient to attract more potential leads. Because there are very few customization options available in Google Forms. Apart from this, it doesn’t let you track the activity on your form as we have already mentioned above.
Hence, for designing a higher converting Facebook form and analyzing the performance of your form, you should have a professional tool that can do this work for you without requiring any expert knowledge. One such worth highlighting form generating tool is Pabbly Form Builder that offers you advanced customization features along with many other facilities such as reporting & analytics tools.
Thus, we’ll recommend you to try Pabbly Form Builder. Still in doubt then explore this platform for free using its free trial.
Let’s see how you can share the form on Facebook via Pabbly Form Builder
Step 1: Create a New Form
You just need to create a form for Facebook by clicking on the “Create New Form” button. You can also choose its pre-designed templates according to your needs.

Step 2: Customize Your Form
Pabbly Form Builder allows you to design the form of your desire by providing a wide range of customization options like themes, layout, header, colors, fonts and a lot more.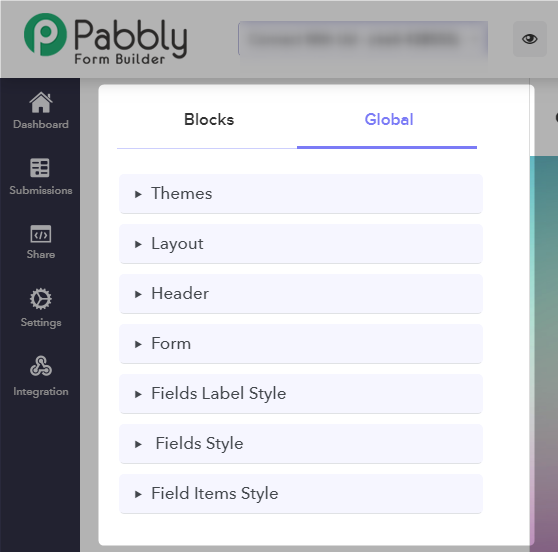
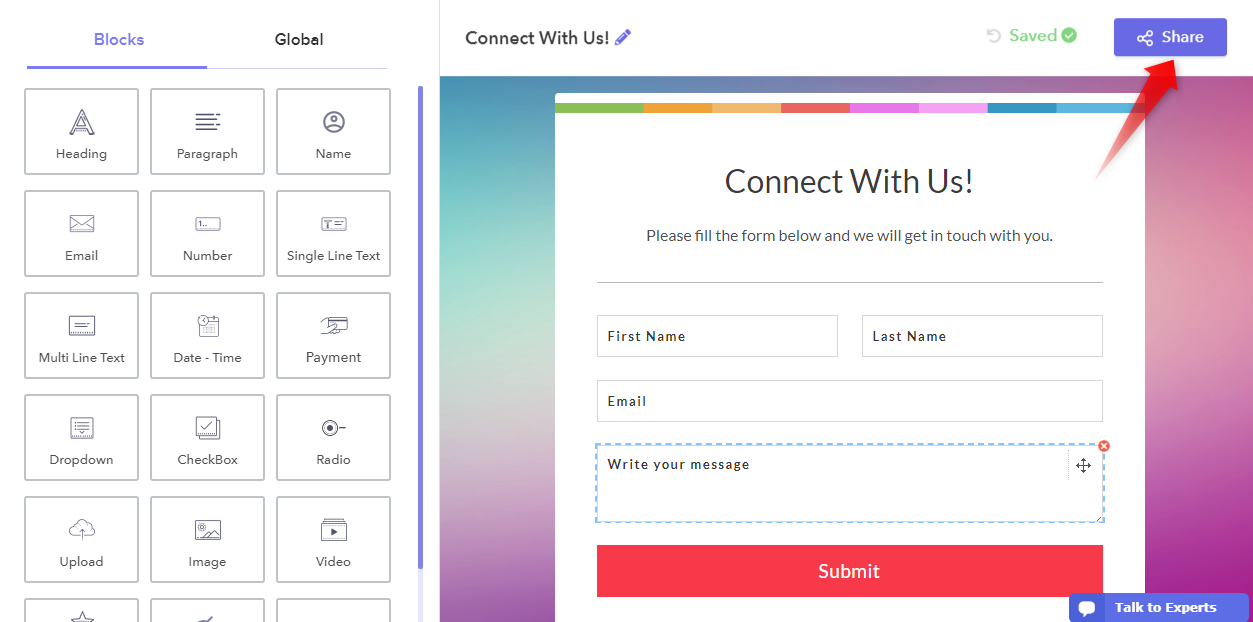
Step 3: Click On The Share Button
Once your Facebook form is ready for sharing then just hit the button “Share” present at the top right side of the screen.
Step 4: Share Your Designed Form
Next, you can directly share your forms on Facebook, Twitter, LinkedIn, etc. by simply clicking on their icons appears at the bottom. Further, you can copy the link and share it on different mediums.
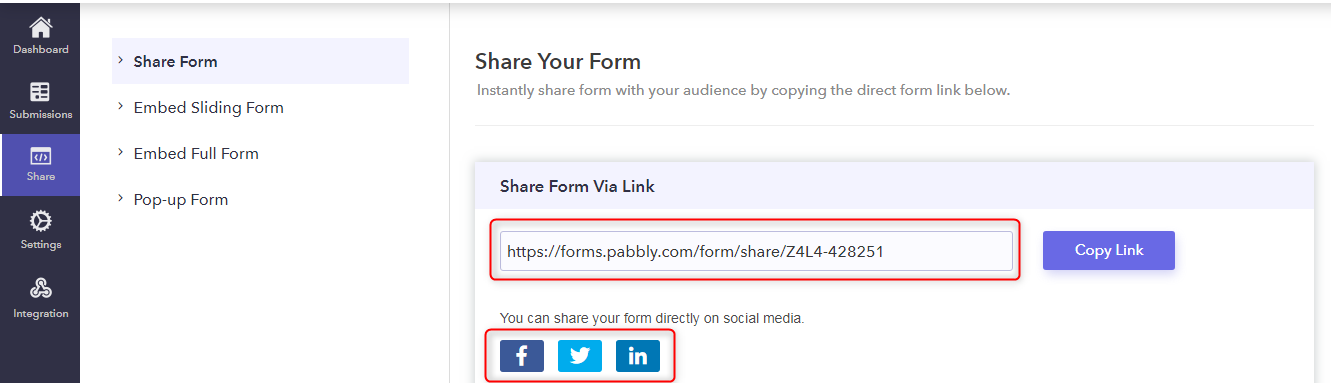
By sharing your form on different social media platforms you can get the maximum number of views in a very short span of time.
Step 5: Track Form Submissions
After that, click on the “Submission” button from the menu, where you can find the following options that are Forms submission, Analytics, and Report.
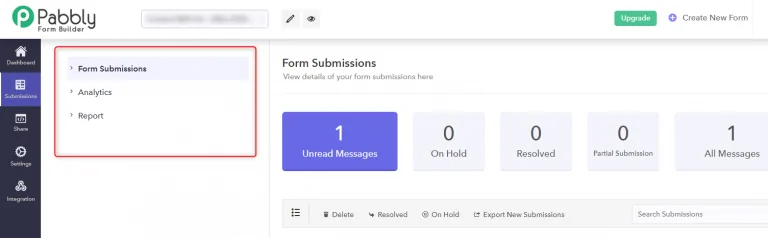
Here, you can view the details of all the forms in the “Form Submissions” section that are submitted by your users such as unread messages, partial submission, etc.
Conclusion:
Forms meant as lead generation tools that often appear linked on several social media sites. Social media sharing can help generate high amounts of traffic, so just follow these above steps to share your forms on Facebook as well as on other platforms and generate more & more leads for your business.
Hence, in this article, you will find how one can add forms to their different social media accounts. I hope this will you to achieve the desired results.
If you have any questions or suggestions regarding this guide, please feel free to leave a comment below.
You May Also Like To Read:
One Reply to “How To Add Google Forms To A Facebook Page?”
Wow, wonderful blog composition! The best way extended have you been writing a blog pertaining to? you’ve made blog glance quick. The pay per click entire appearance of the internet site is very useful, not to say the information material!