
Forms are a great way to organize an online contest to engage your users or to promote your services. Whether its photography contest or creative writing test, you want to ensure that the survey does justice with your respondent time. The next thing you make sure that the form should be precise and ask for the least cost. Hence, depending on requirements the definite question rise in your brain is can I use Google Forms for data collection?
Yes! Keeping in mind the needs of every individual out there Google Forms offered a feature of file upload. Basically, it let users attach any kind of file like a document, spreadsheets, images, videos, pdf, etc.in the form.
Surely, Google Forms are packed up with all general features but it does restrict you when came to the storage of the file. It automatically stops taking response when exceeds the allowed limit. Whereas in Pabbly Form Builder, there is no such boundation as it offers unlimited file storage.
Moreover, this amazing software doesn’t restrict you by offering unlimited file upload with customization option to change the border, width, and color of Upload field.
Undeniably, Google Forms is a free tool that lets you conduct online quizzes, competitions, and much more. With minimum efforts, you can customize your form and then you can embed it on your websites too.
Let’s see in steps how one can create a form for uploading images using Google Forms.
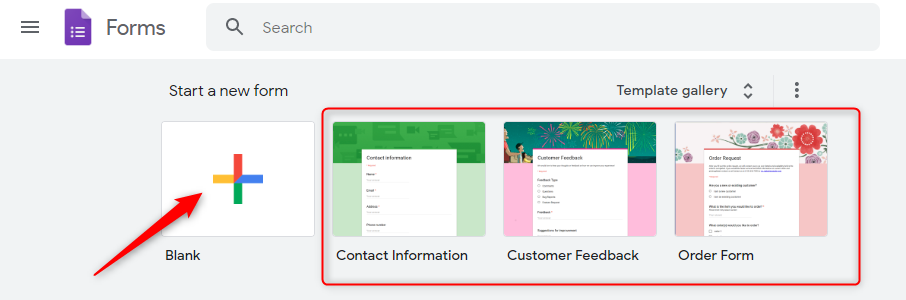
Step 1: Create Form
To create a form click on the ‘Blank’ option or you can use pre-designed templates too. Further, entitle your form by naming the necessary details accordingly.
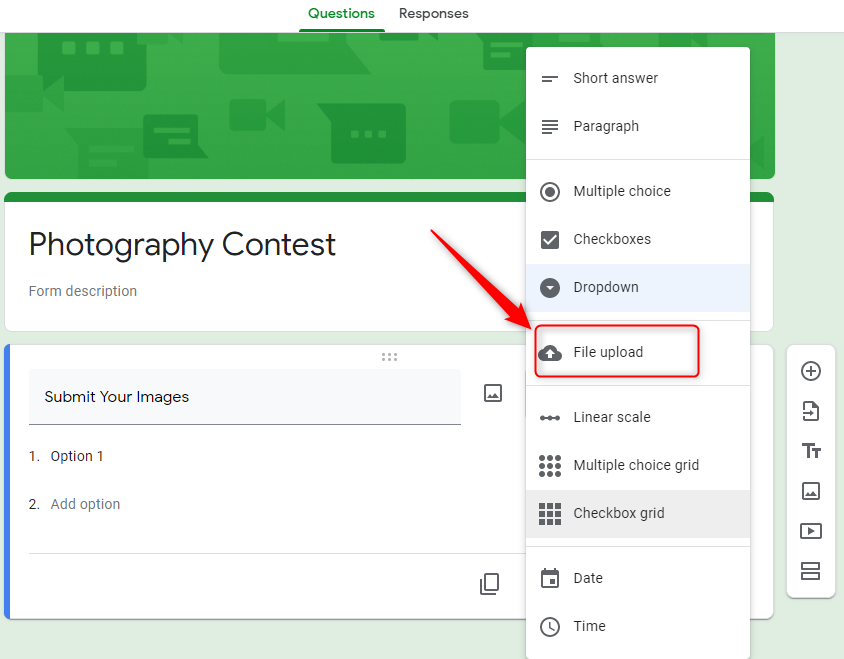
Step 2: File Upload
After assigning the name to your field, click on the option ‘File Upload’ to add it in forms. However, the warning sign will appear saying that the respondent needs to sign in to Google account to fill the form. All the uploaded files will go to the creator’s drive.
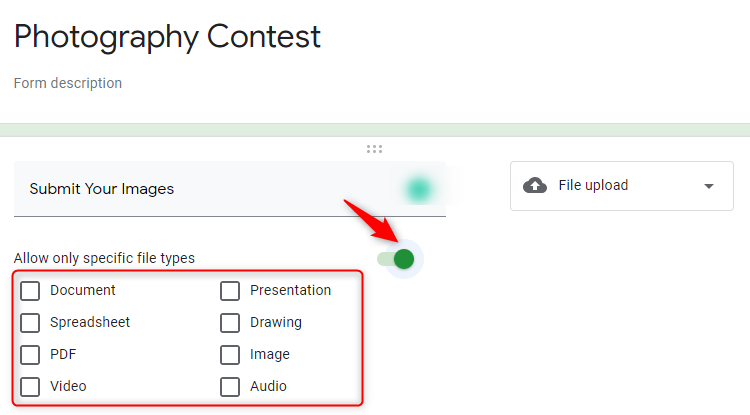
Step 3: Allow Only Specific File Types
By enabling it you will see multiple options, choose according to your form needs.
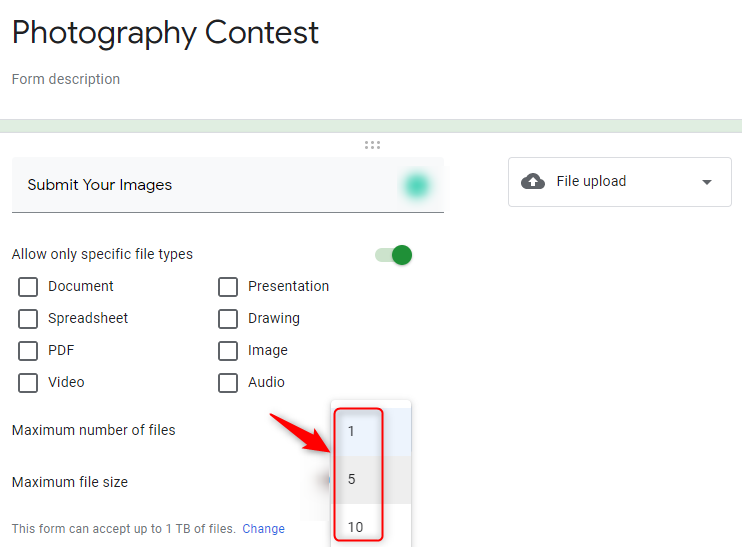
Step 4: Maximum Number Of Files
Further, using this option you can specify the number of files, the respondent can upload at a time. However, it has a limit of up to 10.
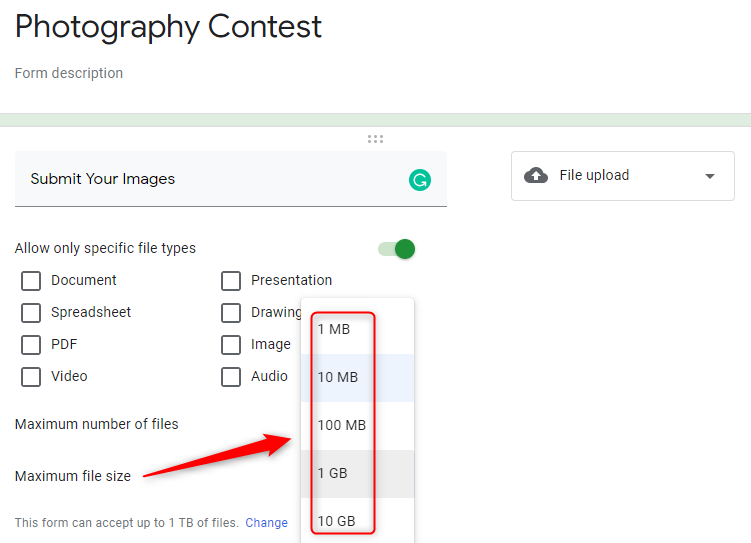
Step 5: Maximum File Size
Hereby, clicking on this option you can easily specify the size of attachment which can go up to 10Gb. Further, you can exceed the total form submission limit up to 1Tb.
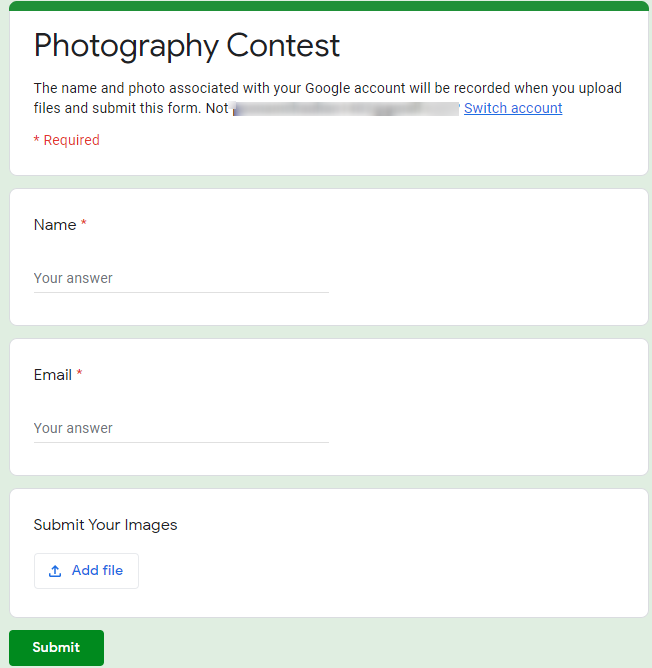
Step 6: Preview
To view the preview of your created form, you have to click on the eye icon appearing on the top right corner.
Limitations in Google Forms
Without a second thought, Google Forms amused all of us with its free of cost tag but it fails to deliver the customer with vast needs. One of the prime reasons for its turn off is users need to have a Google account to fill the form.
Secondly, it has a storage of 1Tb only. If the form tops the mentioned limit, it will automatically cease the response.
Lastly, you don’t see any customization option in the File Upload feature.
How To Overcome The Limitations Of Google Forms?
You must be looking for an alternative that fulfills all the above-mentioned limitations. Fortunately here we have one suitable in mind named Pabbly Form Builder.
The best Form creating software that lets you build online forms without any restriction. One of the best reason for choosing it is anybody can access the form, it doesn’t demand any sign in.
Moreover, there is no such limitation on storage. You can collect unlimited responses on your single form without worrying about the storage.
Additionally, it offers the customization option for the ‘Upload’ field from where users can change the margin, width, background color and much more.
As interesting it sounds, it is way much easier in doing.
Let’s see how one can create a form for uploading images using Pabbly Form Builder.
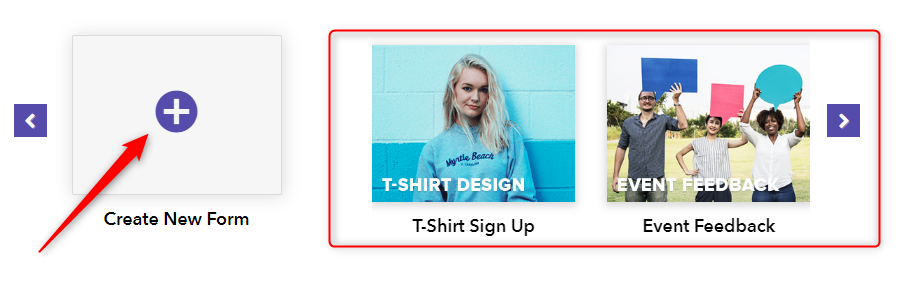
Step 1: Create Form
To create the form click on ‘Create New Form’ options or you can use pre-designed templates too.
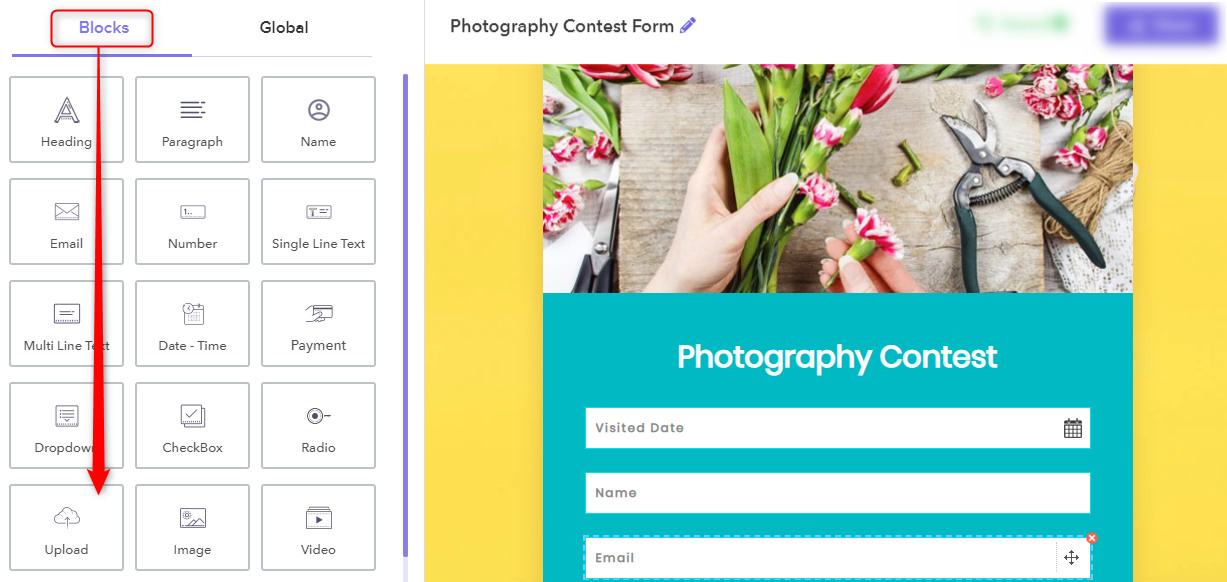
Step 2: Blocks Field Elements
Entitle your form and add respective fields according to your needs. Further, click on the ‘Upload’ option in the ‘Blocks’ field to add it in forms.
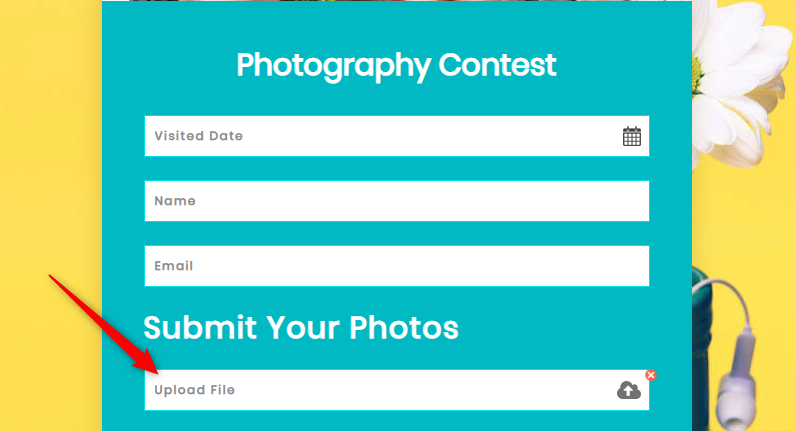
Step 3: Upload Field Option
Using the ‘Upload’ feature respondent can attach any kind of file without mentioning the file type manually.
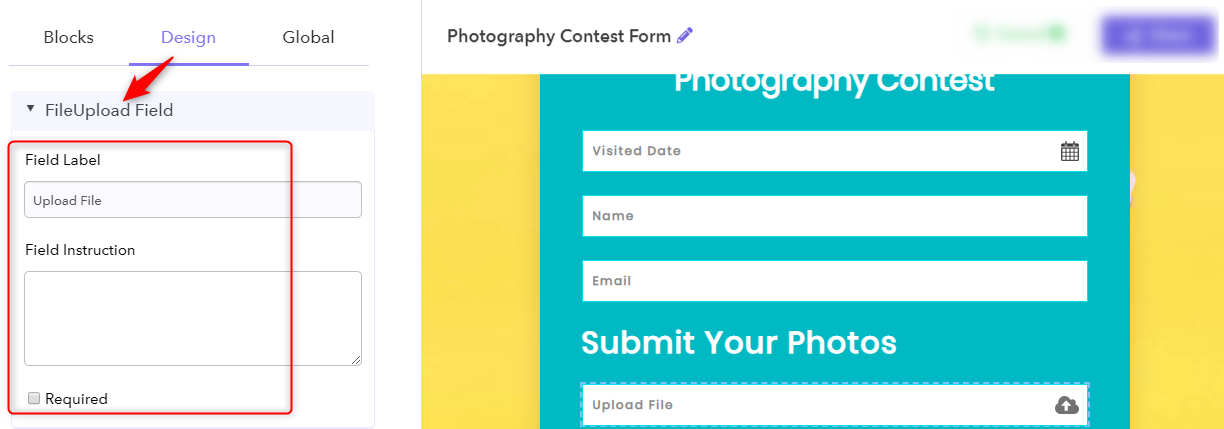
Step 4: Design Fields
Under the ‘FileUpload Field’ option, you will see an option of the ‘Field label’ from where you can assign the name of your choice. Using the ‘Field Instruction’ option, you can give particular instruction of your choice to the respondent. Further, you can also make it mandatory by enabling the required option.
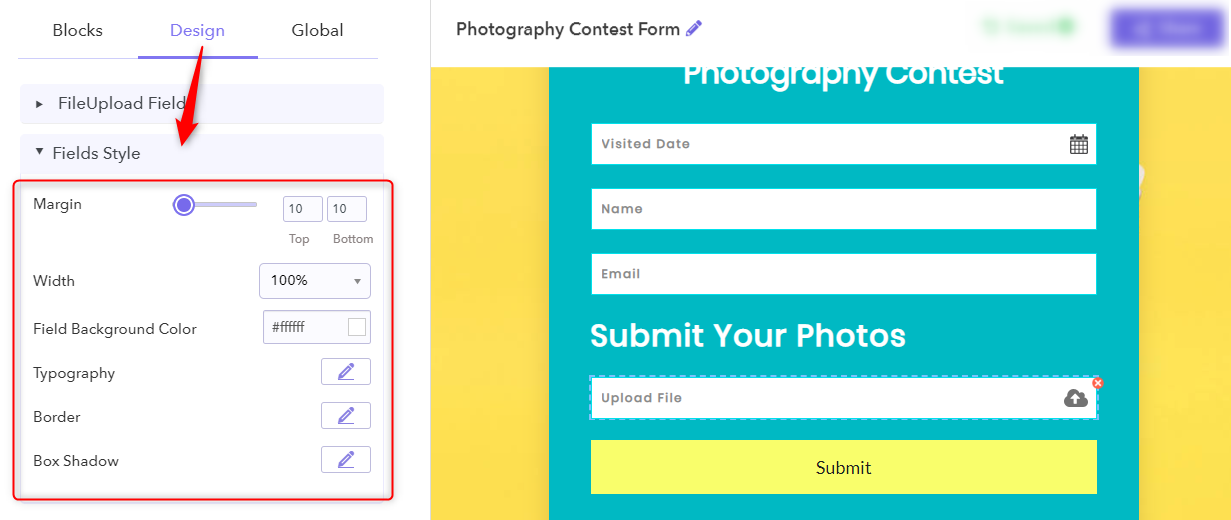
Step 5: Fields Style
Under this, you will see various options to change the margin, width, field background color and much more.
Step 6: Preview
To view the preview of your created form, you have to click on the eye icon appearing on the top.
Conclusion
Voila! There you have it. Follow the above-mentioned steps and you can easily use the Google Forms for data collection within minutes. All the steps are simple and one can do comfortably without any expert help.
Give it a try and let us know how’s your experience in a comment section.
You May Also Like To Read: