
Want to know more about image uploads in Google Forms?
Many times while conducting surveys or online competition, the form creator needs to gather images or documents from customers. For doing the same, they look for a tool that offers the file upload field in a form. Keeping our needs in mind, the very first software strikes is Google Forms that lets you build any type of form for free.
The software offers to upload documents, photographs, and videos into your form.
Without a doubt, Google Forms streamlines the procedure of form creation yet it somehow fails users on storage. All the files uploaded on Google Forms go directly in the form creator’s drive which can be an issue if he/she doesn’t have enough space in their drive.
Considering the limitation mentioned above, you can switch to Pabbly Form Builder which fulfills all your requirements by offering unlimited storage.
So, if you’re a newbie and want to know how to create an image upload form in Google Forms then, this article is for you.
Here’s A Step-By-Step Guide Of Adding Upload Field
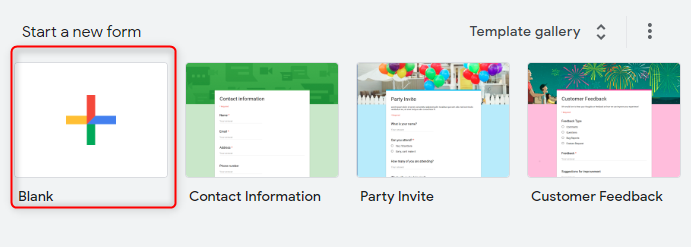
Step 1: Create Your Form
To create a form, click on the “Blank” options or you can use the available pre-built templates too.
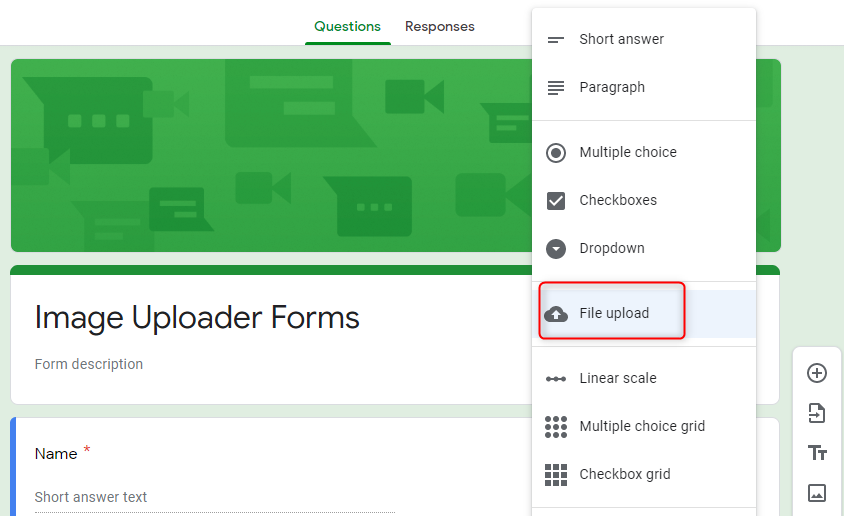
Step 2: Add File Upload Option
After assigning a name and description to your form, all you need to do is add the “File Upload” option from the drop-down menu.
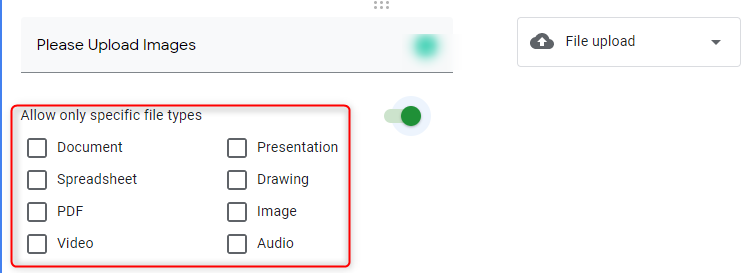
Step 3: Specific File Type Option
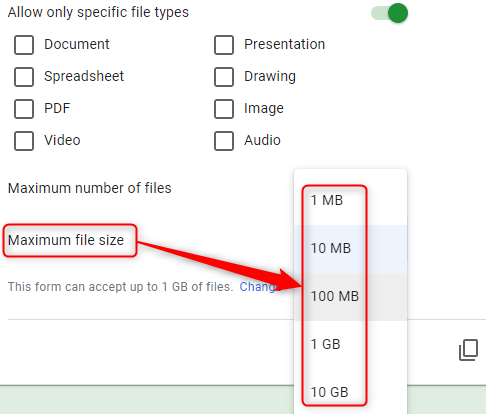
Toggle the ‘Allow only specific file types’ field on, which will offer a variety of options. Further, select the fields accordingly.
Step 4: Maximum Number Of Files Option
Here, you can specify the number of files, you want from users’ end. At the moment it can be 1, 5 or 10.
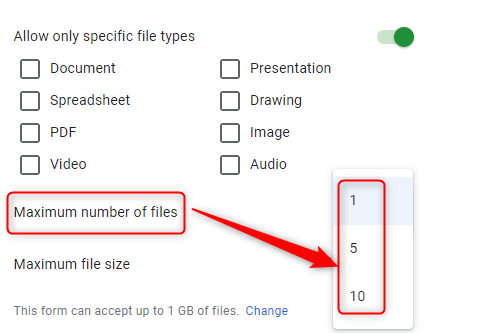
Step 5: Maximum File Size Option
Further, from here you can specify the file size which can be from 1 MB to 10 GB.
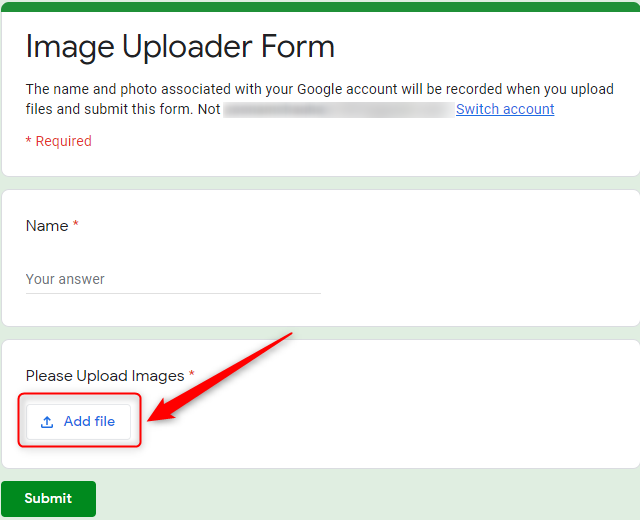
Step 6: Preview Your Form
To preview your form, click on the eye-formed symbol in the upper-right corner.
Limitations Of Google Forms
Apart from its “Free tool” title, it abandons users with vast needs. Some of image upload limitations of Google Forms are mentioned below:-
- The users are not allowed to upload unlimited images. Due to its limited storage, it only accepts the files from 1MB to 10GB.
- Further, the form creator must have enough space in their Google drive. As it automatically stops receiving responses due to insufficient space.
- Moreover, it has limits of 1TB on overall responses. After a required limit, it won’t accept further responses.
- Also, the form creator and respondent must have to sign in to their Google account.
Solutions For Google Forms Limitations
As already mentioned, the alternative to Google Forms named Pabbly Form Builder which offers unlimited submission, storage and much more. Some of its perks regarding file upload field are mentioned below:
- One of the benefits of the software is, it doesn’t restrict users on storage.
- Here, you don’t have to specify the file type manually. It gives the flexibility to upload any type of file.
- There is no restriction on the file upload field. You can add multiple upload fields in a form.
- Using the customization option, you can change the font, width, field label name, etc of the upload field.
- There is no need to sign-in to fill the form which makes it easy for both surveyor and respondent.
Let’s dig deep into all these features by creating an uploading form in Pabbly Form Builder.
How To Create Image Uploading Form Via Pabbly Form Builder
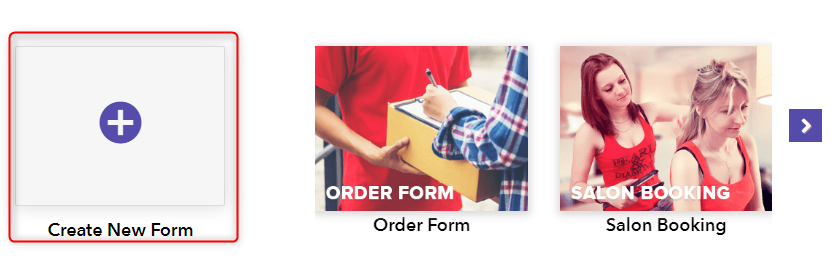
Step 1: Create Your Form
To create a form, click on the “+” icon or you can use pre-defined templates too.
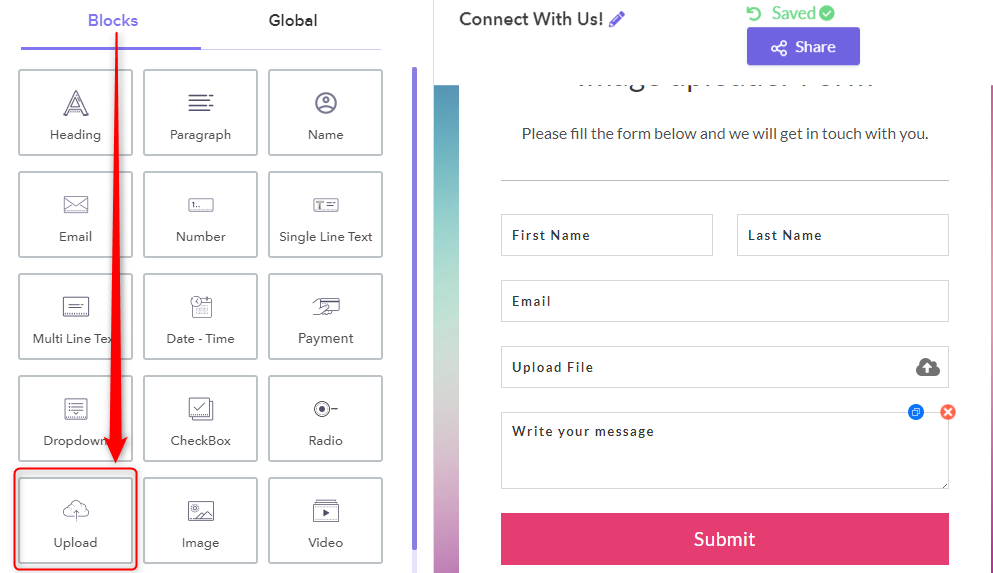
Step 2: Add Upload Field
Further, drag the “Upload” block to add an image upload field to your form.
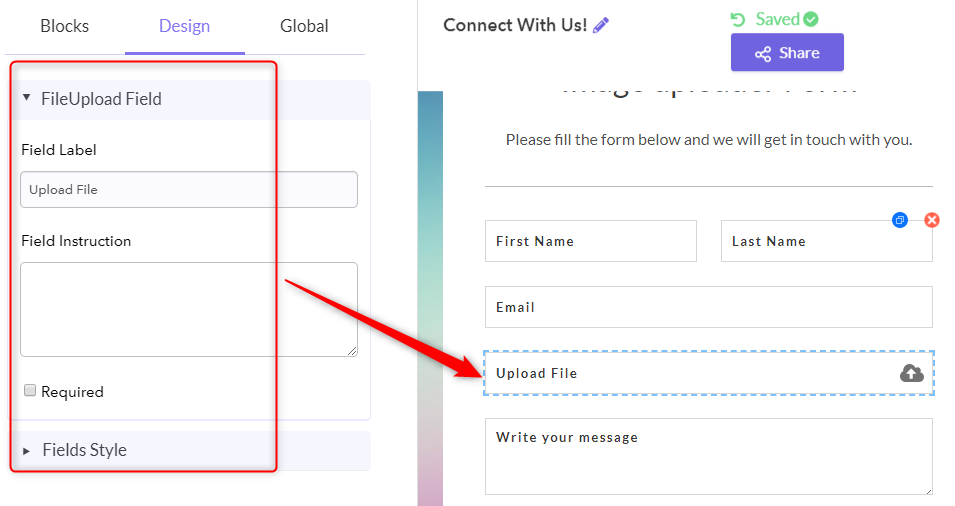
Step 3: Design Field
Using the “Design Field”, you can set field labels, instructions, style, etc.
Step 4: Preview A Form
Once your form is completed, preview your form by clicking on the eye-shaped icon on the left side.
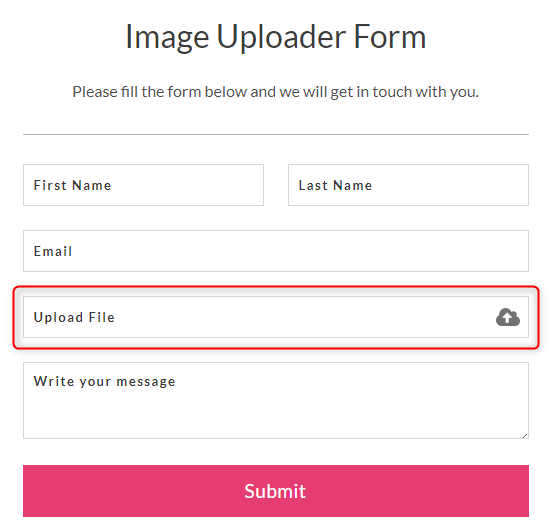
That’s it! Your form is now ready to accept images from your audience.
Wrap Up!
At last, everything comes down to what you opt for.
Here is our consistently modern guide for comparing both the form builders in a fair-minded way. Google Forms bestows an unending list of features but it also has a few limitations that I mentioned earlier.
Consequently, to assist you with picking the best, I recommend its alternative to create amazing forms at a very reasonable cost.
We suggest you to try this tool once for the better.
You May Also Like To Read: