
Seeing the submitted responses in Google Forms is an important task to ensure that you responded to all questions correctly.
However, there is no way to see submitted Google Forms as a user, unless the form creator has enabled “Response receipts”. In such a case, it will send a standard receipt, containing a copy of the responses, to your email as soon as you submit the form successfully.
On the other hand, if this setting isn’t enabled from the admin’s side, you won’t be able to see the forms that you have responded to, in the past.
“Response receipts” setting of Google Forms has certain limitations that you should be aware of. The very first is, it sends pre-designed message in receipts that you cannot edit in any way. Further, it limits your options when come to SMTP servers as it provides only single server.
Therefore, I would like to suggest a robust form creator i.e. Pabbly Form Builder, which allows you to send personalized receipts which you can edit. Moreover, you can even use your own email address to send the receipts as well as it supports multiple SMTP servers.
If you want to know more about the Response Receipt setting of Google Forms, then this article can help you.
How To Enable “Response Receipts” On Google Forms
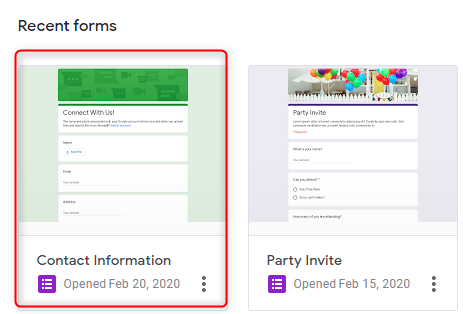
Step 1: Open A Form
In order to configure “Response receipts”, open the form in which you wish to enable the setting.
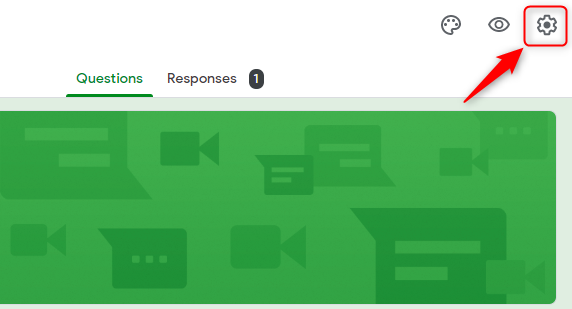
Step 2: Open Settings Tab
After that, click on the “Gear” icon on the top-right part of the screen.
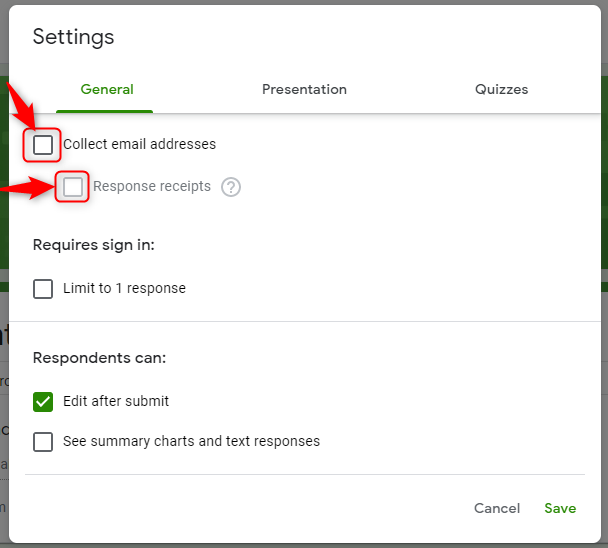
Step 3: Enable “Response Receipts”
Further, the settings tab will appear on the screen. Subsequently, check the “Collect email addresses” box and then the “Response receipts” box.
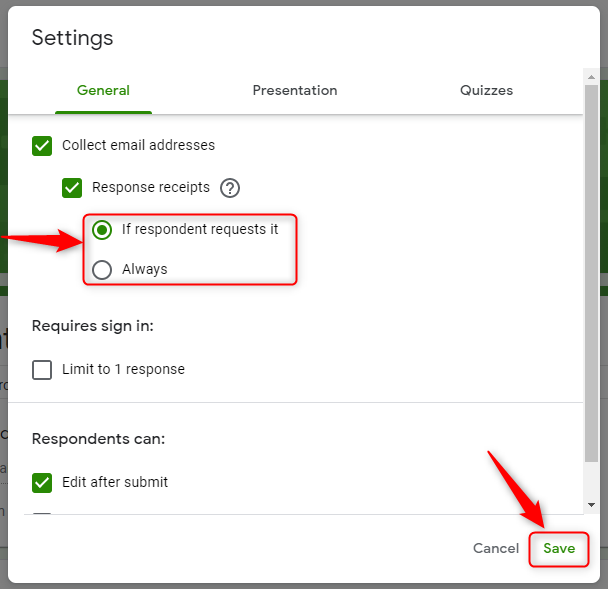
Step 4: “Response Receipts” Settings
The application would then offer you two options which are ‘If respondent requests it’ and ‘Always’. Select the option accordingly and then ‘Save’ the setting.
Step 5: The 2-Different “Response Receipts” Options
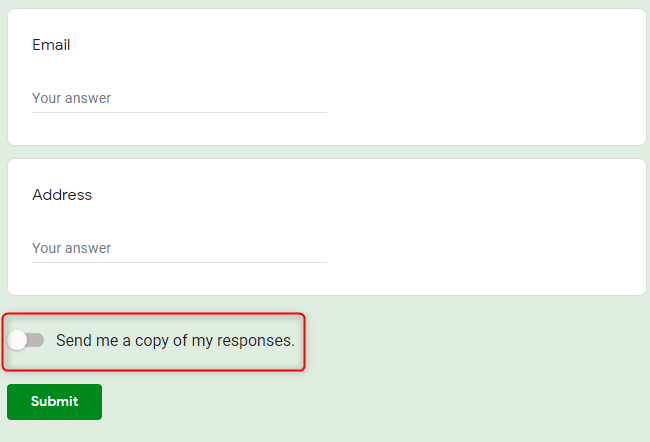
The ‘If respondent requests it’ option will result in a switch “Send me a copy of my responses” being added at the end of the form. The respondent can then click on the switch if he or she wishes to receive a receipt.
On the other hand, if you select the ‘Always’ option, a receipt will be sent to all the submissions.
The Rigid Nature Of “Response Receipts” In Google Forms
Some of the limitations of Google Forms in regards to “Response receipts” that you only realize when you use other better form maker.
- Google Forms has a standard Email template for the “Response receipts” which you cannot edit at your end.
- Moreover, the email address from which the receipts are sent is also fixed ([email protected]). So, there is no scope to send personalized messages to your respondents.
- Besides that, it does not allow your respondents to store their response data offline.
- Further, users can’t see their uploaded document in Google Forms response.
Are There Other Form Makers With Better Response Receipts?
There are many form makers available online which provide a variety of features for following up with your respondents. One such tool is Pabbly Form Builder which doesn’t restrict you on features by offering unlimited submissions, forms, receive payment and much more.
Below are the features that can vastly enhance the quality of your form response receipts.
- This online application allows you to send customized form response receipt messages to your respondents.
- The software allows you to add multiple email addresses to send the response receipts.
- It offers multiple SMTP servers in the software itself which makes it stand alone in-crowd.
- The best part is, the application sends the form response receipts automatically, even when you choose to send them through your email.
- The robust tool allows users to download their responses in PDF format.
Here Is How You Can Enable The Different Response Receipts On Pabbly Form Builder:
We further categorized it into three different categories for better understanding.
1. Enabling Email Notifications:
Step 1: Open Form Settings
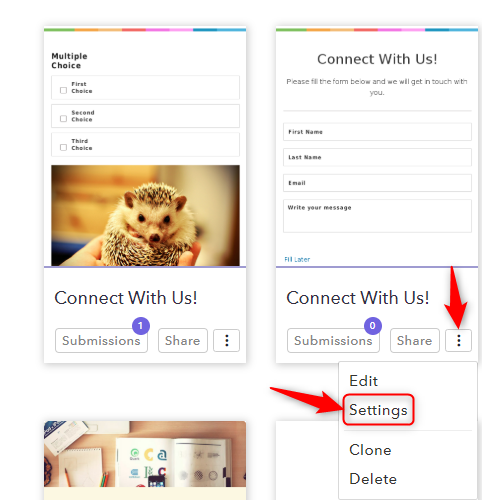
On the Pabbly Form Builder dashboard, use the three vertical dots icon on your form to open a drop-down menu. Thereafter, select “Settings” from the menu to open form settings.
Step 2: Add Email & Enable Notifications
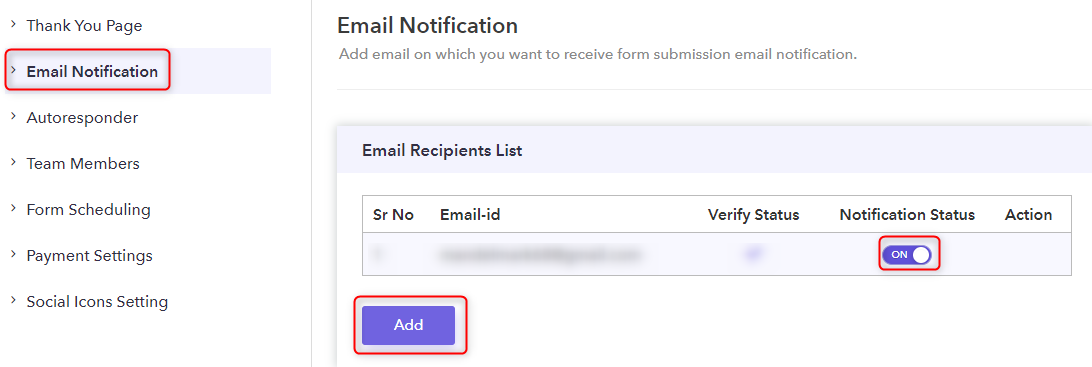
From the “Email Notification” tab, use the “Add” button to add the multiple email address on which you want to receive notifications. After that, switch “Notification Status” on.
2. Setting Email Address For Response Receipts
Step 1: Enable SMTP Server Option
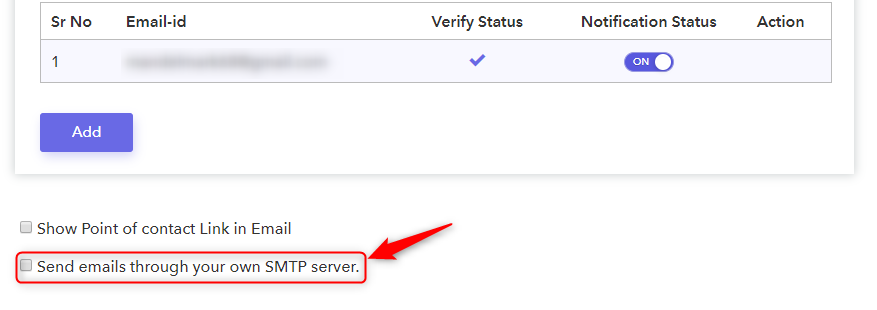
In the Email Notification tab, scroll down to the last checkbox on the screen and click on it.
Step 2: Fill Details Of Your Email Address
As soon as you check the box, a form will appear which needs to be filled.
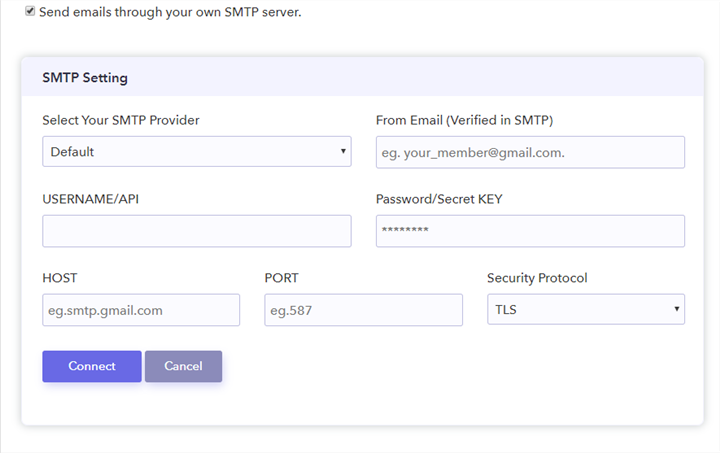
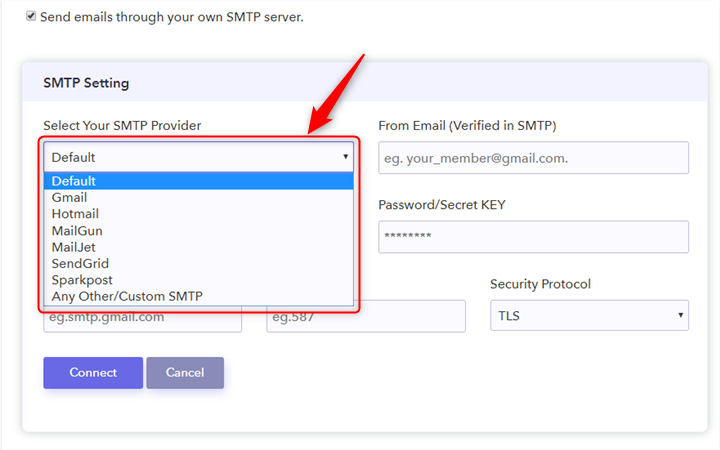
To select the domain of your email address, click on the drop-down menu under ‘Select Your SMTP Provider’.
Then, enter your complete details in the form to allow Pabbly Form Builder to access it.
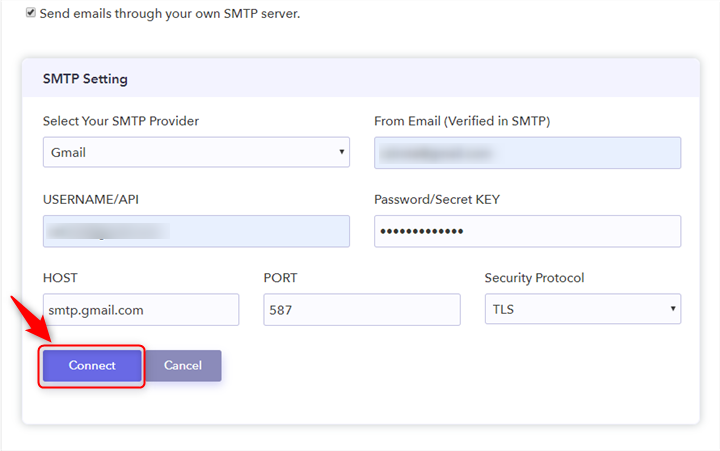
The HOST, PORT and Security Protocol would automatically be selected according to your email address. After entering all the details, click “Connect” to finish the process.
Now, all the form responses will be sent to your respondents through the email address you entered.
3. Customizing The Content Of Response Receipts And Email Notifications
Step 1: Open Autoresponder Tab
In the Settings window, click on the “Autoresponder” option. Further, in the tab, you will find an array of response email options.
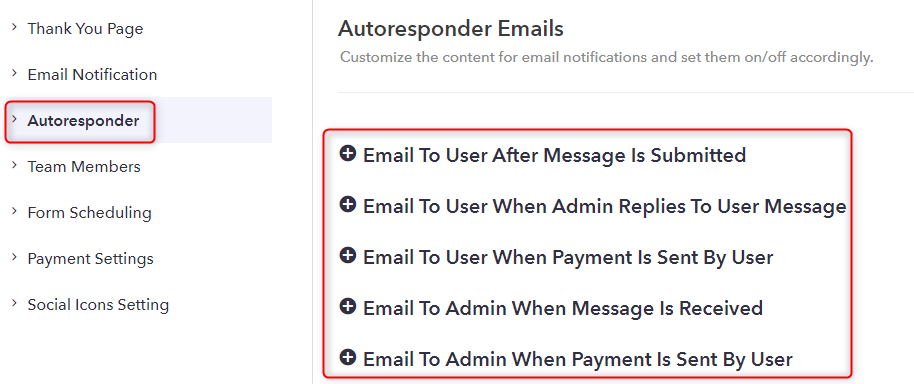
Step 2: Customizing Emails
Further, you can click on any of the options to access its features. As an instance, we will click on the “Email To User After Message Is Submitted” feature which will open a drop-down menu with its settings.
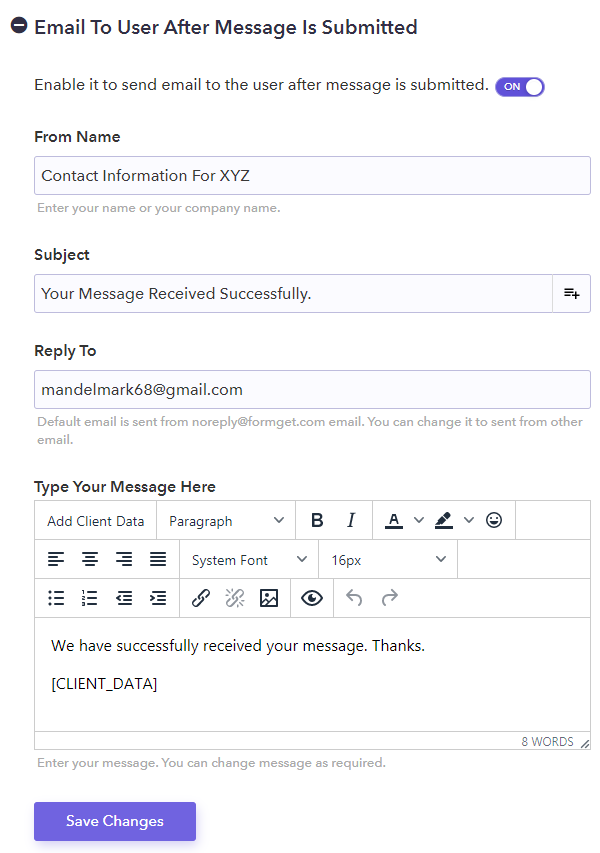
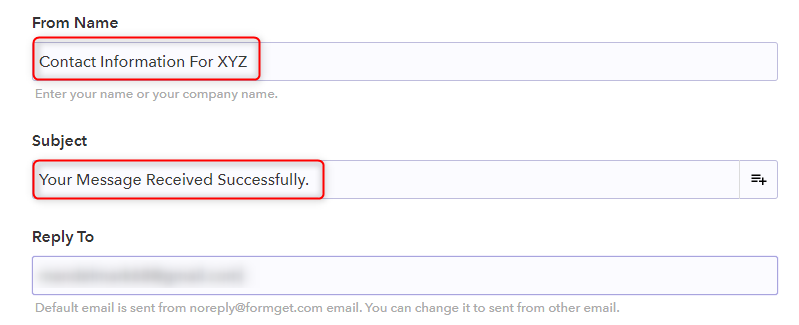
In the settings, you can set the name of the sender, subject line of the email and the email address from which the message needs to be sent.
Along with that, you can also create a personalized message with custom font and attachments. Use the “Add Client Data” button to insert the response data of your respondents in any part of the message you want. Pabbly Form Builder offers a huge palette of customizing tools that you can use to change font size and style, highlight text, attach photos and much more.
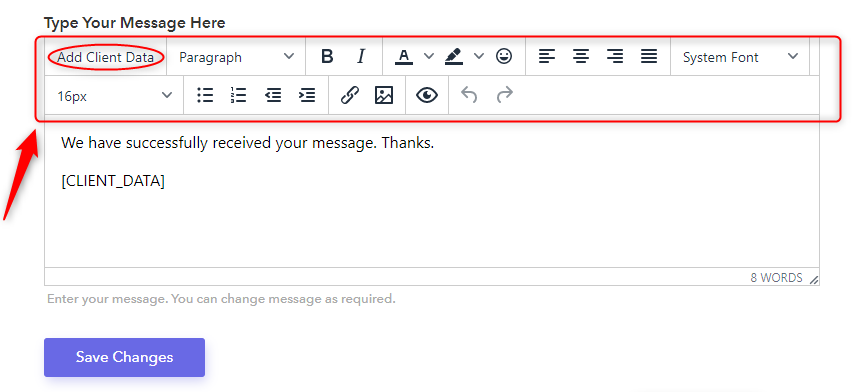
Lastly, after you have configured all the settings, click on the “Save Changes” button to finish the process.
The respondents will also be able to download their responses in a PDF form.
Winding-Up
Hopefully, you have now learned how to see submitted responses on your Google Forms. This way, your respondents would be able to know that their response has been received successfully. Also, they can check whether their responses were correct.
While there are plenty of form builders that offer different response receipt options, you can try your hands on Pabbly Form Builder as it is packed with a plethora of features for response receipts. Further, it also gives the flexibility to explore the platform for free.
You May Also Like To Read: