
Usually, when someone fills out your form, they need to get acknowledge saying that you have received their form submission. It is a basic thing that the user seeks which needs to be a top priority. Keeping the same in mind, Google Forms does allow you to send emails to your respondents when they submit their form.
Several features are not supported by Google Forms such as email personalization option, adding logo, etc. Hence, to overcome such drawback a good alternative is required.
Thus, I would like to recommend you the best Google Forms alternative i.e, Pabbly Form Builder. As, it not only allows you to send emails to users after submission, but also provides you several features like customize email, sender name, add logo and many more.
Through this article, let me solve your query on “How to send an email when Google Forms is submitted?”.
Here Are The Steps To Send An Email When Google Forms Is Submitted:
Step 1: Create A Form
Your foremost step is to create a form, that you can create by using the “Blank” option. It also provides you several predefined templates to choose from.

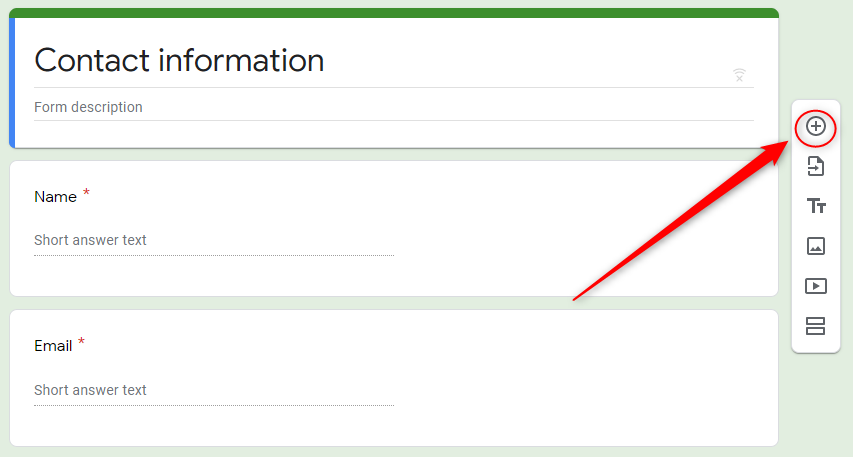
Step 2: Add Fields
You can add different fields using the “Plus” option that appears on the sidebar. Don’t forget to add an email field to collect email addresses from the respondents.
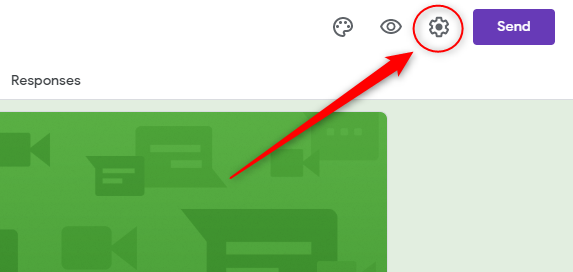
Step 3: Go To “Settings”
Your subsequent step after adding fields is to move towards the “Settings” option. Which is on the upper right corner of the form.
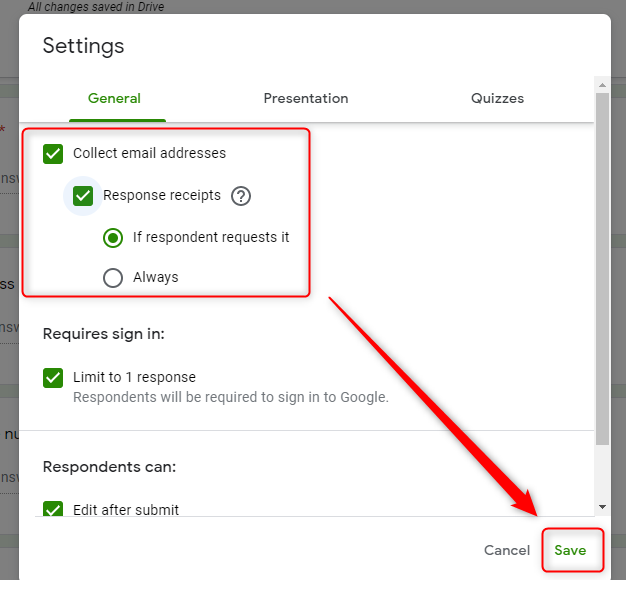
Step 4: Enable “Response Receipt”
Once you click the “Settings” option, it will open a popup window with several setting choices such as collect email address, limit response, edit after submit, etc. From which, firstly you need to click on “Collect Email Address”. Then, enable the “Response Receipt” feature that further offers you two alternatives to choose from.
Either you can opt for “If respondent request it” or else you can select “Always” as per your requirement. Lastly, click on the option stating “Save”.
Step 5: Submitted Response
Lastly, this is how your responder will receive an email after submitting the form.
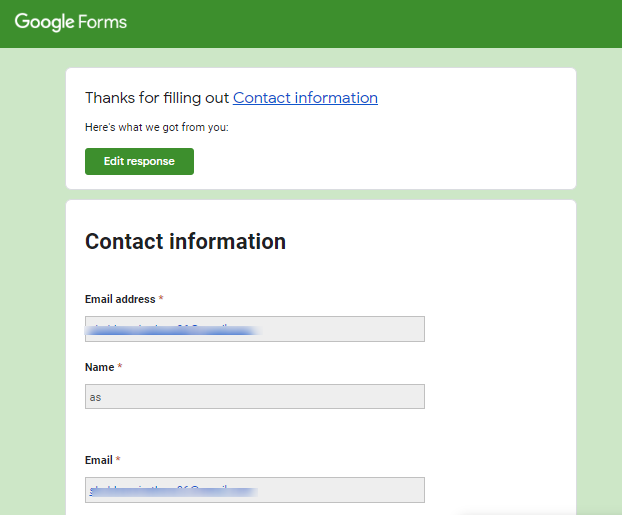
There you go! Now, whenever someone fills your form, they will get a confirmation email through Google Forms.
Restrictions Of Google Forms:
Google Forms are widely used due to its free cost tag. But, there is no denial in the fact that it does have many drawbacks that its user face. Here, in the following, let’s have a look at those too.
- It sends default emails to the users as it does not have any customization option available to do so.
- You cannot send other emails apart from the submission notification email to your users like payments etc.
- Google Forms does not allow you to add a logo in their forms.
- It does not enable you to change the sender name in its form as it comes with default “noreply@” settings.
- Besides that, you cannot track your form views as well as submission as it does not support integration with Google Analytics.
Try An Alternative To Overcome Its Drawbacks:
As suggested earlier, Pabbly Form Builder is the most powerful tool available in the market. As it offers you unlimited access to payments, submissions, Webhooks, etc. without any restrictions. So, let’s have a look at its other features too:
- Apart from the submission email, it also allows you different autoresponder emails to choose from such as notifications for submission, payments and many more.
- Pabbly Form Builder enables you to customize the email that you want to send to your users when they complete submission.
- It further allows you to add the logo in your email so that users can identify your brand.
- Besides that, it enables you to add your own email address so that your respondents could have access to reply to you for any query or feedback.
- Pabbly Form Builder permits you to track your form views, submissions, etc through Google Analytics integration.
- It does not restrict on any features and offers you unlimited access to Webhooks, payments, submissions and many more.
Steps To Send Emails When Form Is Submitted In Pabbly Form Builder:
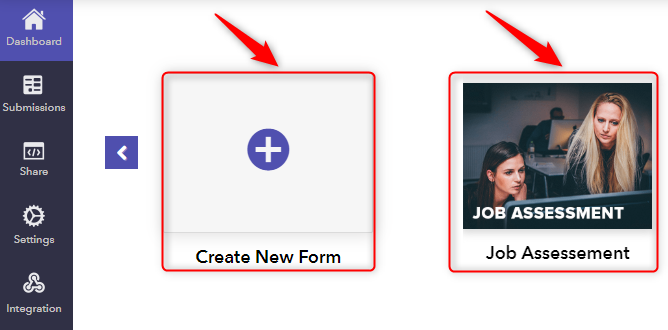
Step 1: Build A Form
First of all, create a new form, either you can opt for “Create New Form” or else you can choose from the predefined templates.
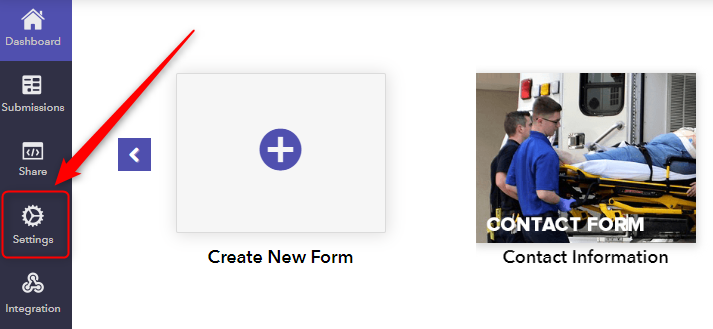
Step 2: Click On “Settings”
Once you create a form, your next step is to move towards the option termed “Settings” on the side panel.
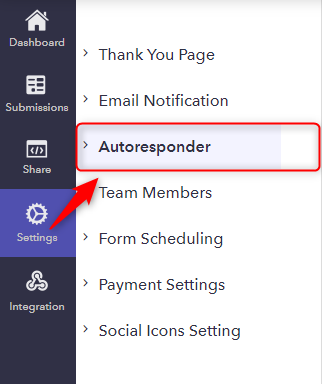
Step 3: Go To “Autoresponder”
Your subsequent step after you moving towards settings is to click on “Autoresponder”.
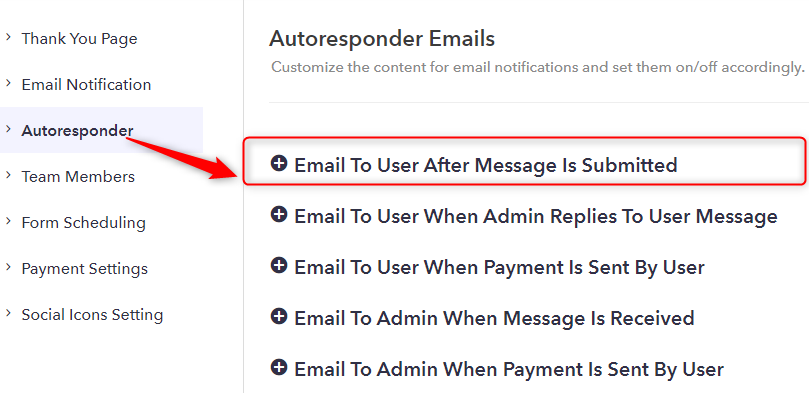
Step 4: Open “Email To User After Message Is Submitted”
You will see several emails to choose from when you move to “Autoresponder”. Click on the very first option stating “Email To User After Message Is Submitted” that allows you to send email to your user when they fillup your form.
Step 5: Switch To “Enable”
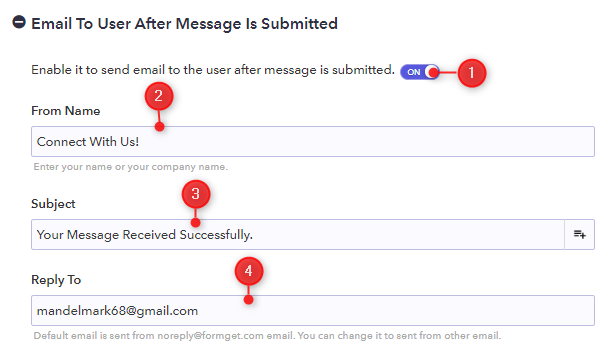
Once you open “Email To User After Message Is Submitted”, your next step is to enable the switch button. which enables you to send emails to your users whenever they submit the form.
You can change the sender name by the “From Name” option and can add a subject to email. Through the “Reply-To” feature you can add your own email address in the form so that users can contact you easily.
Step 6: Customize Your Email
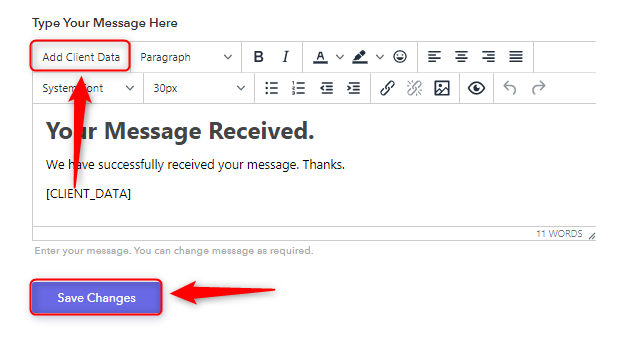
Your following step is to modify your email with the help of several features like font style, background color, etc. You can even add a logo and attach a link in your email with the help of customization options.
It also allows you to send response data to respondents just by clicking the “Add Client Data” button. Once you complete filling all the details, hit the button named “Save Changes”.
Step 7: Submitted Response
Finally, this is how you gonna receive an email with a copy of the submitted response.

There you go! Just by following the simple steps mentioned above, you can easily send an email to your users when they submit your form.
Conclusion:
We hope you guys found this article helpful to solve your query on “How to send an email when Google Forms is submitted?”. All you need to is just follow the above-mentioned step and you are good to go.
And if you are looking for an advanced tool which fulfills all your requirement than definitely give a try to Pabbly Form Builder. As it provides advanced features like “Autoresponder” that not only helps you to get conformation email but also allows your respondents to check their submitted response as if they were correct or not.