
If you are dealing in a business where you need to collect client’s documents like resumes, cover letters, portfolios, videos, etc then adding the file uploading feature on your form is indispensable.
However, there is a wide range of file uploading form creators available in the market. And for sure, the first option that might come to your mind is Google Forms which allows a respondent to upload any kind of document in a form.
Undoubtedly, Google Forms has a lot to offer but it does limits users on storage. It only accepts the files from 1MB to 10GB. Also, once the storage gets full, it does not receive more files. That’s why we suggest Pabbly Form Builder as it permits unlimited file storage.
In this article, we will show you how to add an upload field in your form.
Let’s Discuss How Google Forms Can Be Used To Upload Documents On Your Forms
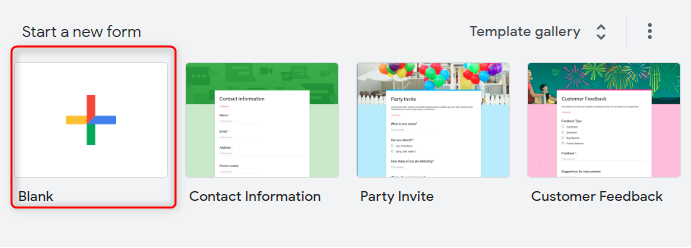
Step 1: Create Your Form
Open the dashboard of Google Forms and then to create a form, click on the “+” icon or you can also use its pre-designed templates too.
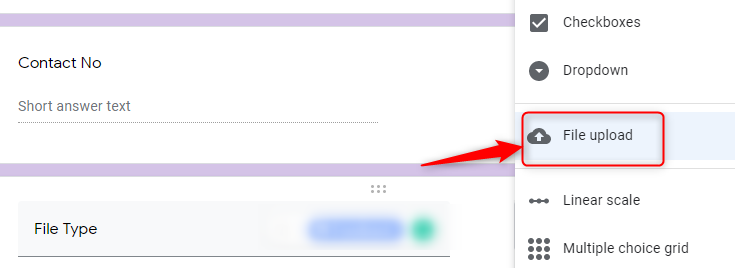
Step 2: Add “File Upload” Field
After assigning a name to your form add different fields such as checkboxes, dropdowns, etc according to your requirement. Then, to allow your respondent to attach a document into the form, click on the “File Upload” field.
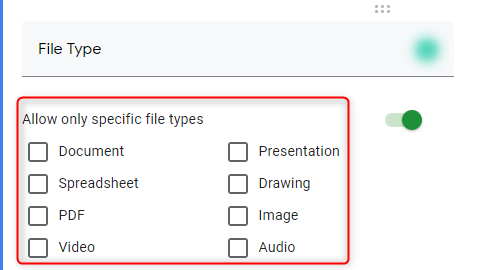
Step 3: Specify The File Types
Further, there are a variety of options available in Google Forms such as document, presentation, image, etc. You can specify the file types which you want to accept from the user and it allows you to select multiple options.
Step 4: Specify File Number
From here, you can specify the number of files, respondents can attach to your form which can be 1, 5 and 10.
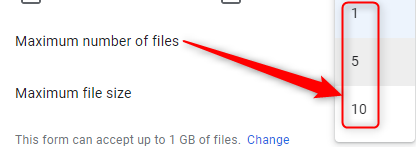
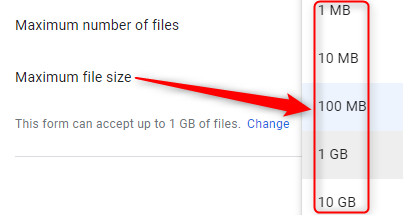
Step 5: Specify File Size
Further, you can specify the size of the file which can be from 1 MB to 10 GB. Also, it offers the limit of 1TB on overall responses which you have to set manually.
Step 6: Preview Form
To view the “Preview” of your form, click on the eye-shaped icon appearing on the top right corner.
This is how you can upload any kind of documents like pdf, docs, etc through Google Forms responses.
Limitations Of Google Forms For File Uploading
Certainly, Google Forms is a great tool but, it somehow fails when comes to storage. Some of its limitations involve:
- The form requires the creator’s Google Drive to store responses which can be an issue if it doesn’t have sufficient space.
- Google Forms restricts overall response when it reaches the demanded limit which is 1TB.
- Further, it does have restrictions on the maximum number of files which can be 10.
- Besides, it demands users to sign-in to fill the form.
Solutions For The Limitations Of Google Forms
As seen above, there are many limitations in Google Forms that can’t be denied. So, here I would like to suggest its alternative named Pabbly Form Builder that streamlines the process by offering unlimited submission, storage, forms and much more.
Let’s cast some lights on its features:
- The software gives you the flexibility to add multiple upload fields in a single form.
- It permits submissions of a file of any size.
- The robust tool is packed with unlimited storage. So, insufficient space is not going to be a problem for users.
- There is no limit on overall responses. However, it gives you an option to set one, if you want to.
- The form builder is integrated with Google Analytics which helps you to understand where you can improvise your form.
- Also, it lets you customize your form by setting a field label name, style, etc.
Now, Let’s See How Pabbly Form Builder Adds Value To Your Document Uploading Form?
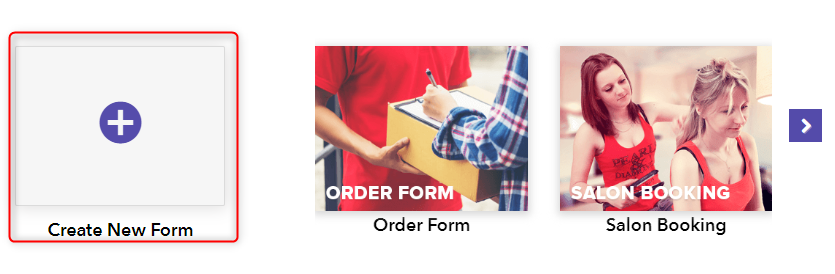
Step 1: Create Form
Open the dashboard of Pabbly Form Builder. Then, start by clicking on the “Create New Form” option or simply using its pre-built templates.
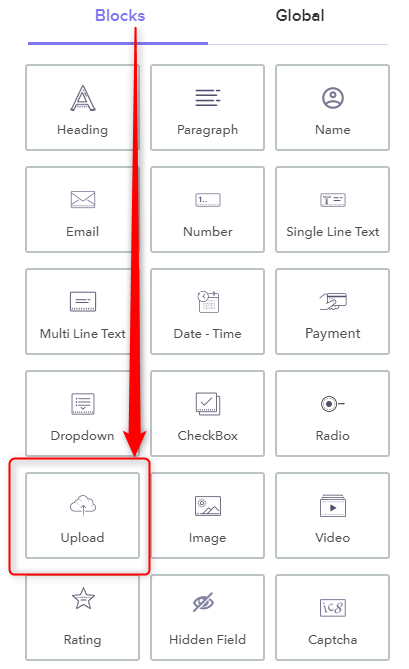
Step 2: Add Upload Block
Further, you can add different fields according to your form needs like name, email, etc according to your form needs. Then, click on the “Upload” block to add the file upload field which will help users to attach a document into the form through responses.
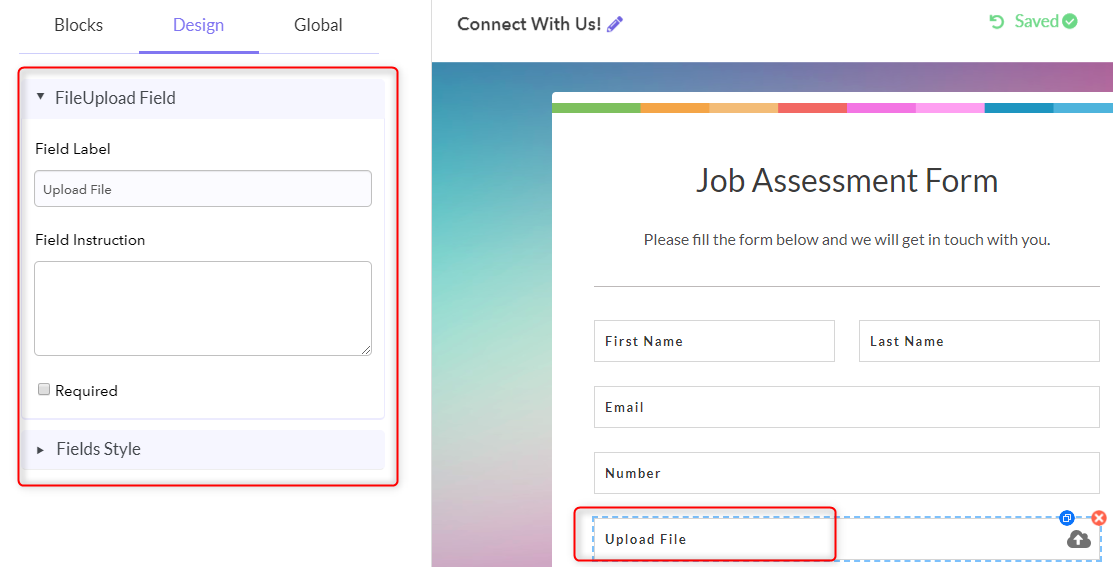
Step 3: Design Options
Jazz your form by doing unlimited customization such as setting field labels, instructions, style, etc of the “Upload” field.
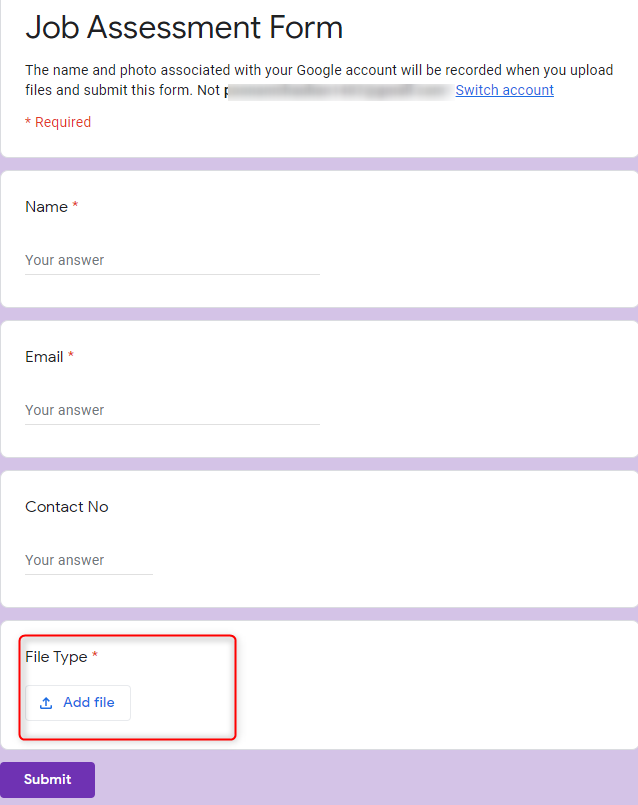
Step 4: Preview Your Form
Once you’re finished with your form, view its “Preview” by clicking on the eye-shaped icon.
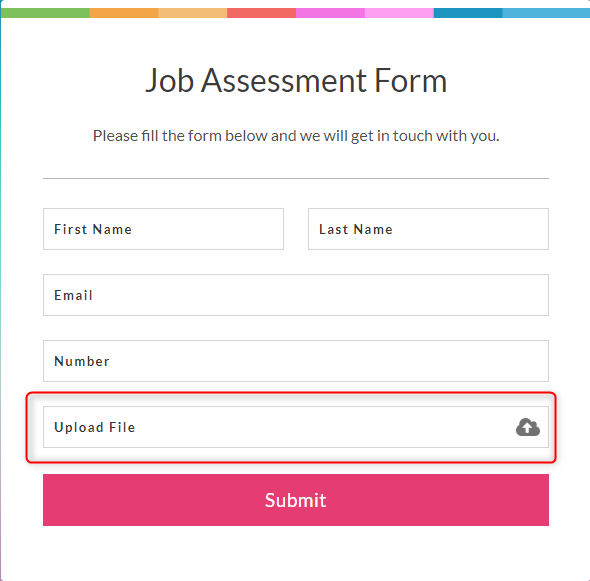
Voila! Your form is ready in no time. Using it, users can attach any kind of document through responses. Unlike Google Forms, here you don’t have to specify the file type manually.
Take Away!
Adding a File Upload field to your form lets you sift through piles of paperwork or track docs across countless email threads. It helps you to manage all your documents in one place securely. By taking the strategic steps as discussed above, you can create your form from scratch. And, yes! You will surely open the doors that will take you beyond the limitations of Google Forms.