
MailGet renders you with the exceptional feature of connecting multiple SMTP Service like SparkPost, ElasticEmail, SMTP2Go, SendPulse SendInBlue, SendGrid, SendPulse, Amazon SES etc. so that you can send a large volume of emails with a single account.
Here, in this documentation you can find out how exactly you can connect MailGet SMTP with your existing MailGet account or, with some other email marketing application for sending bulk emails –
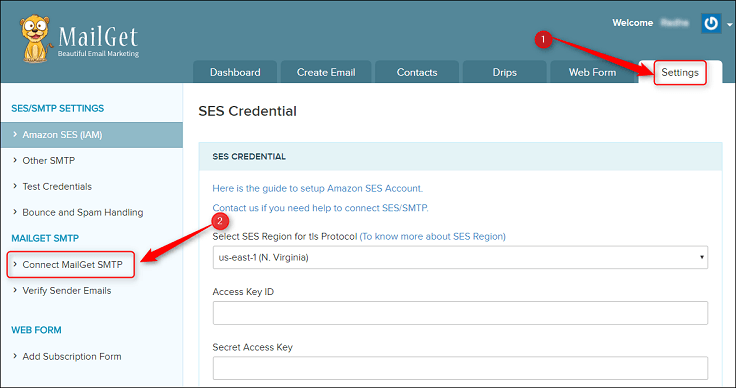
Step:1 – Login to your MailGet account and go to “Settings” option.
To connect MailGet SMTP, you will first have to login to your MailGet account and then click on “Settings”. Now, proceed to “MailGet SMTP” option and select “Connect MailGet SMTP”.
Step:2 – Select any MailGet SMTP service plan as per your email sending requirement.
After clicking on “Connect MailGet SMTP” button a screen will appear as shown in the below image where all the MailGet SMTP Service plans will be displayed.
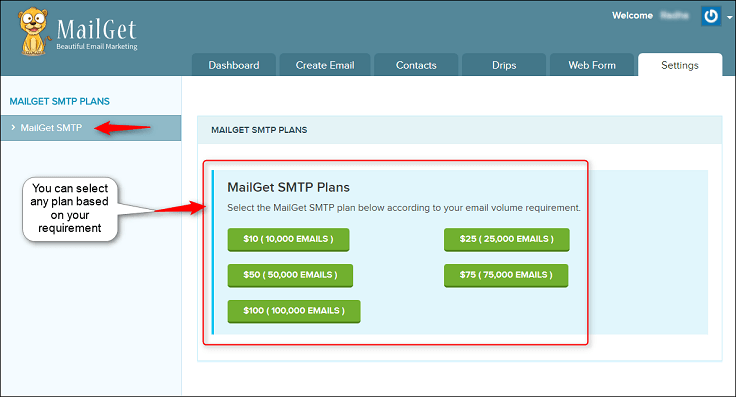
You can then, select the required plan as per your need and proceed for the payment as shown below –
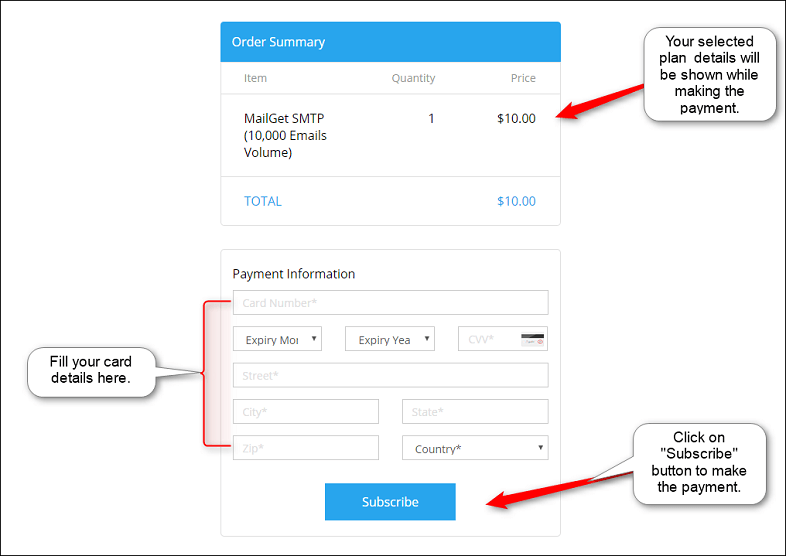
Note: Initially you will be allowed to send 2000 emails only via MailGet SMTP. Once you’re done with sending 2000 emails, we will then review your email campaign stats. After which we will update your email sending limit according to your purchased MailGet SMTP Service plan.
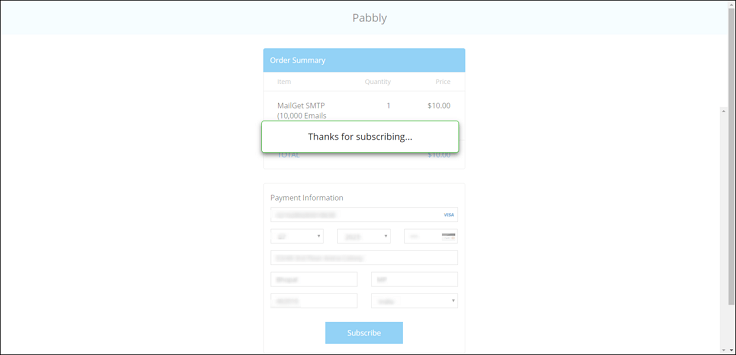
Step:3 – Verify your sender email address, once the payment has been processed.
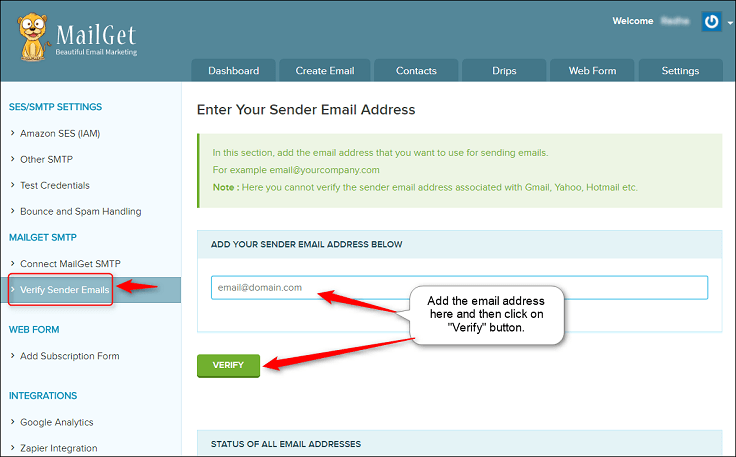
After the payment, you will have to verify the sender email address through which you will be sending emails. Further, here you can also verify other sender email addresses as per your wish.
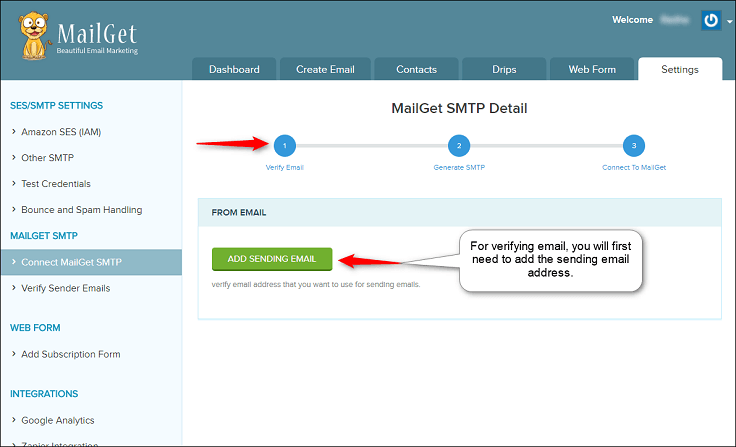
You will have to first add your sender email address and then get it verified. For adding the email address, just click on “Add Sending Email” button and it will take you to the page where you can add the email. After this, you will receive the verification email from MailGet.
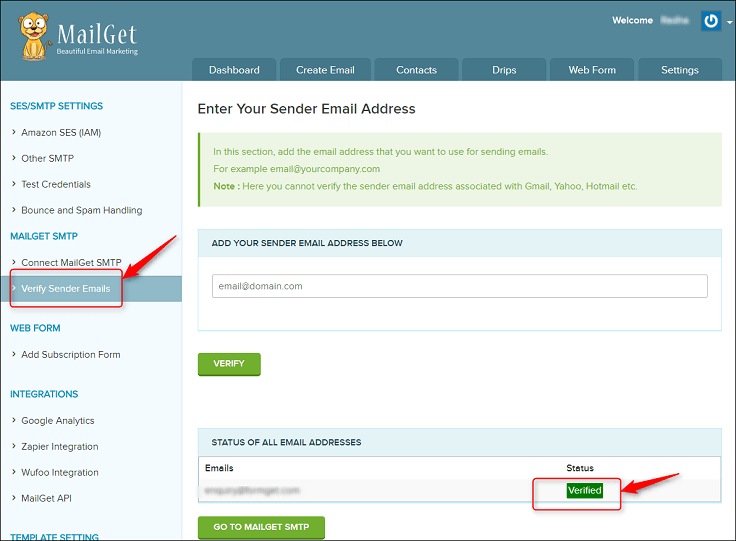
Once you confirm the verification email, your sender email address will get verified and it will be shown as shown in the image below-
Step:4 – Generate SMTP credentials.
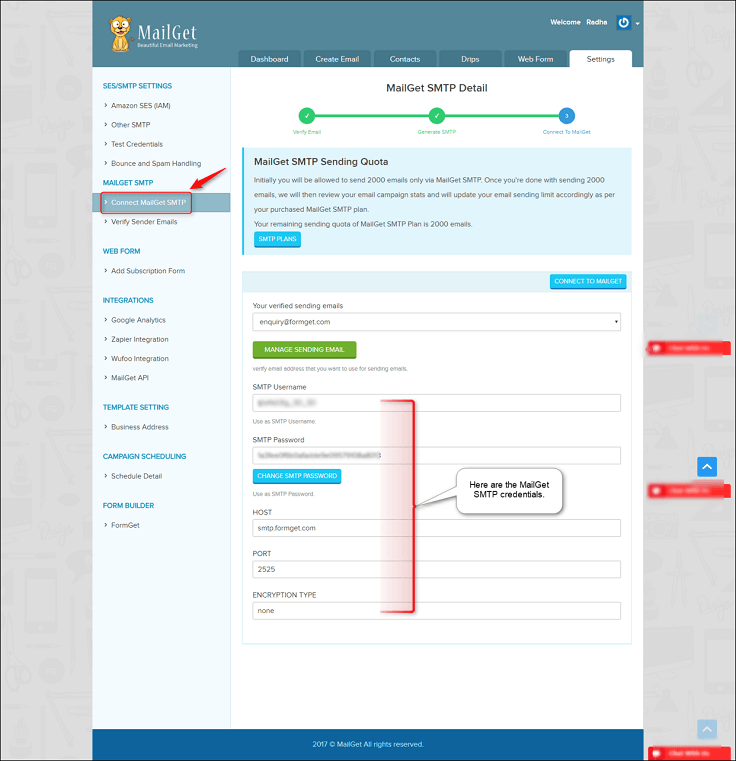
As soon as you have verified your sending email address then either click on “Go To MailGet SMTP” or “Connect MailGet SMTP” option. From there you will get the MailGet SMTP credentials.
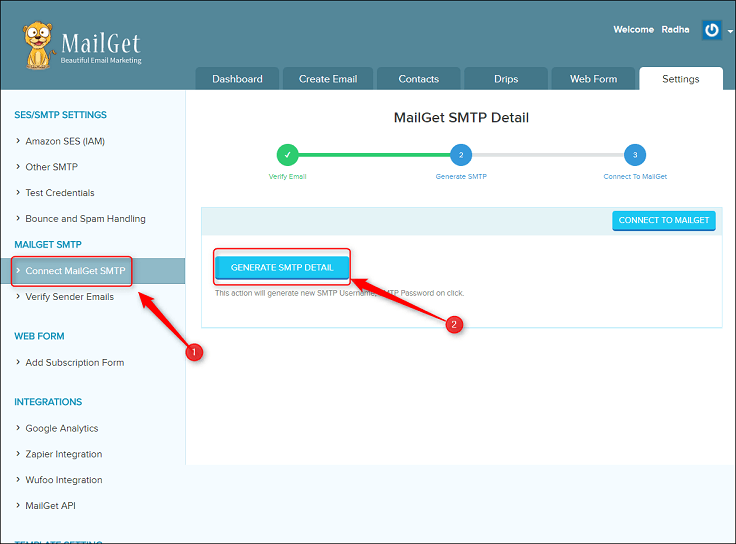
When you will click on “Generate SMTP Detail”, then you will get the credentials of your MailGet SMTP as shown below –
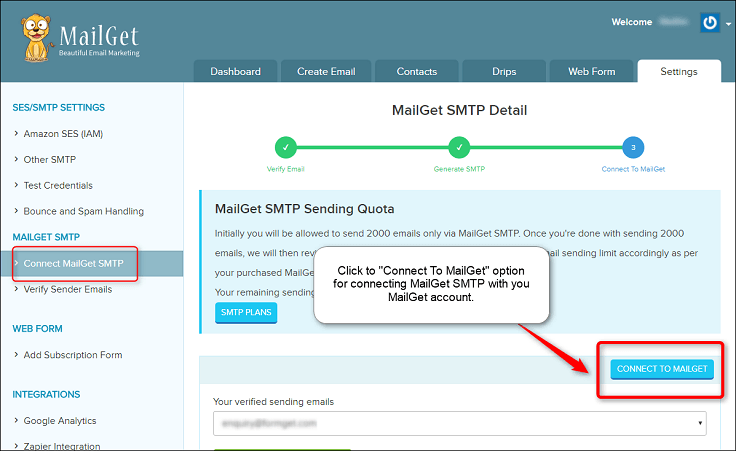
Now, to connect your MailGet account with the MailGet SMTP, you can go to “Connect To MailGet” option.
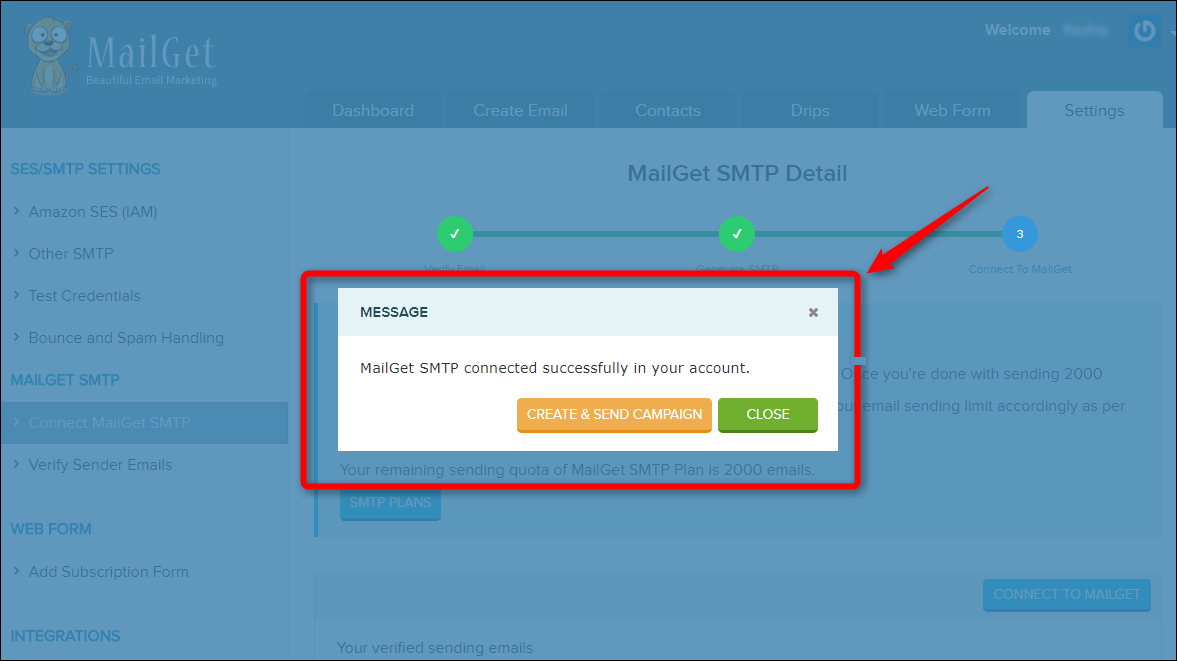
Once you click on that button, you will get the popup message, as shown in the following image –
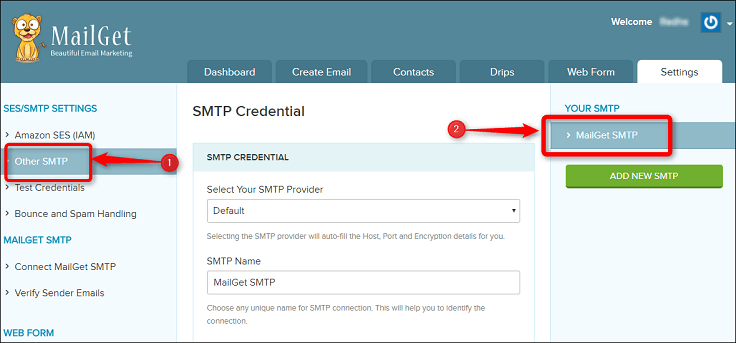
Further, you can cross check by going to “Other SMTP” option. For reference, kindly check the below image –
If you want to integrate MailGet SMTP Service with some other email marketing application then, you use the above credentials.
Therefore, you can follow the above procedure for connecting MailGet SMTP.
In case if you face any trouble, contact us, as we’ll be glad to assist you.
You can also refer to our other SMTP Service related tutorials: